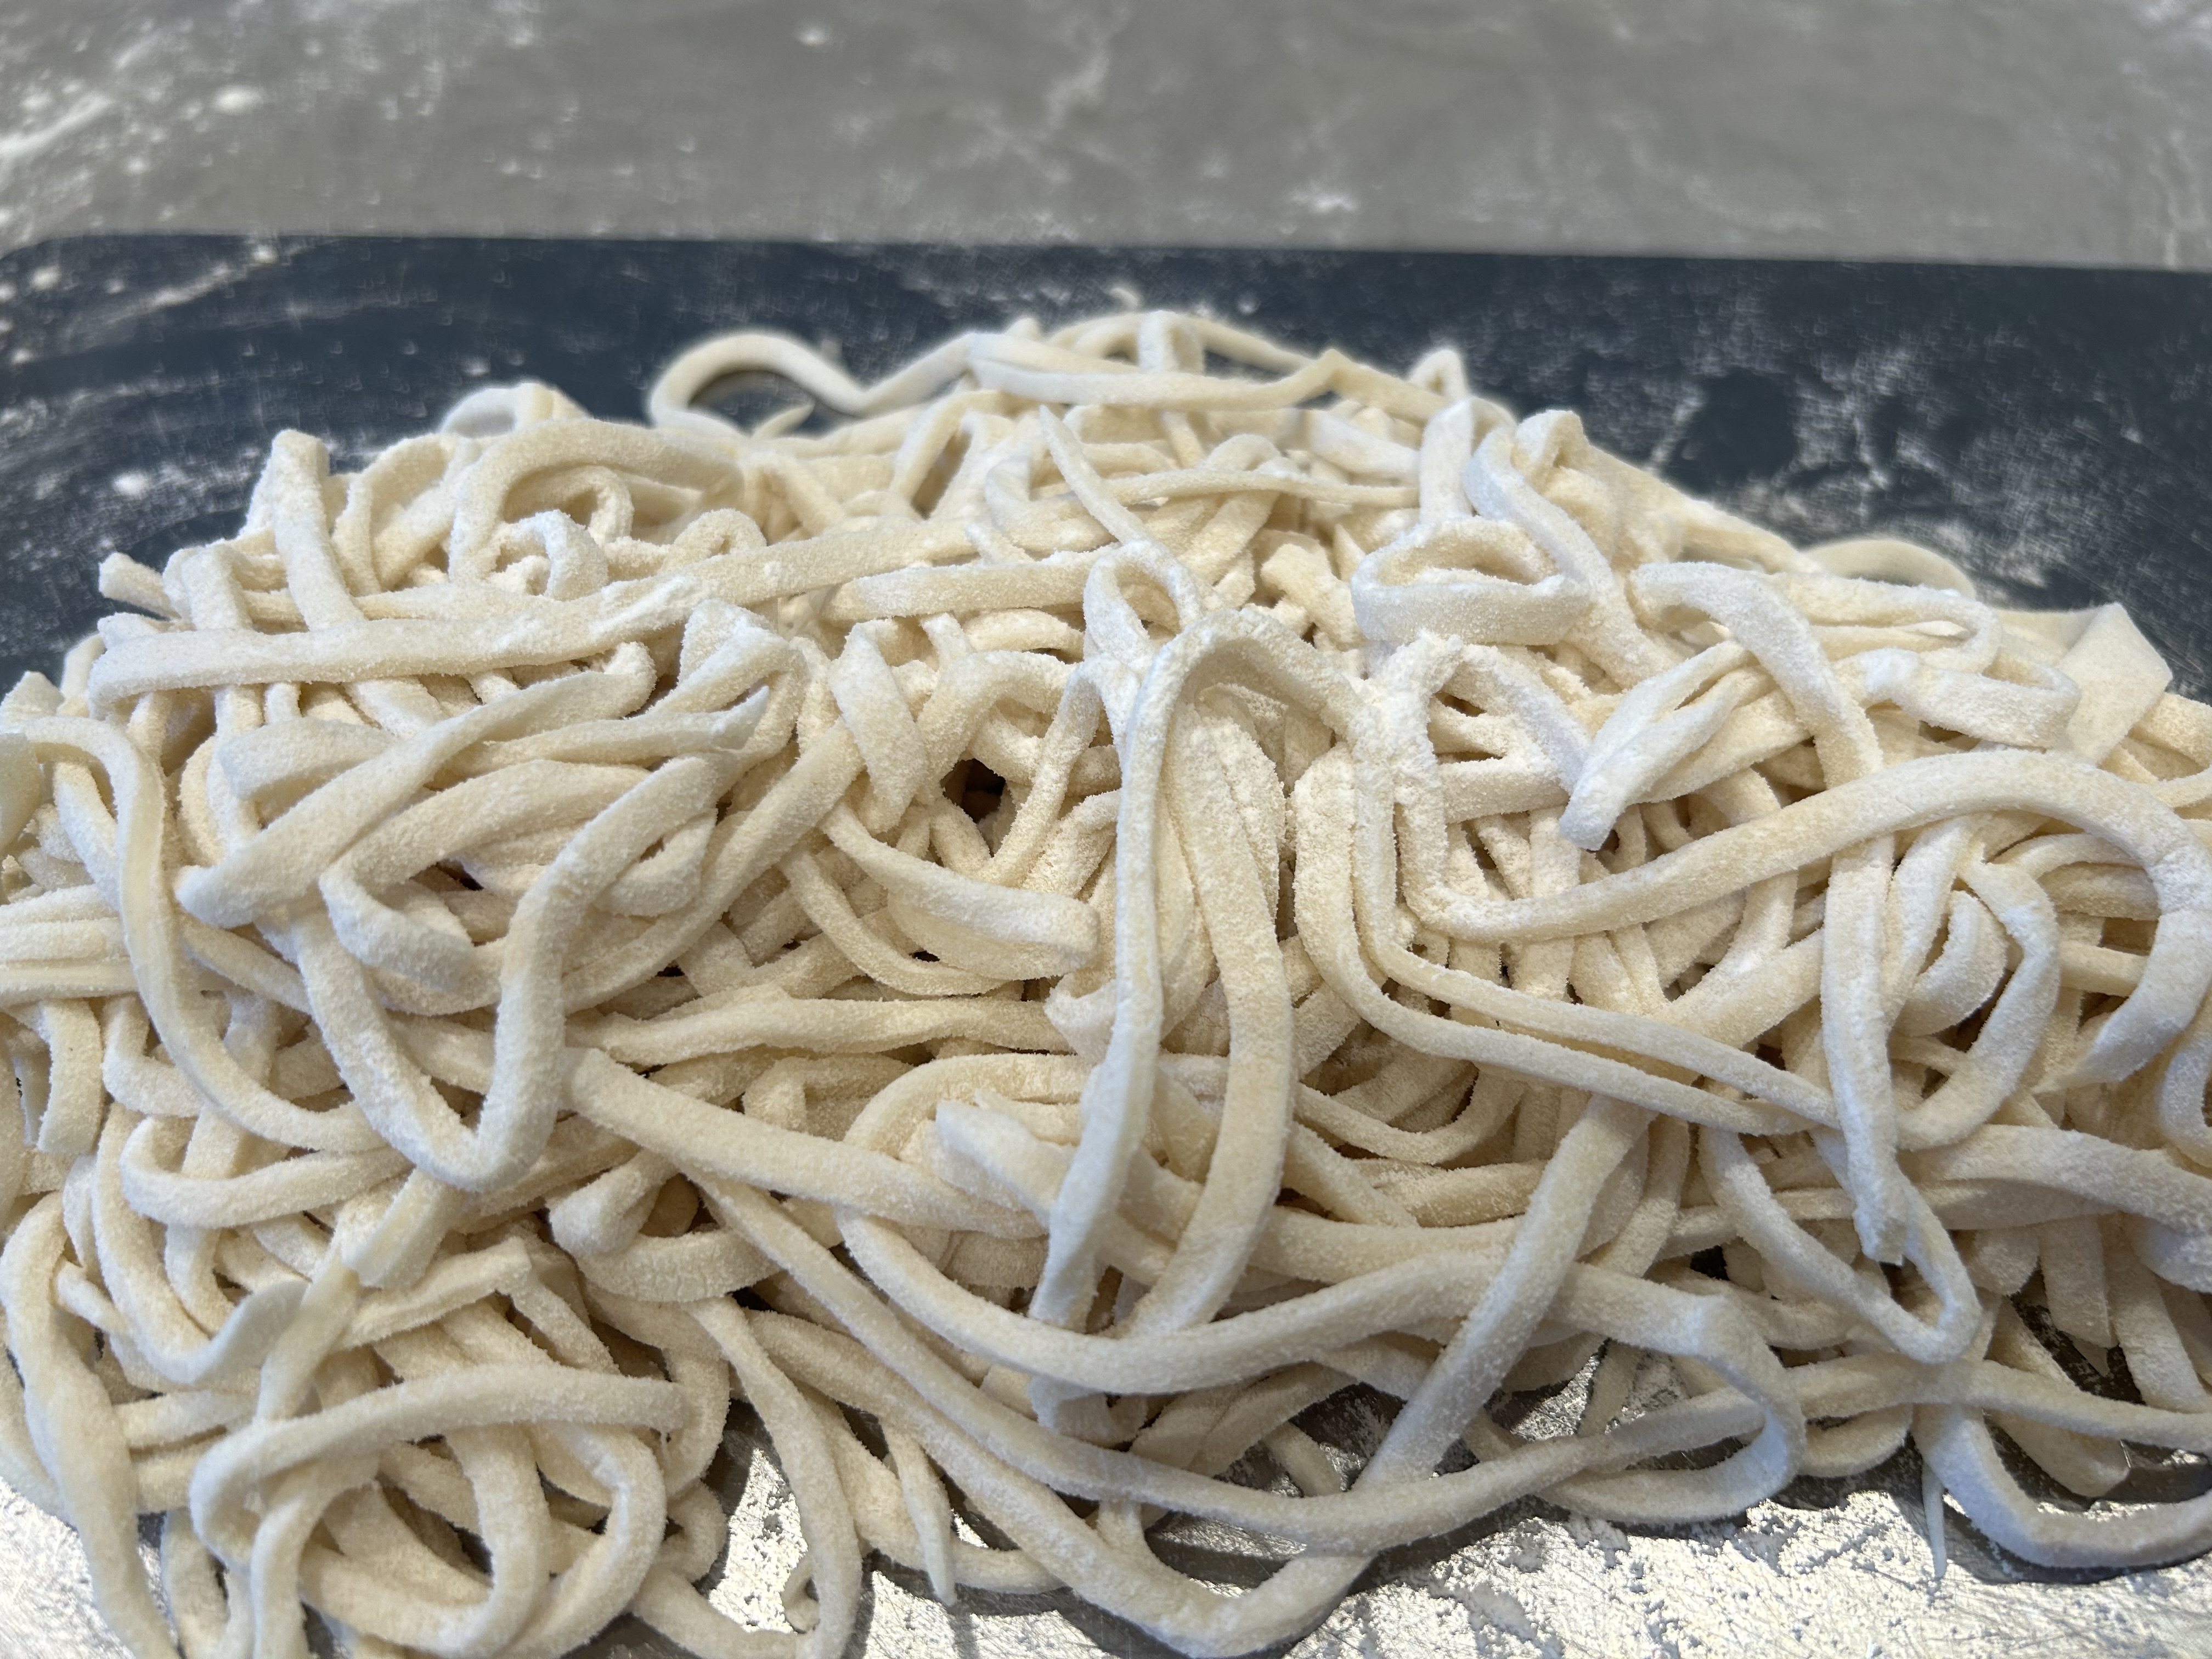
재료 – Ingredients
- 밀가루 (Flour) 500ml
- 물 (Water) 1/2 cup + 3 tbsp
- 감자전분 (Potato Starch) 1 tbsp
- 소금 (Salt) 1/2 tsp
- 식물성 오일 (Vegetable Oil) 1 tbsp
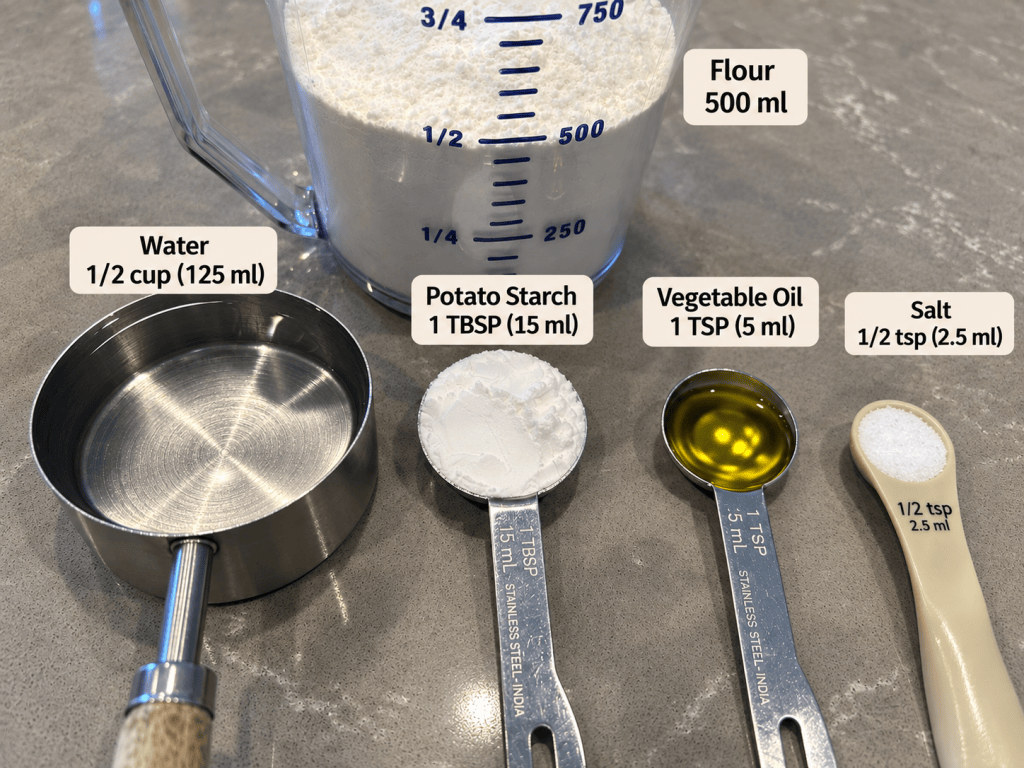
1. 반죽 만들기 및 1차 휴지 (Mixing & 1st Rest – 15 mins)
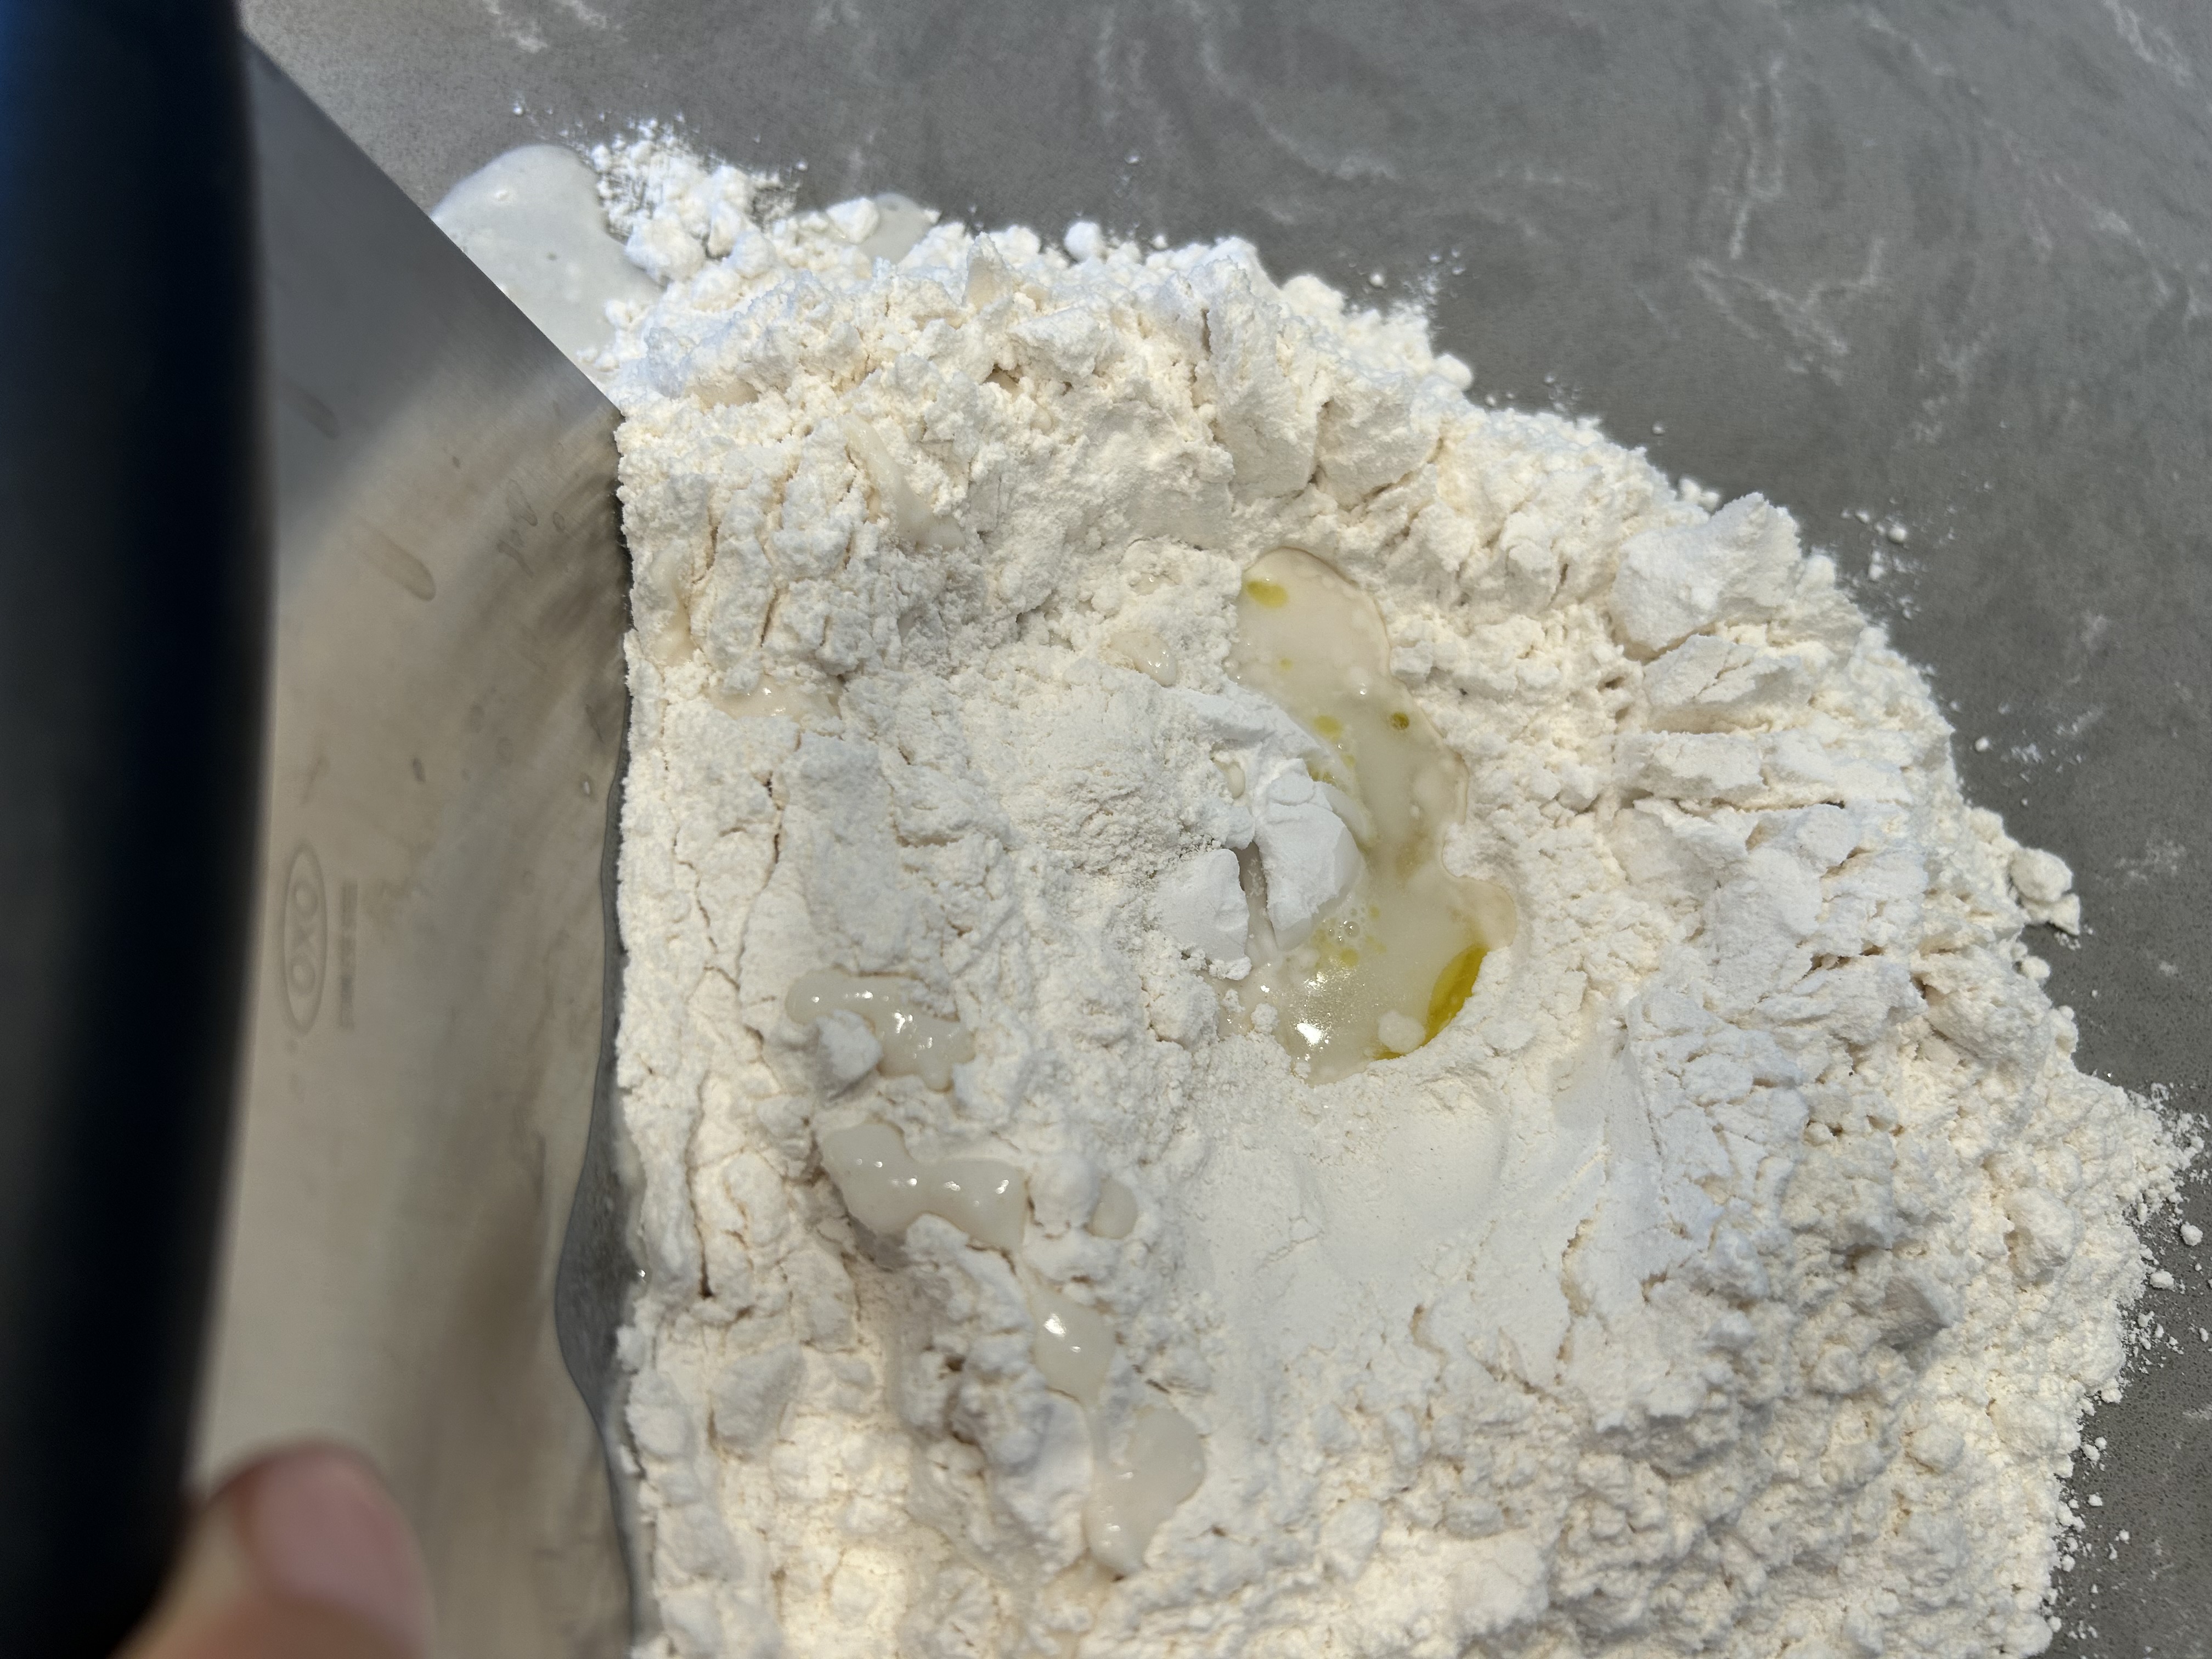
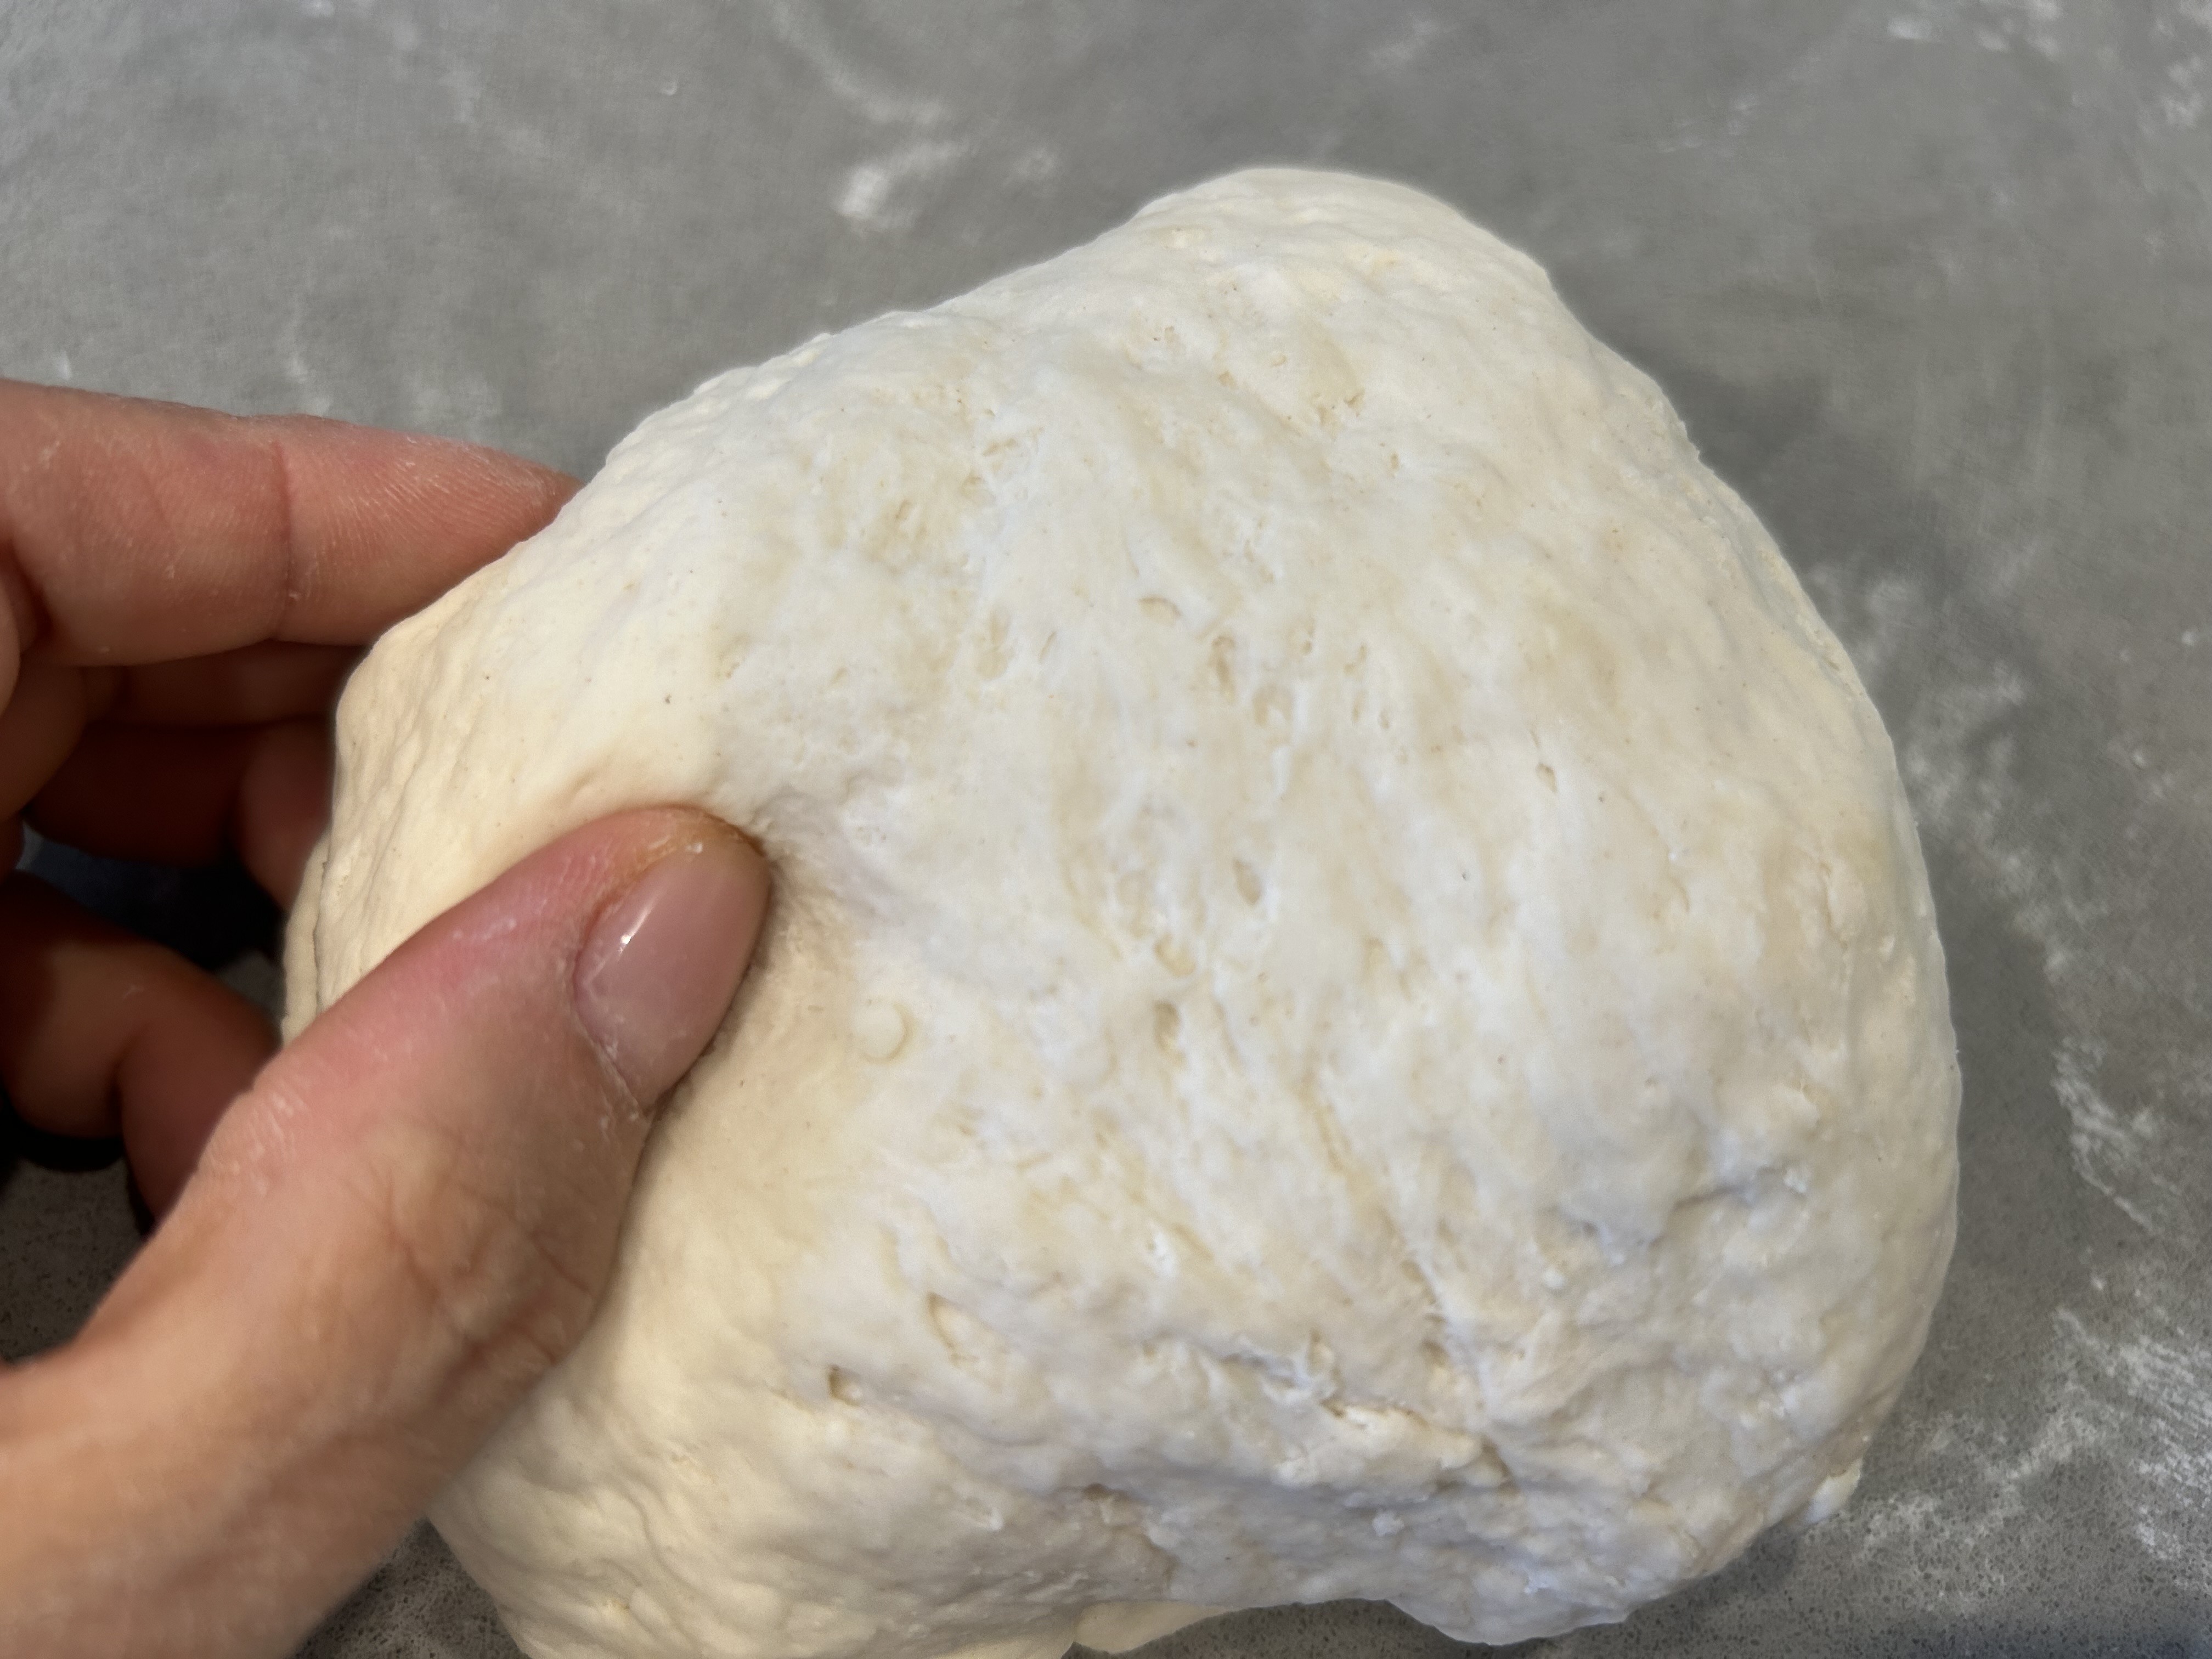
밀가루에 준비한 감자전분, 소금, 오일을 넣고 물을 부어 잘 섞어줍니다. 물은 1/2cup + 3TBSP를 넣어주며, 반죽에 가루가 보이지 않을 정도까지만 뭉쳐주면 됩니다.
Add the potato starch, salt, and vegetable oil to the flour, then pour in the water (1/2 cup + 3 tbsp) and mix well. Continue mixing just until no dry flour is visible and a rough dough forms.
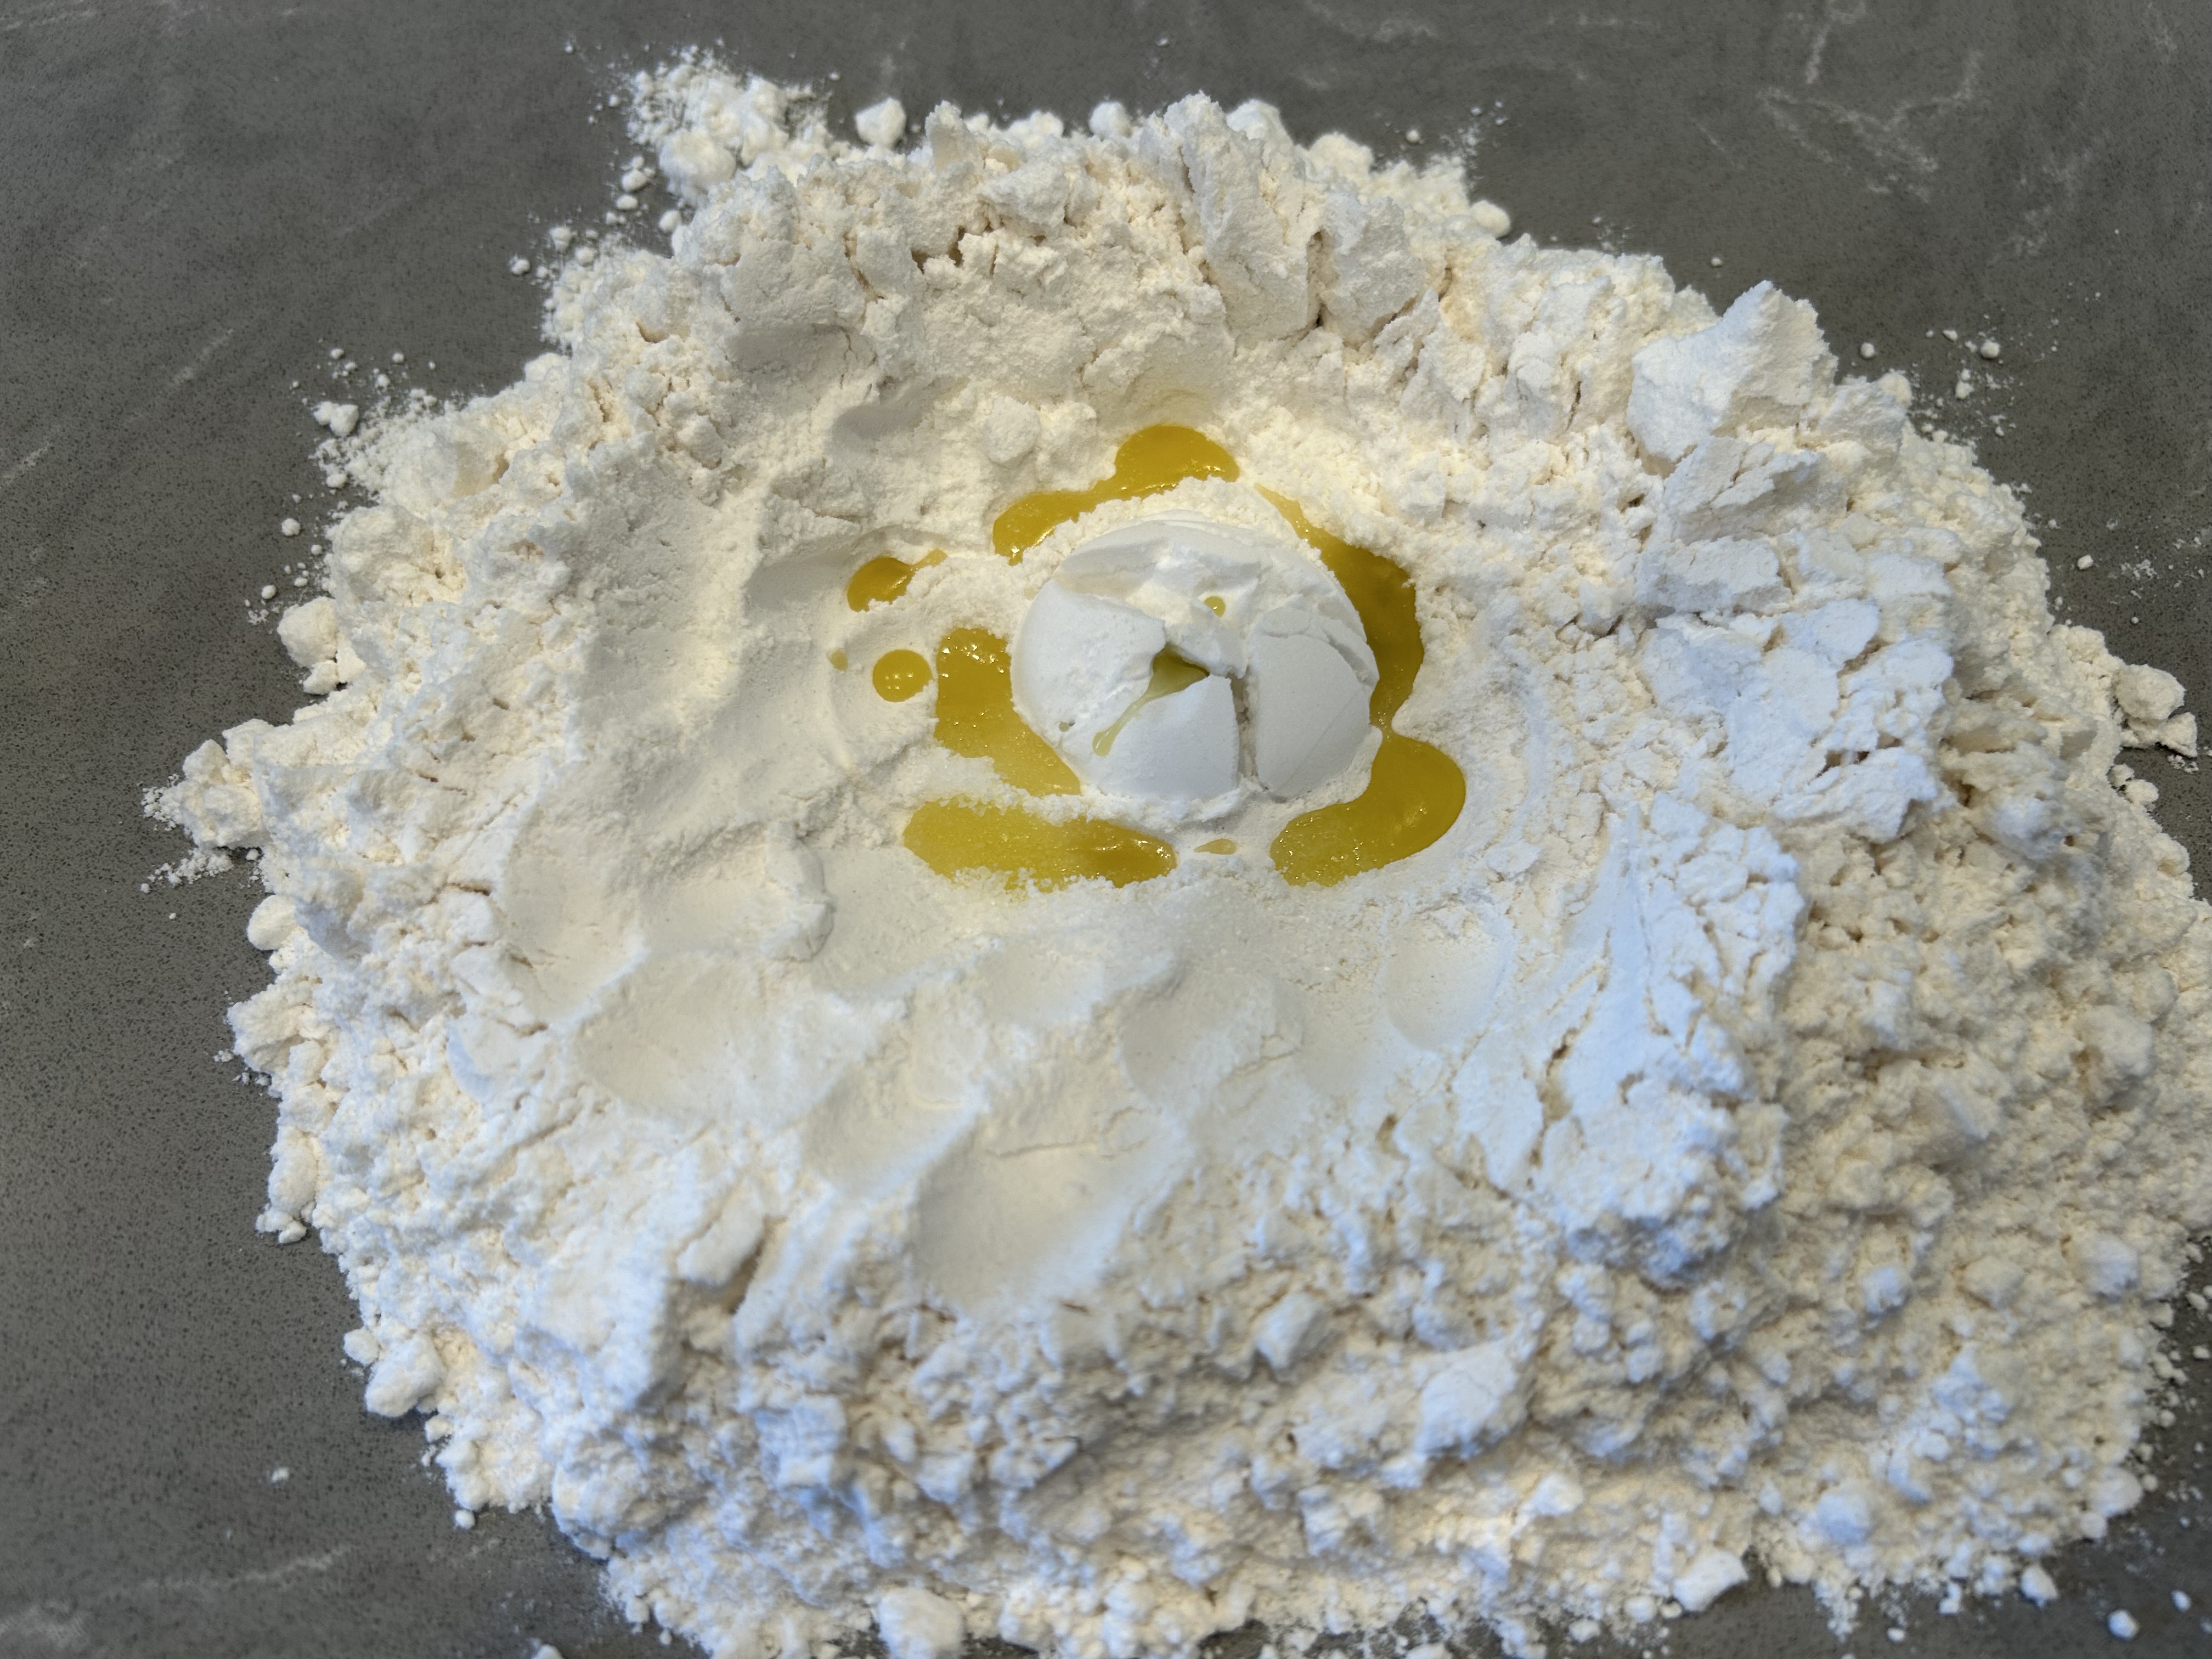
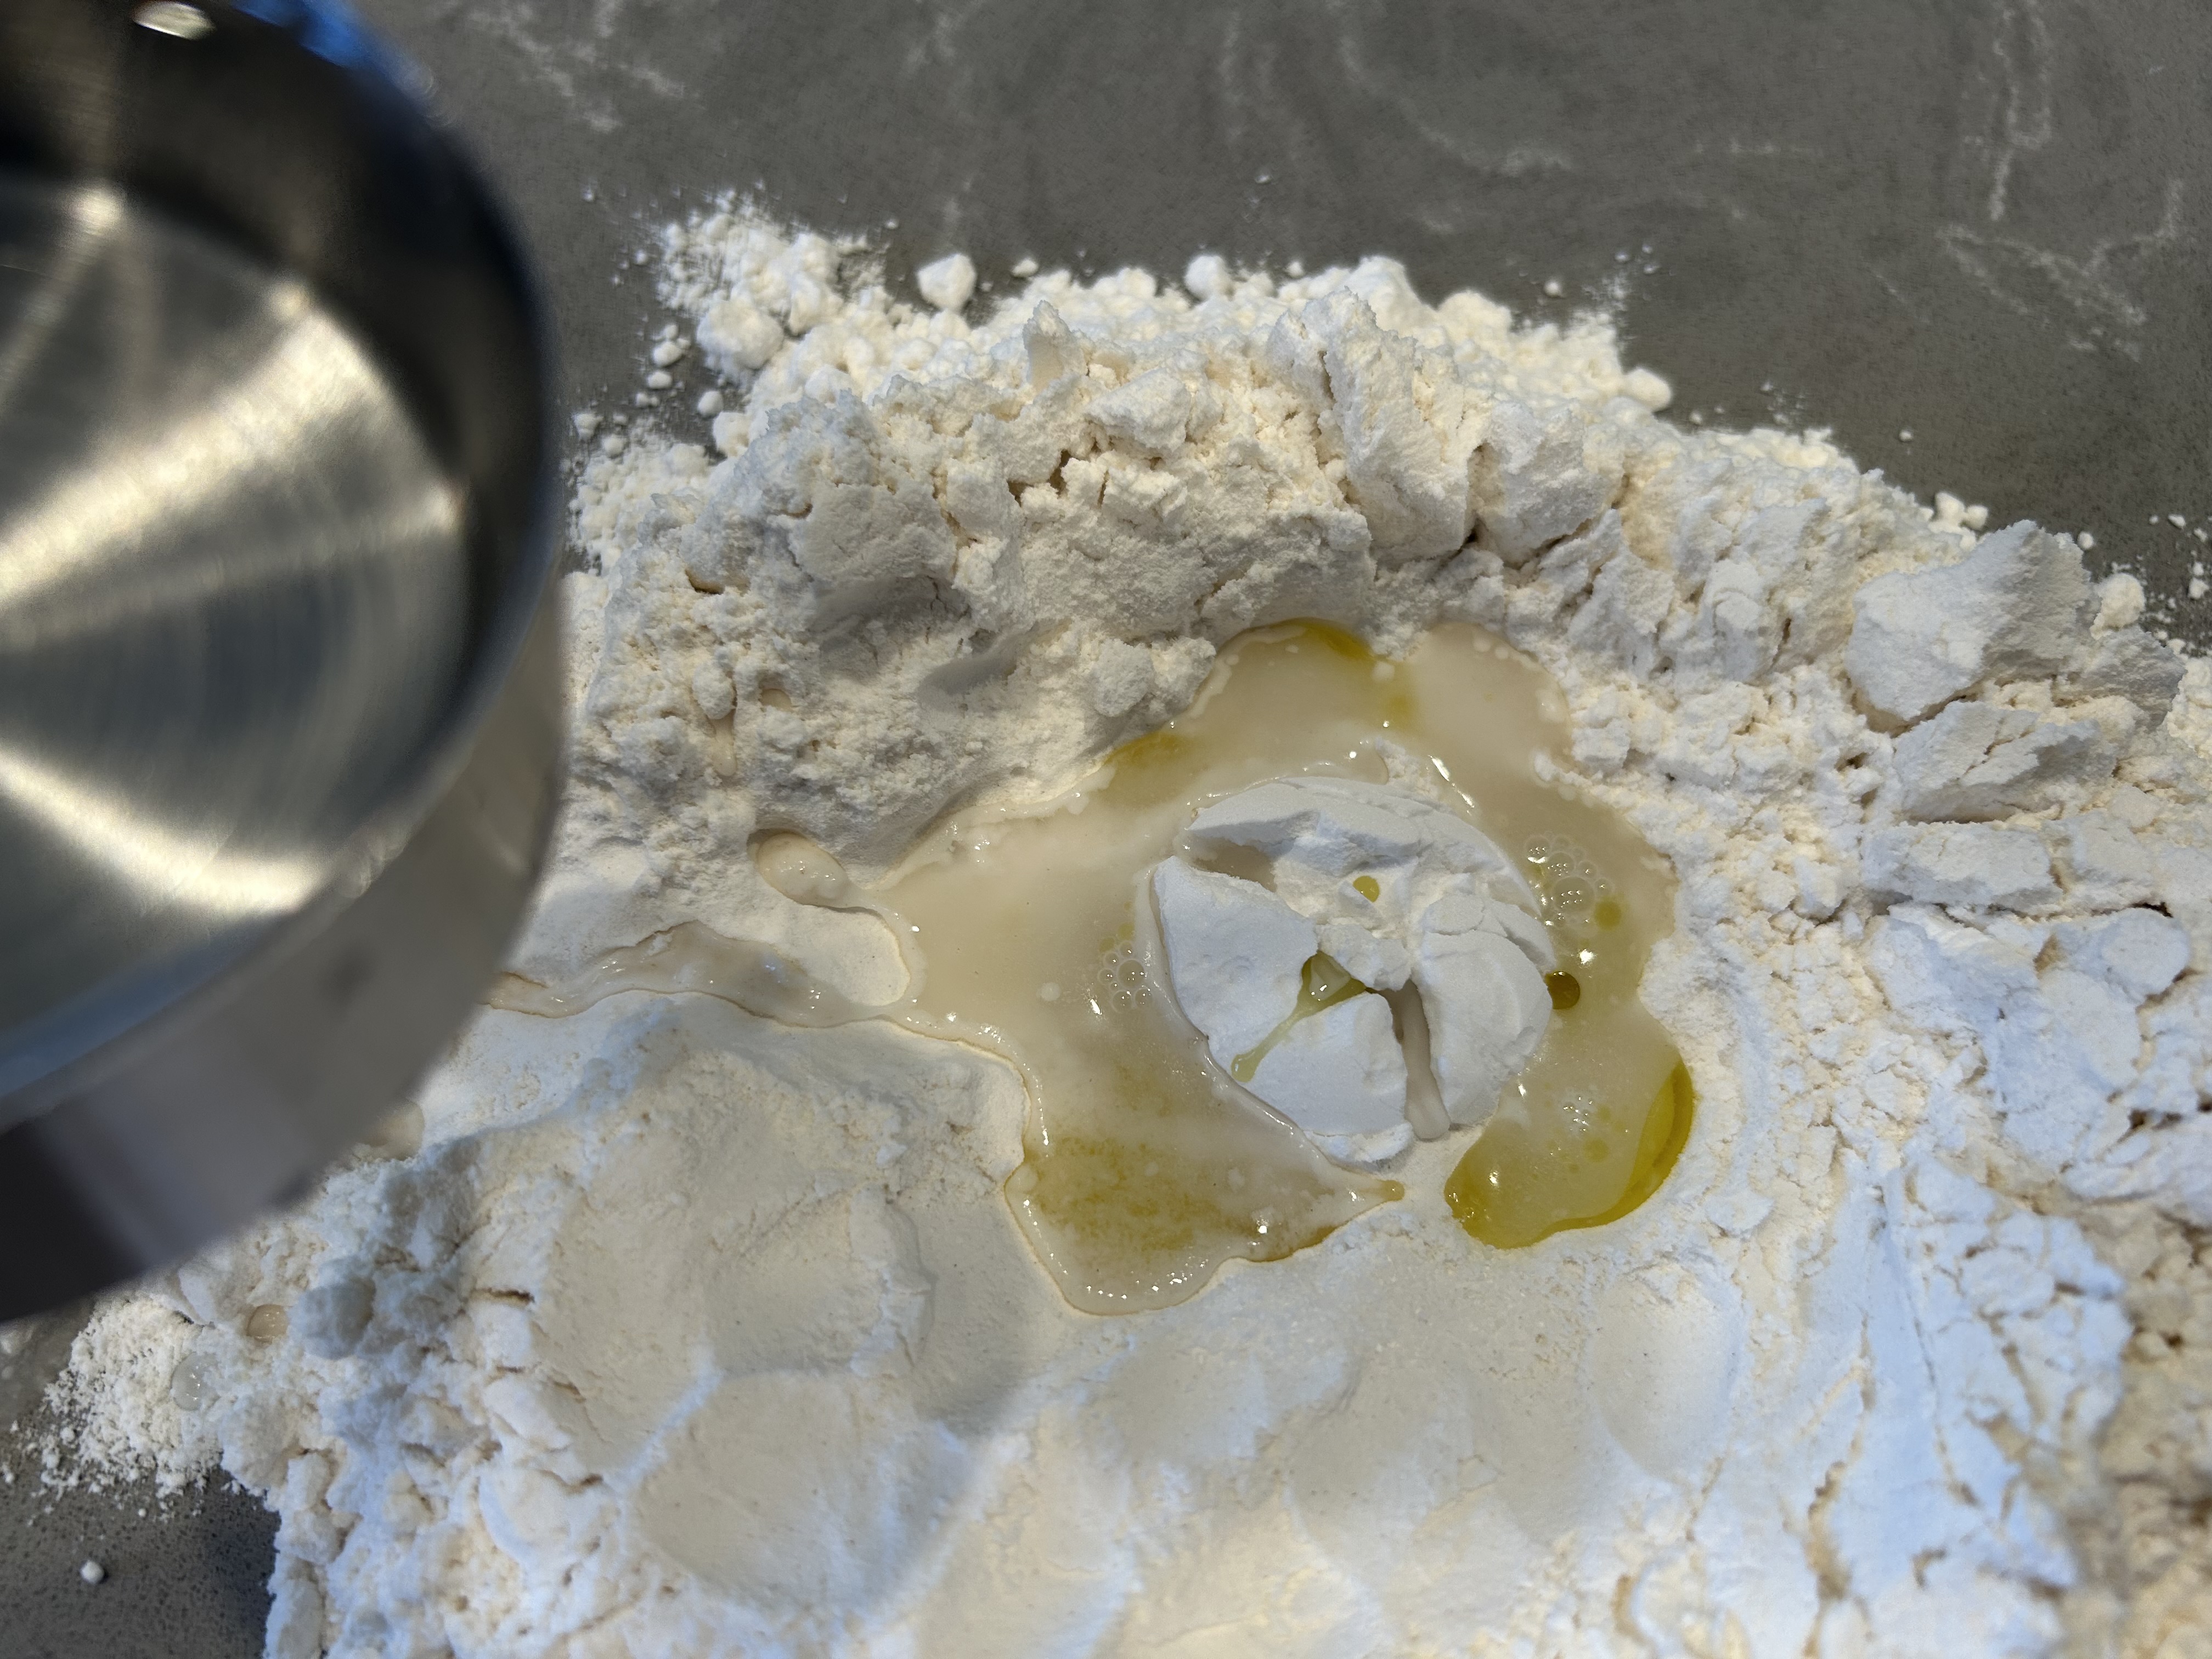
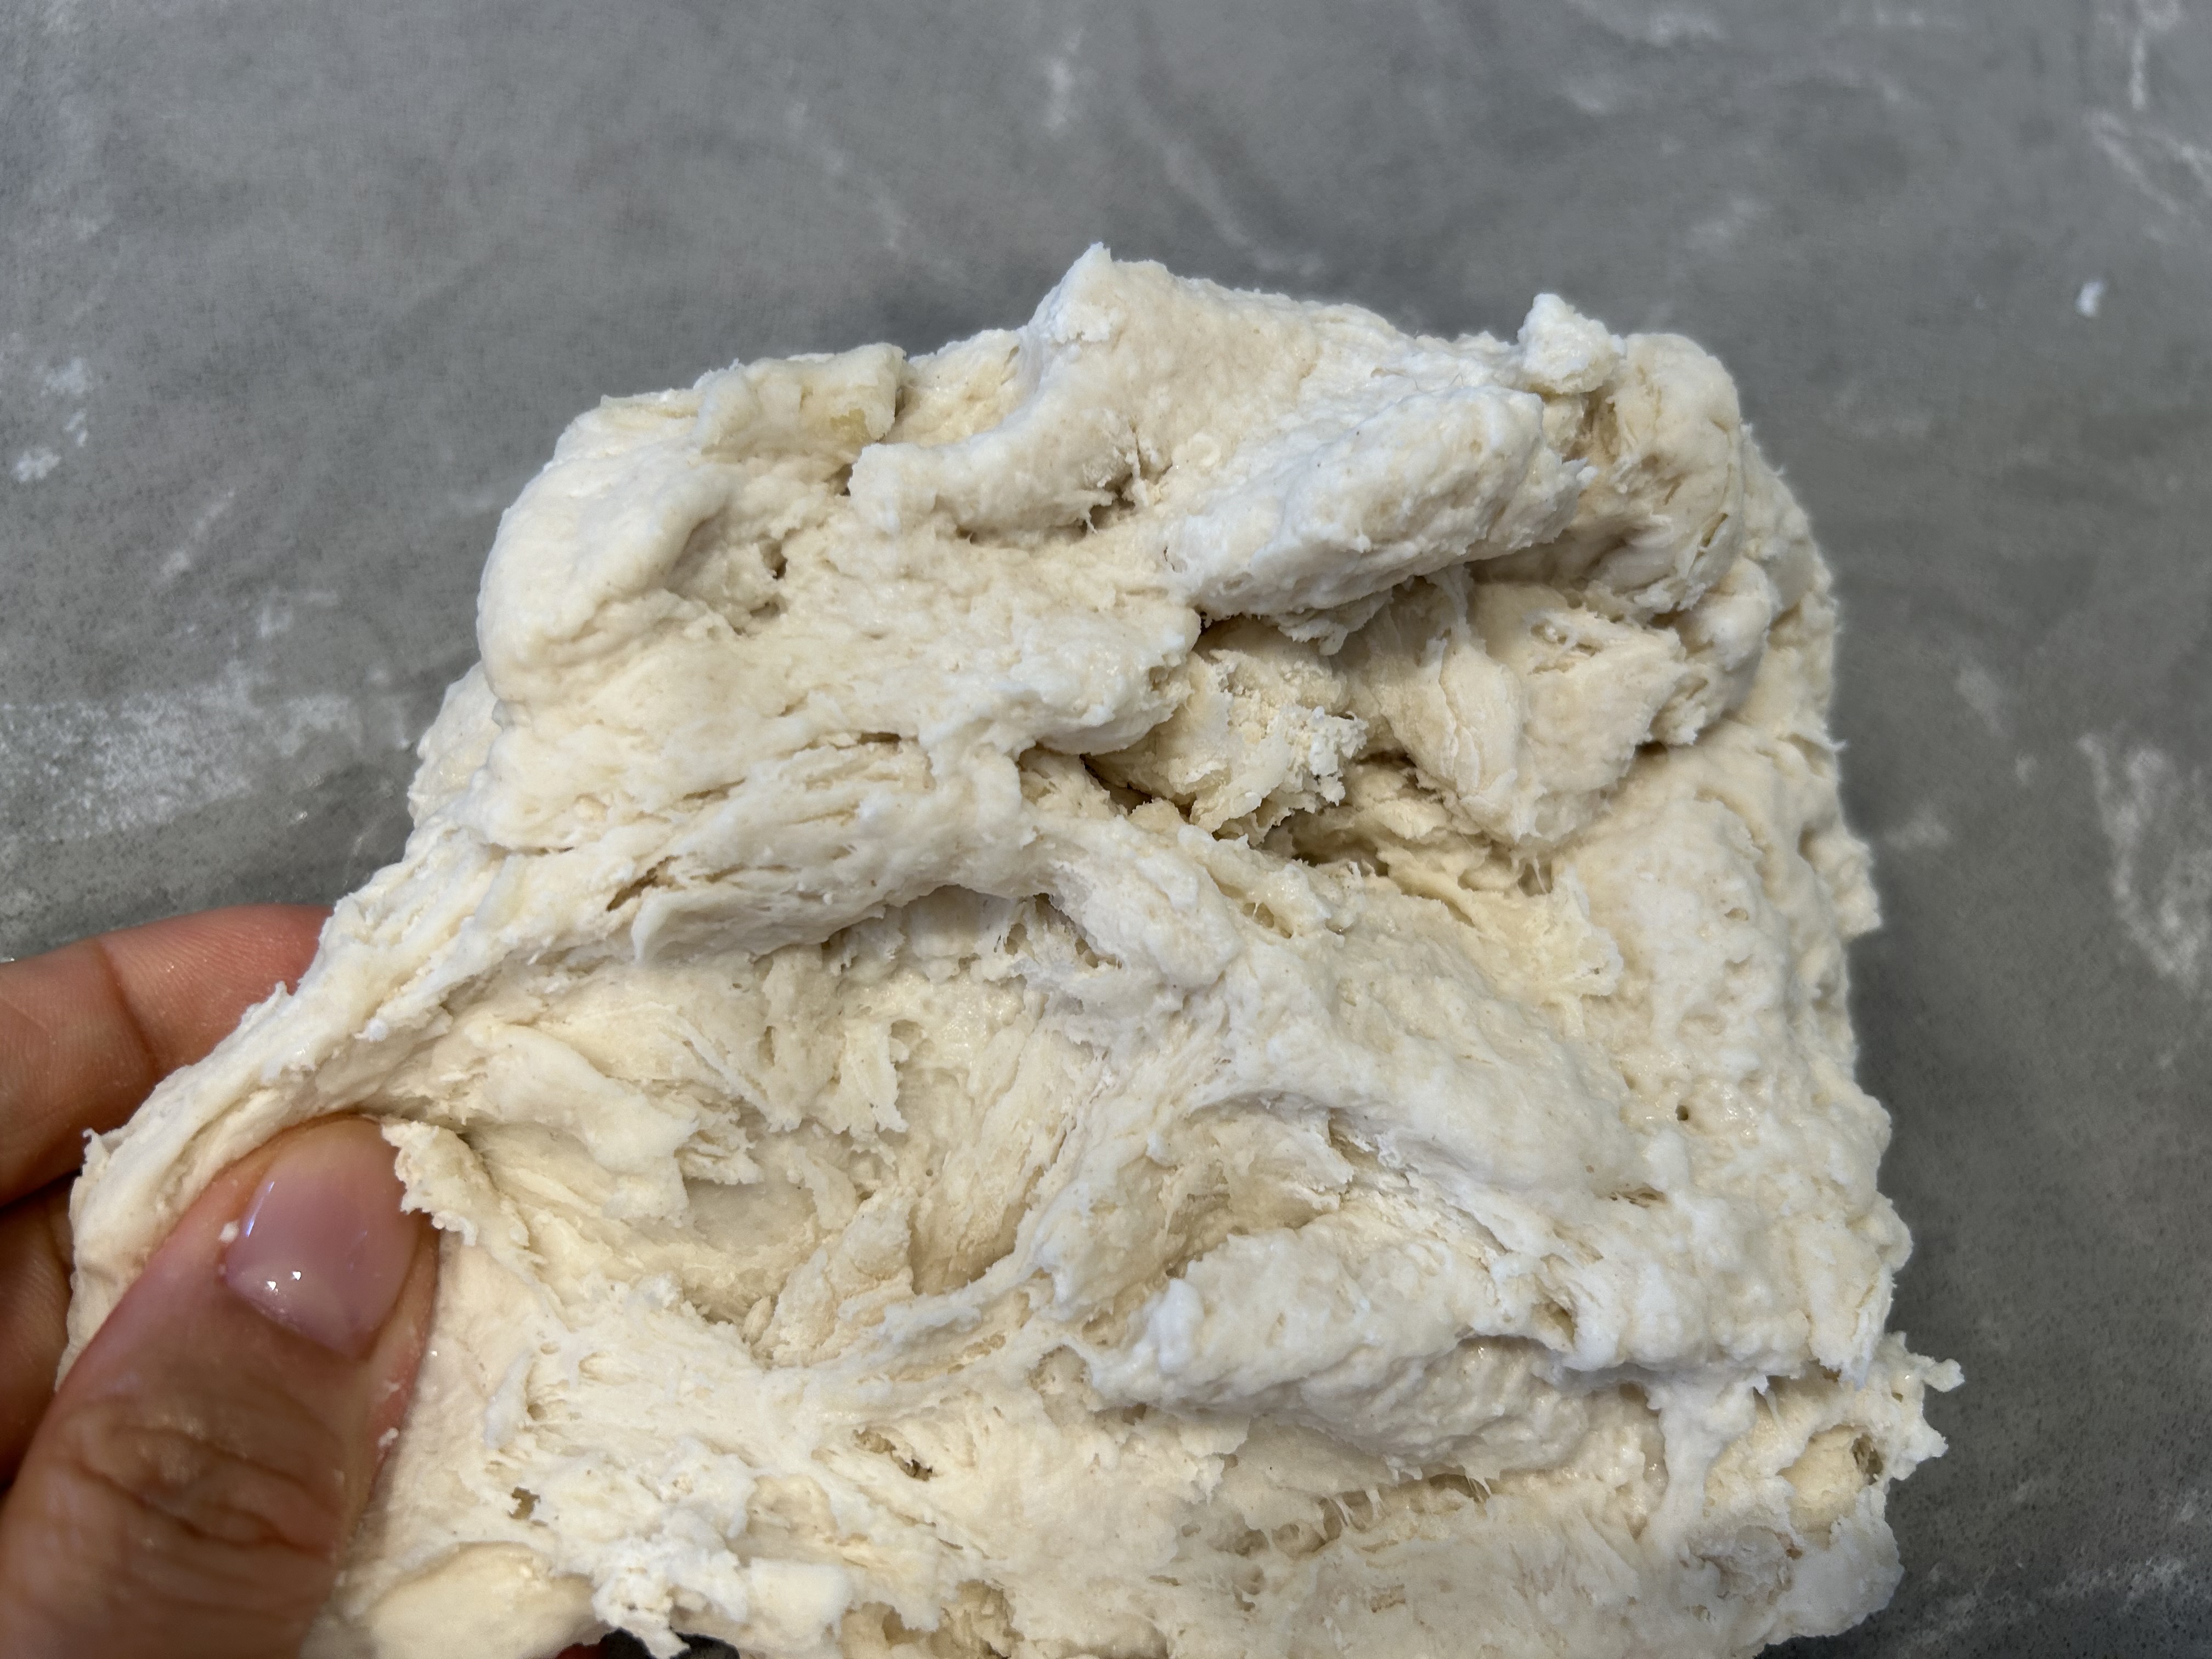
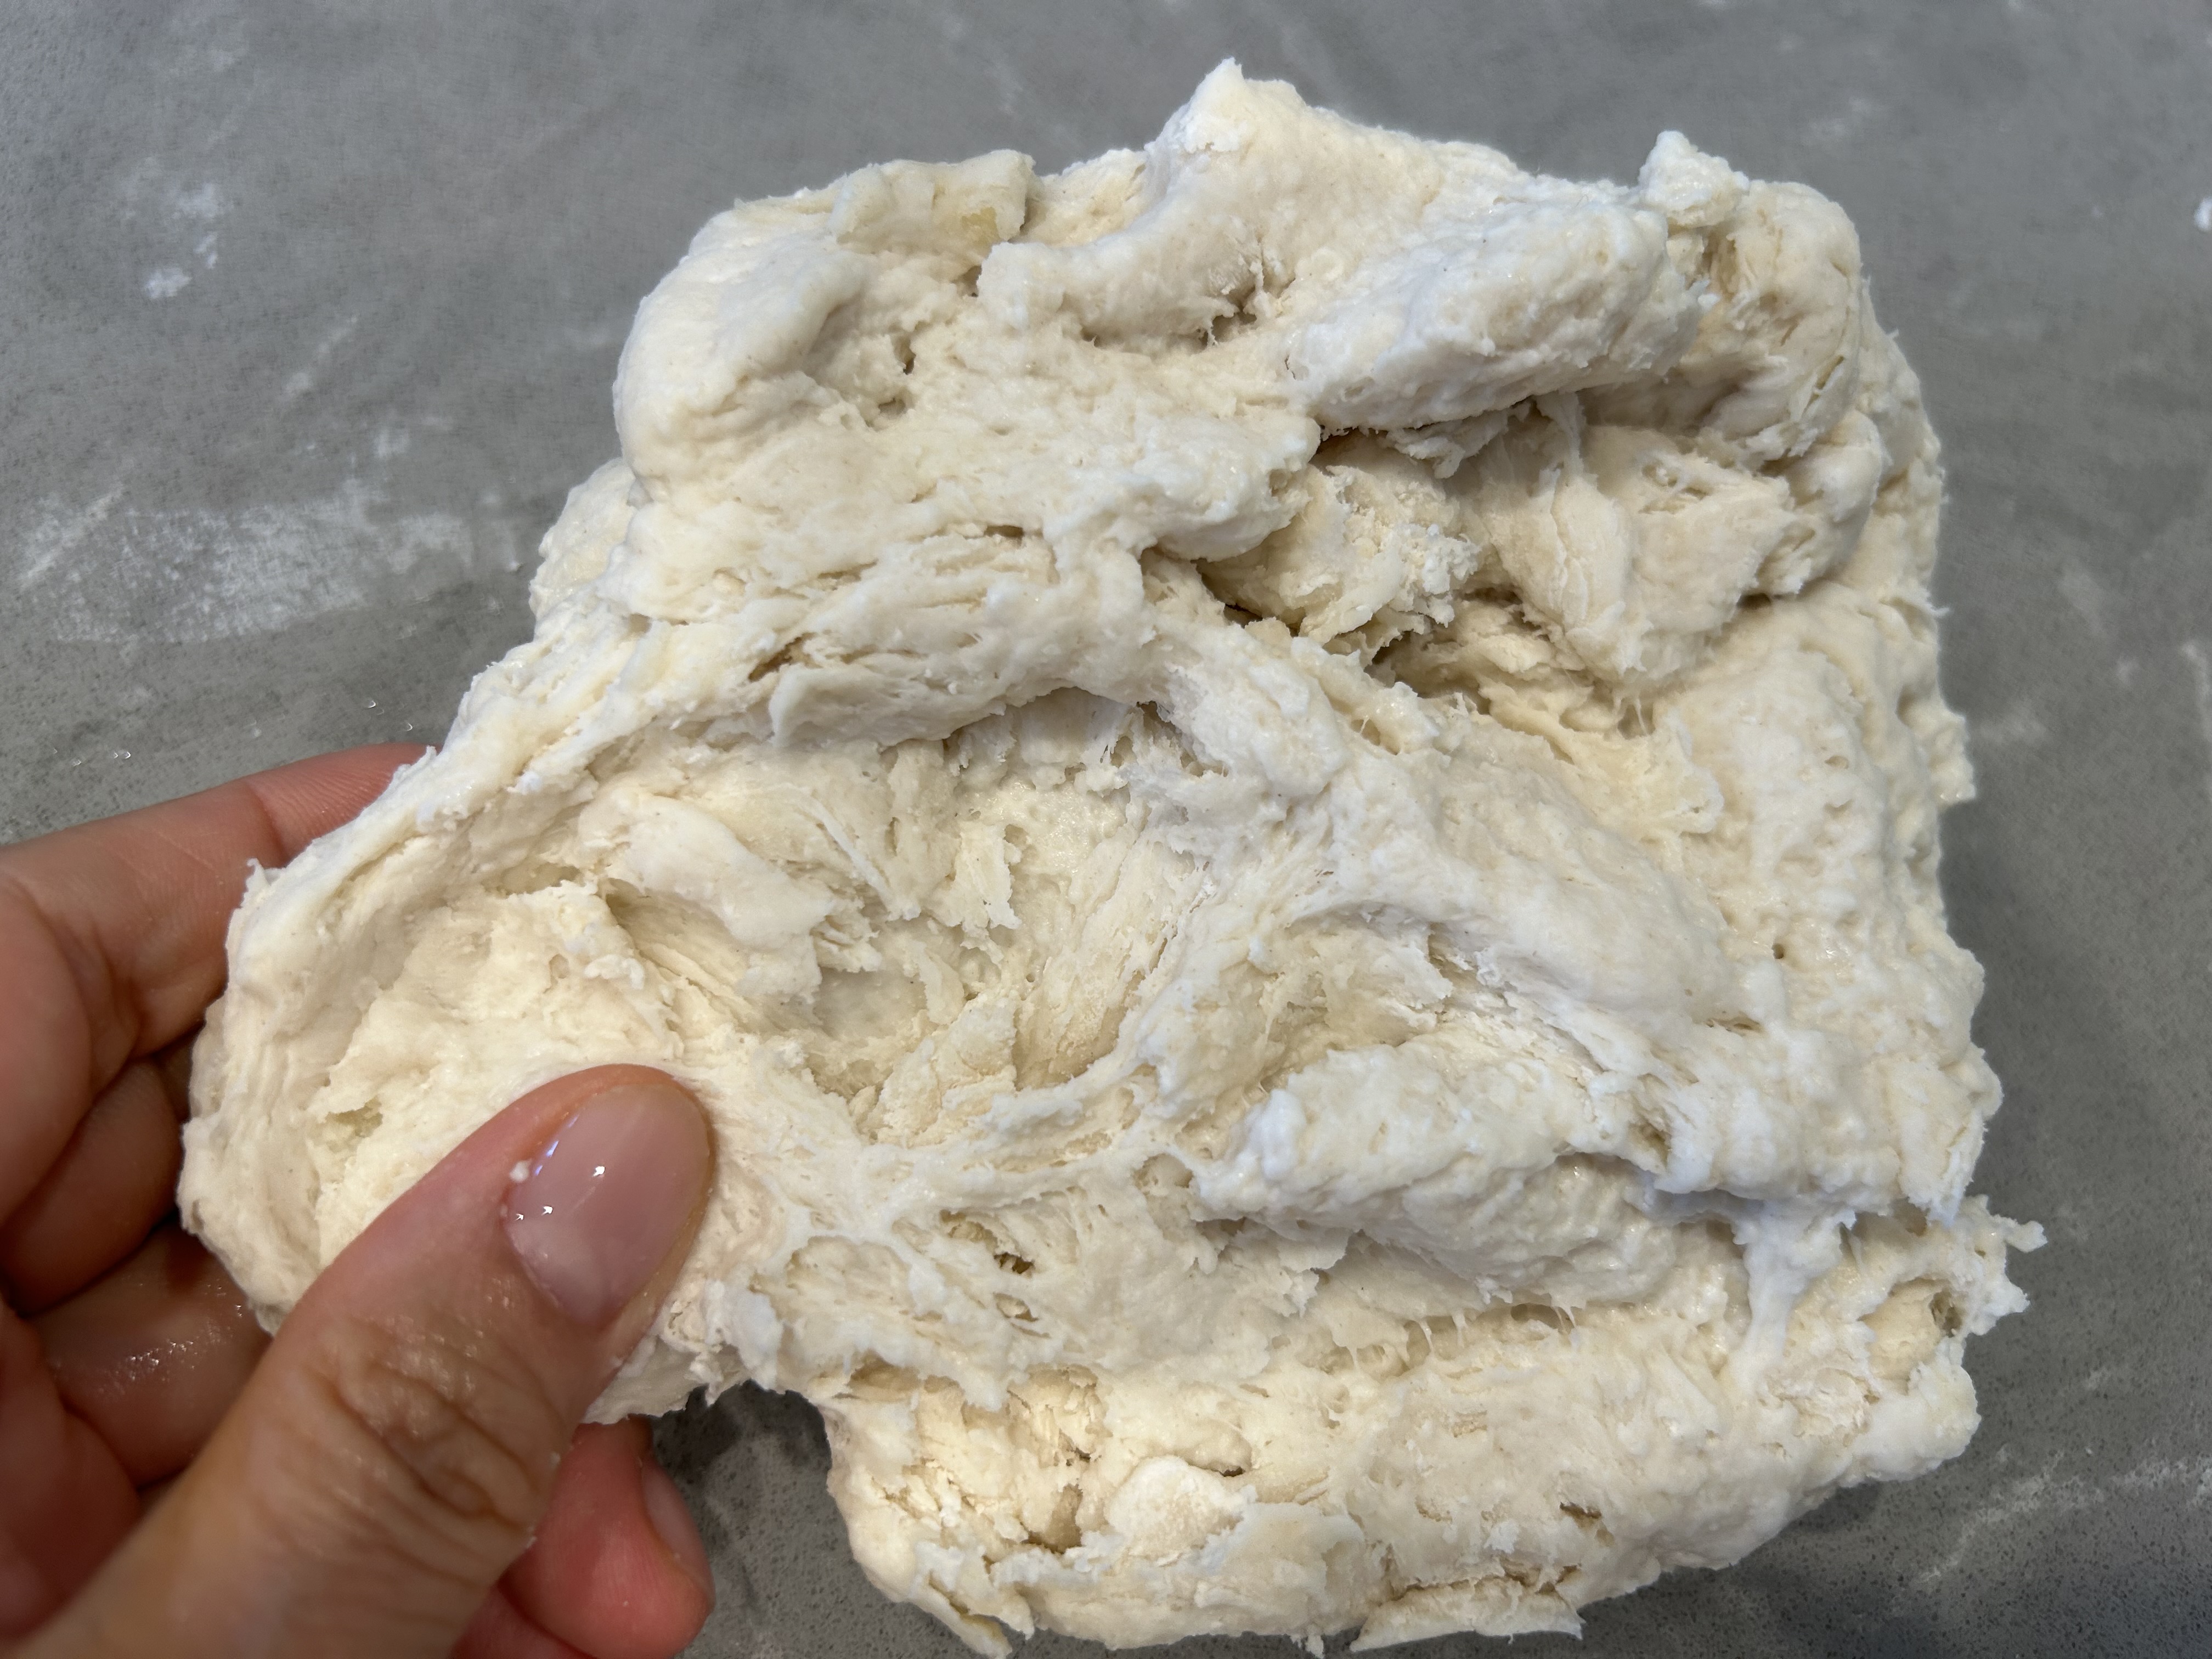
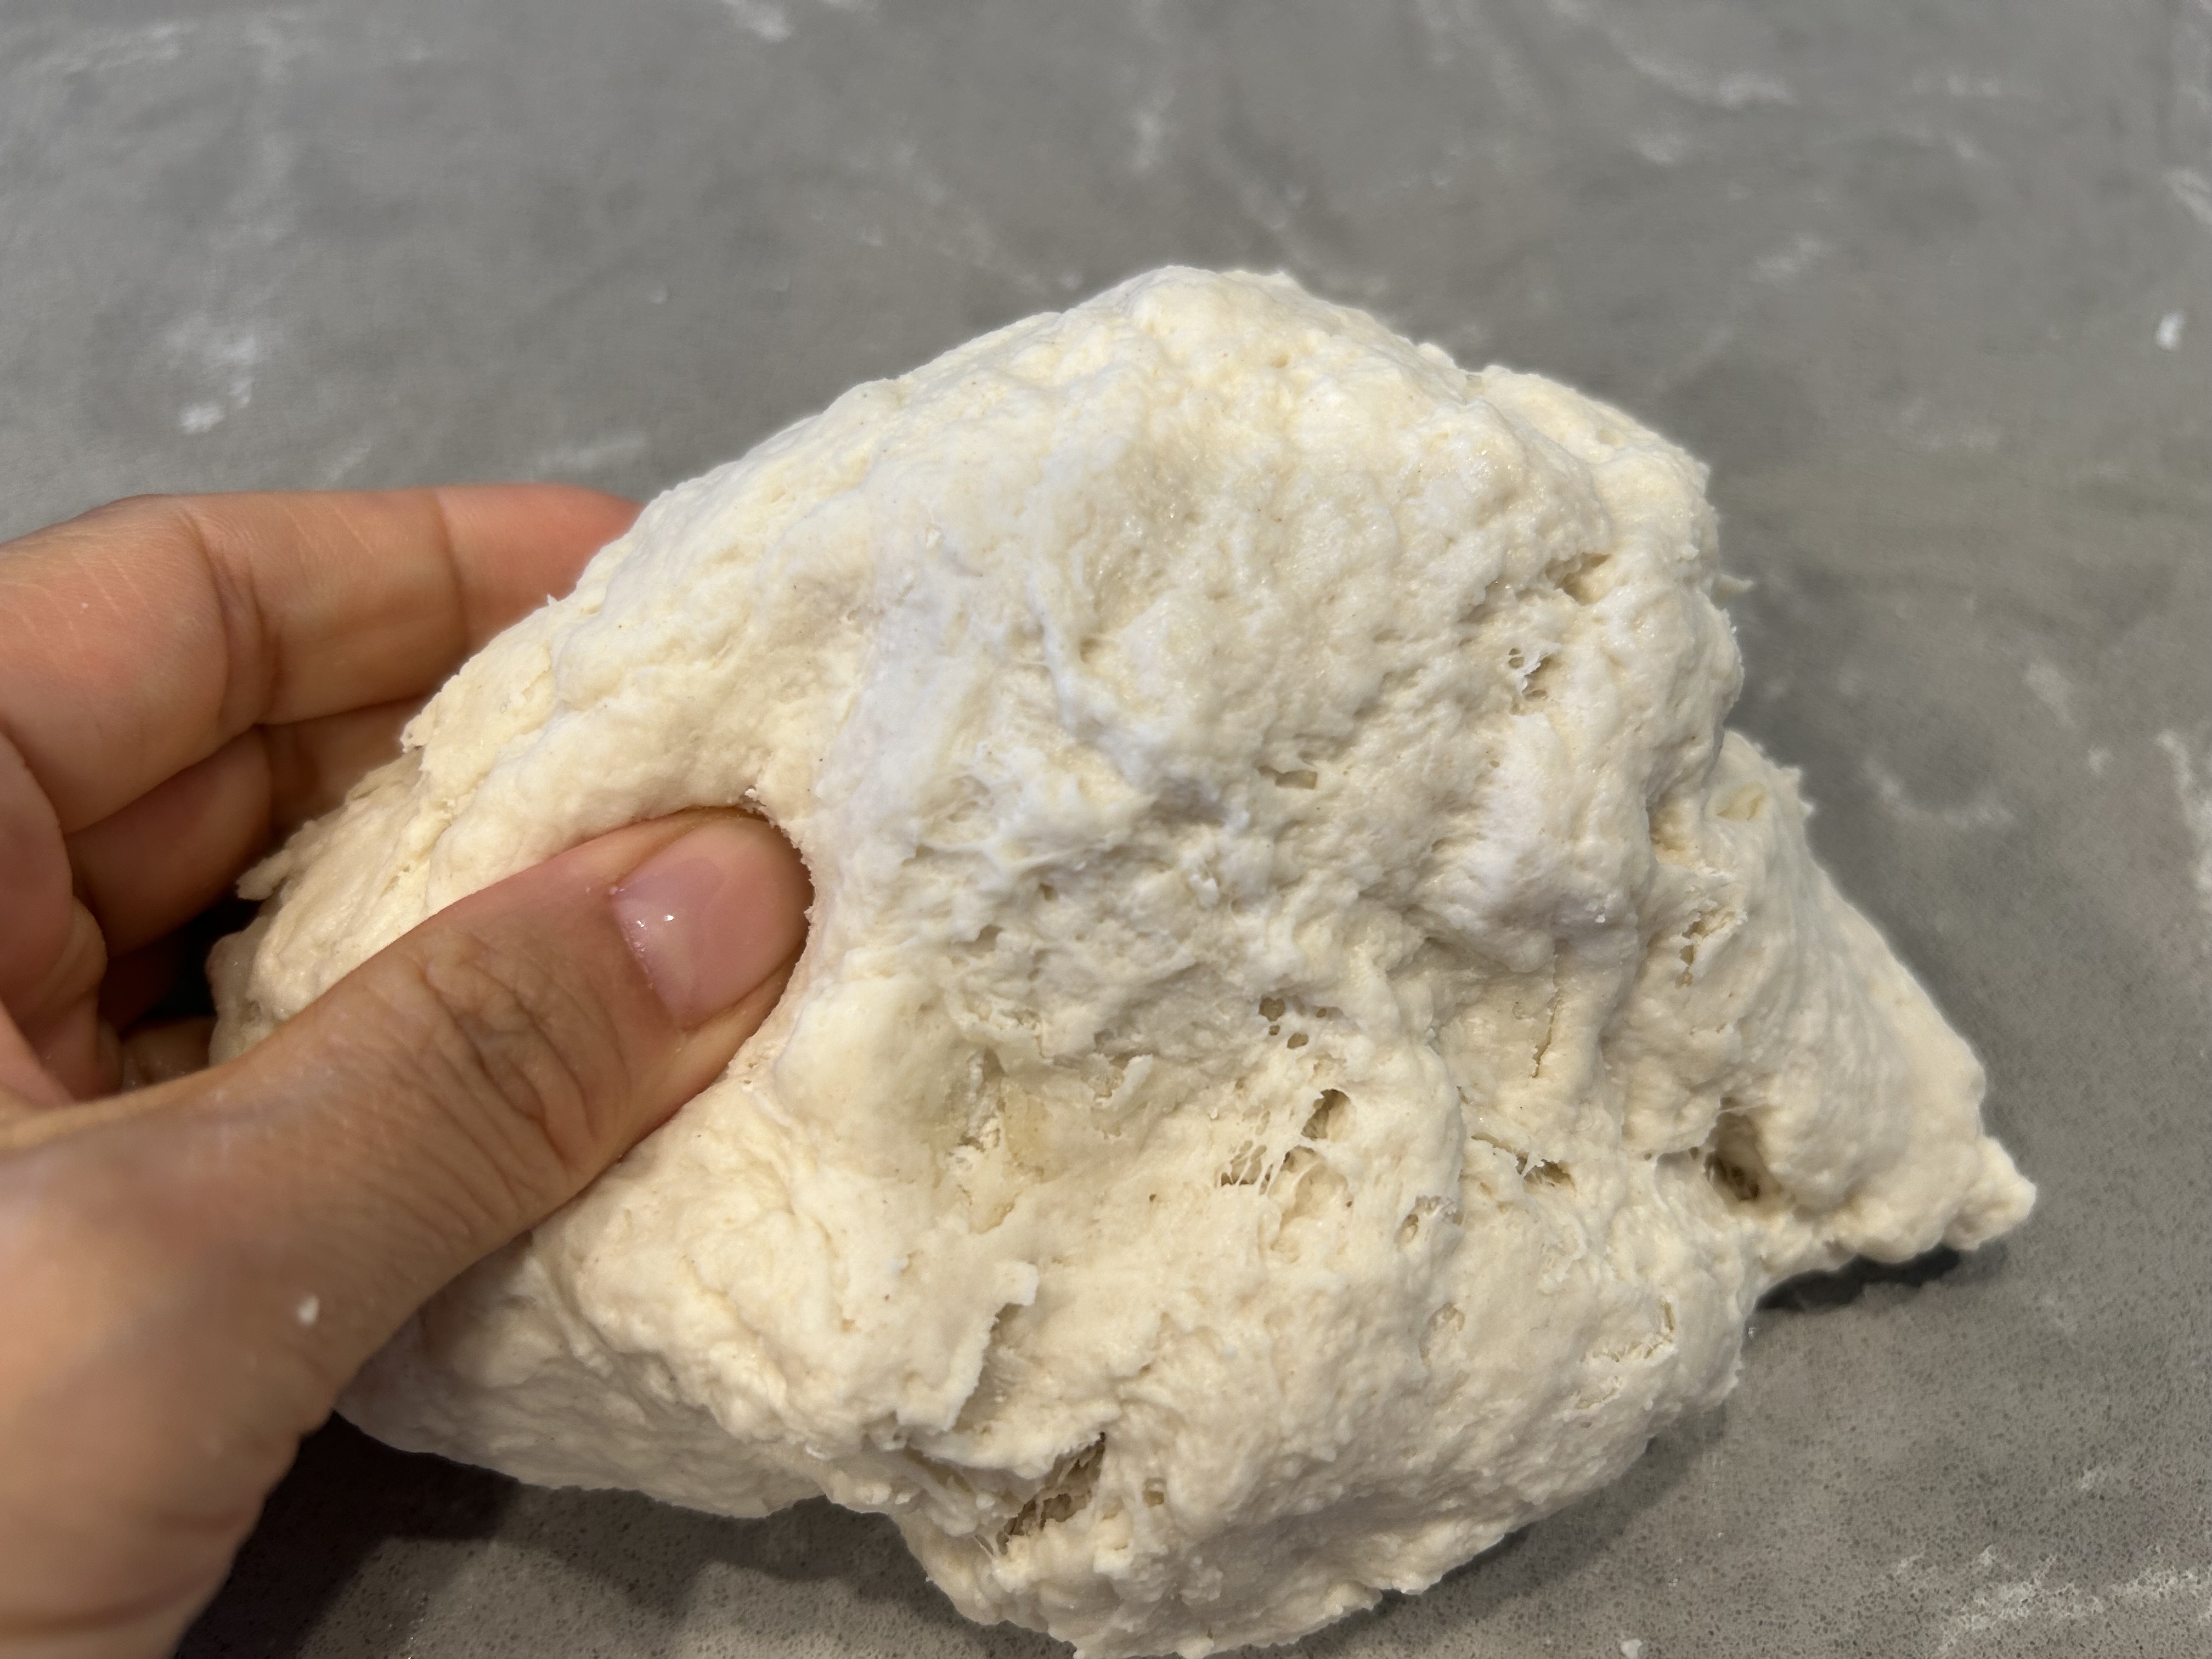
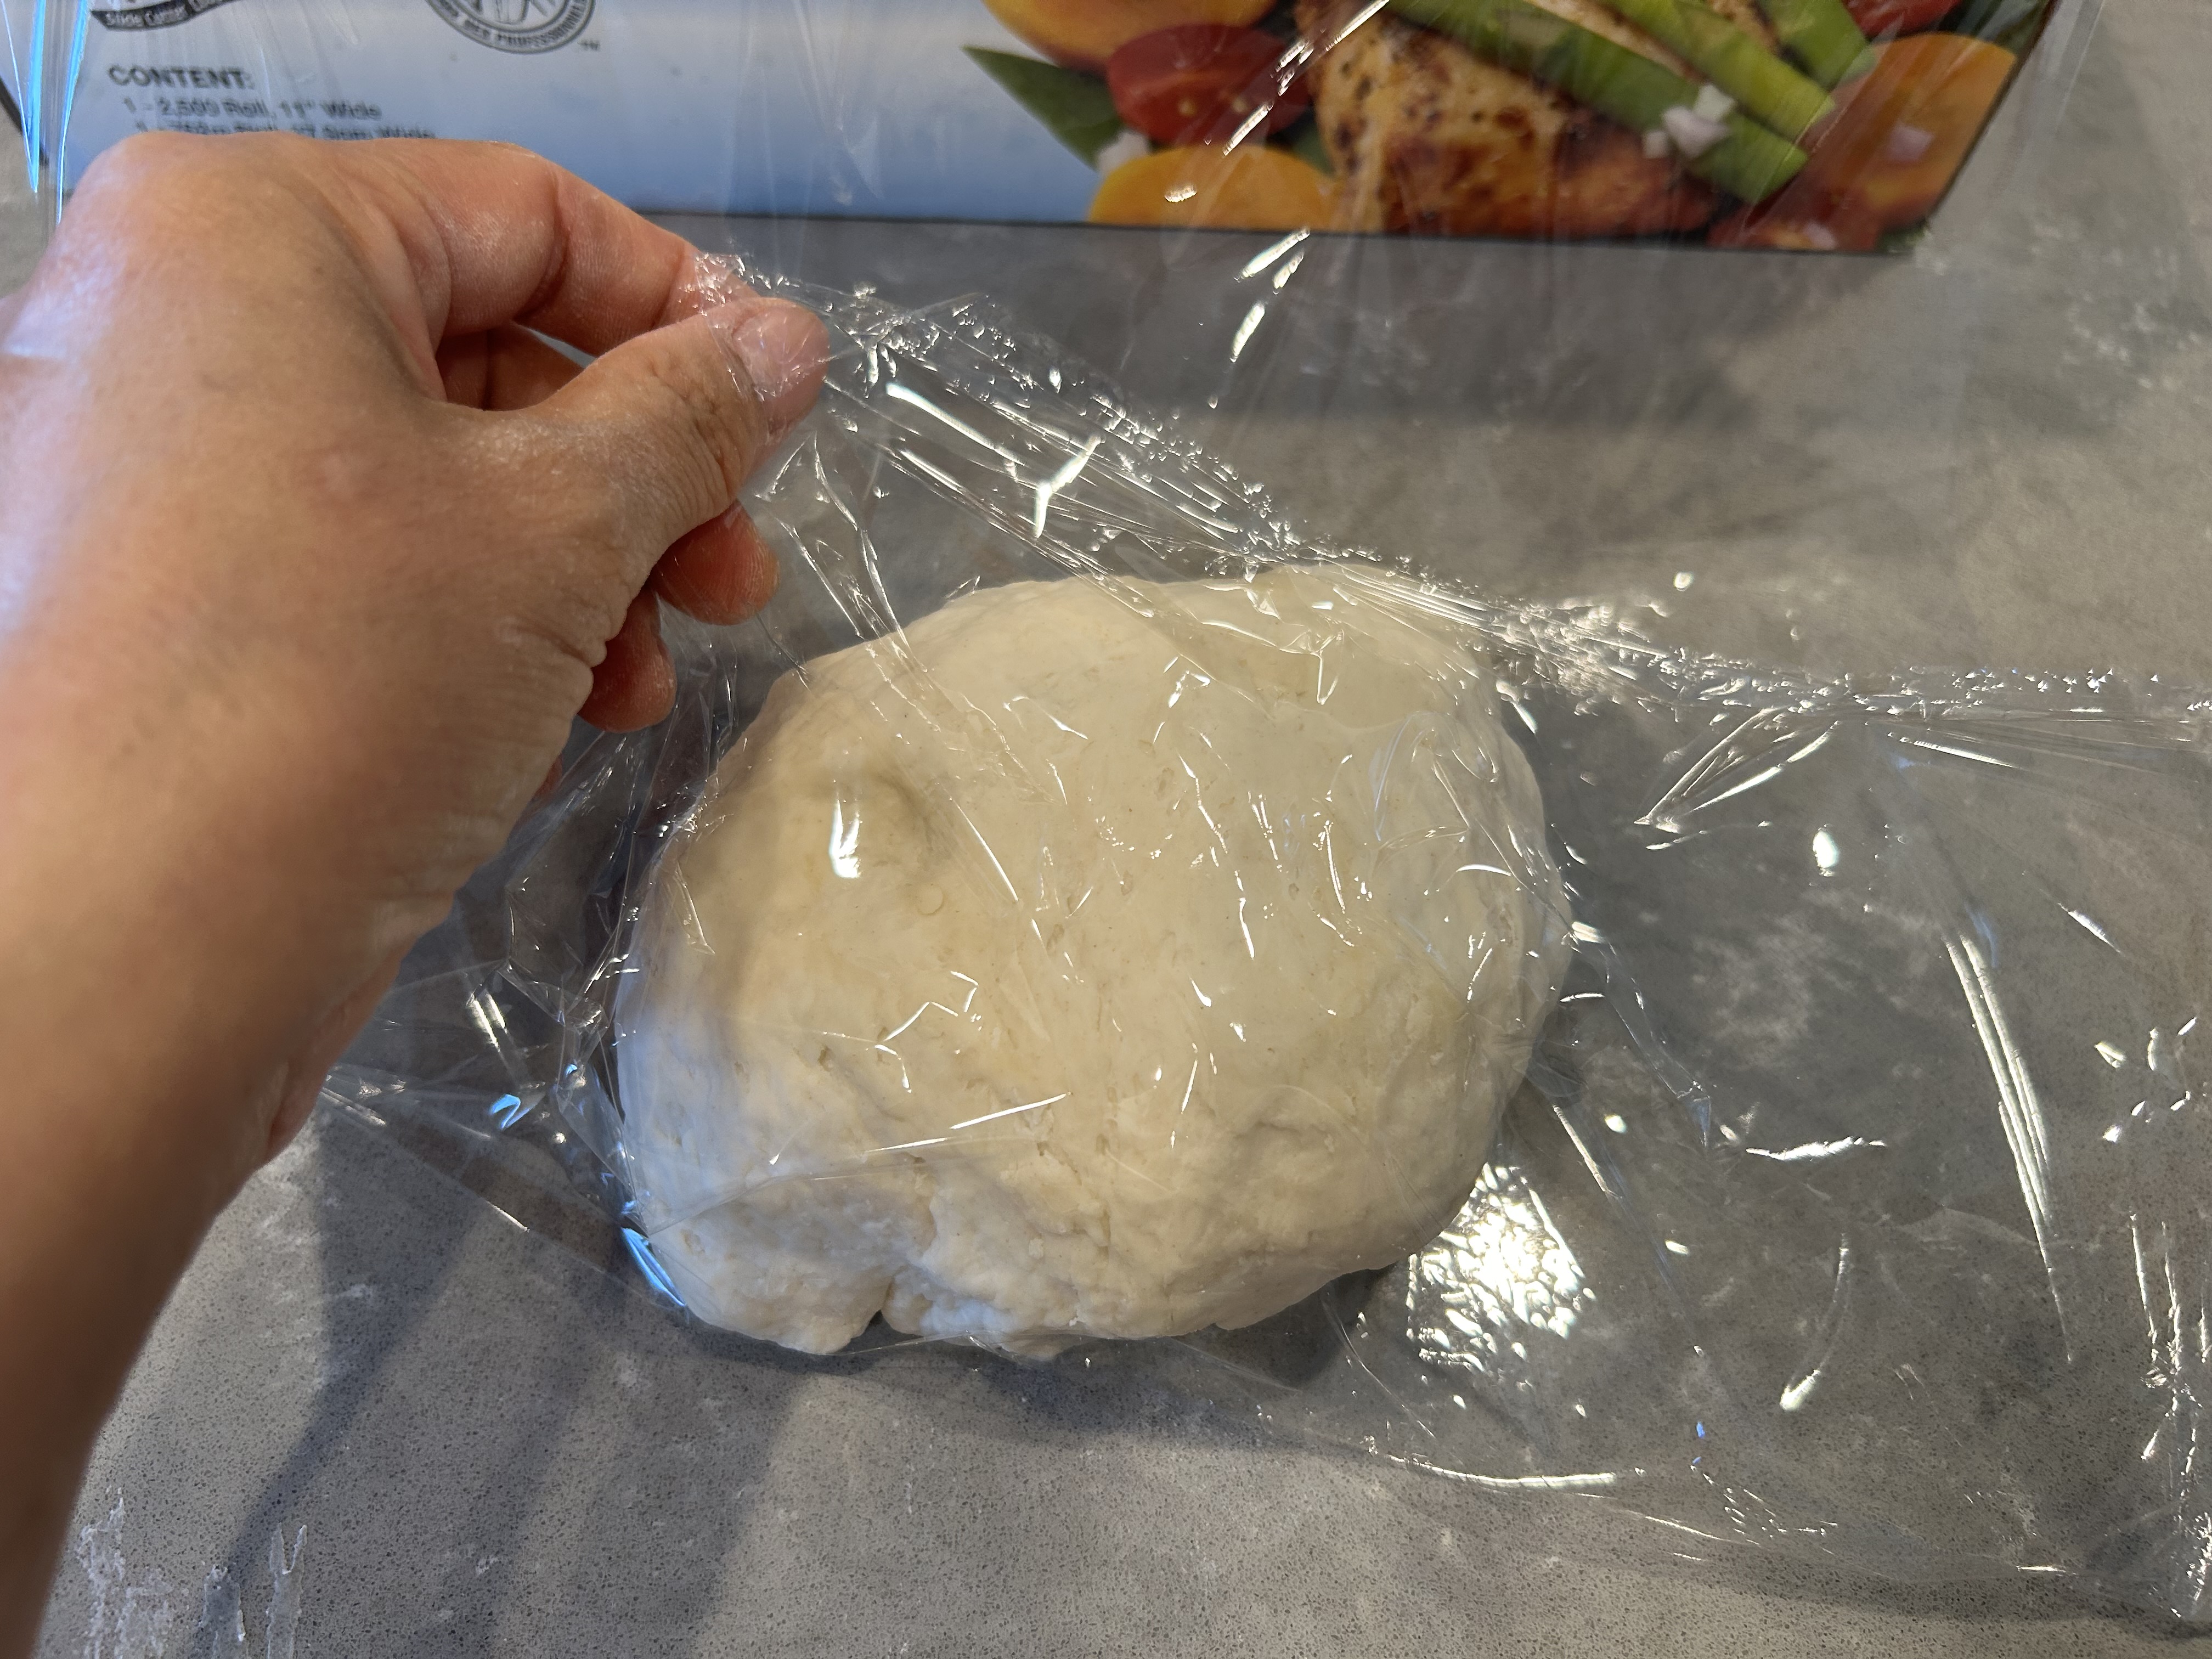
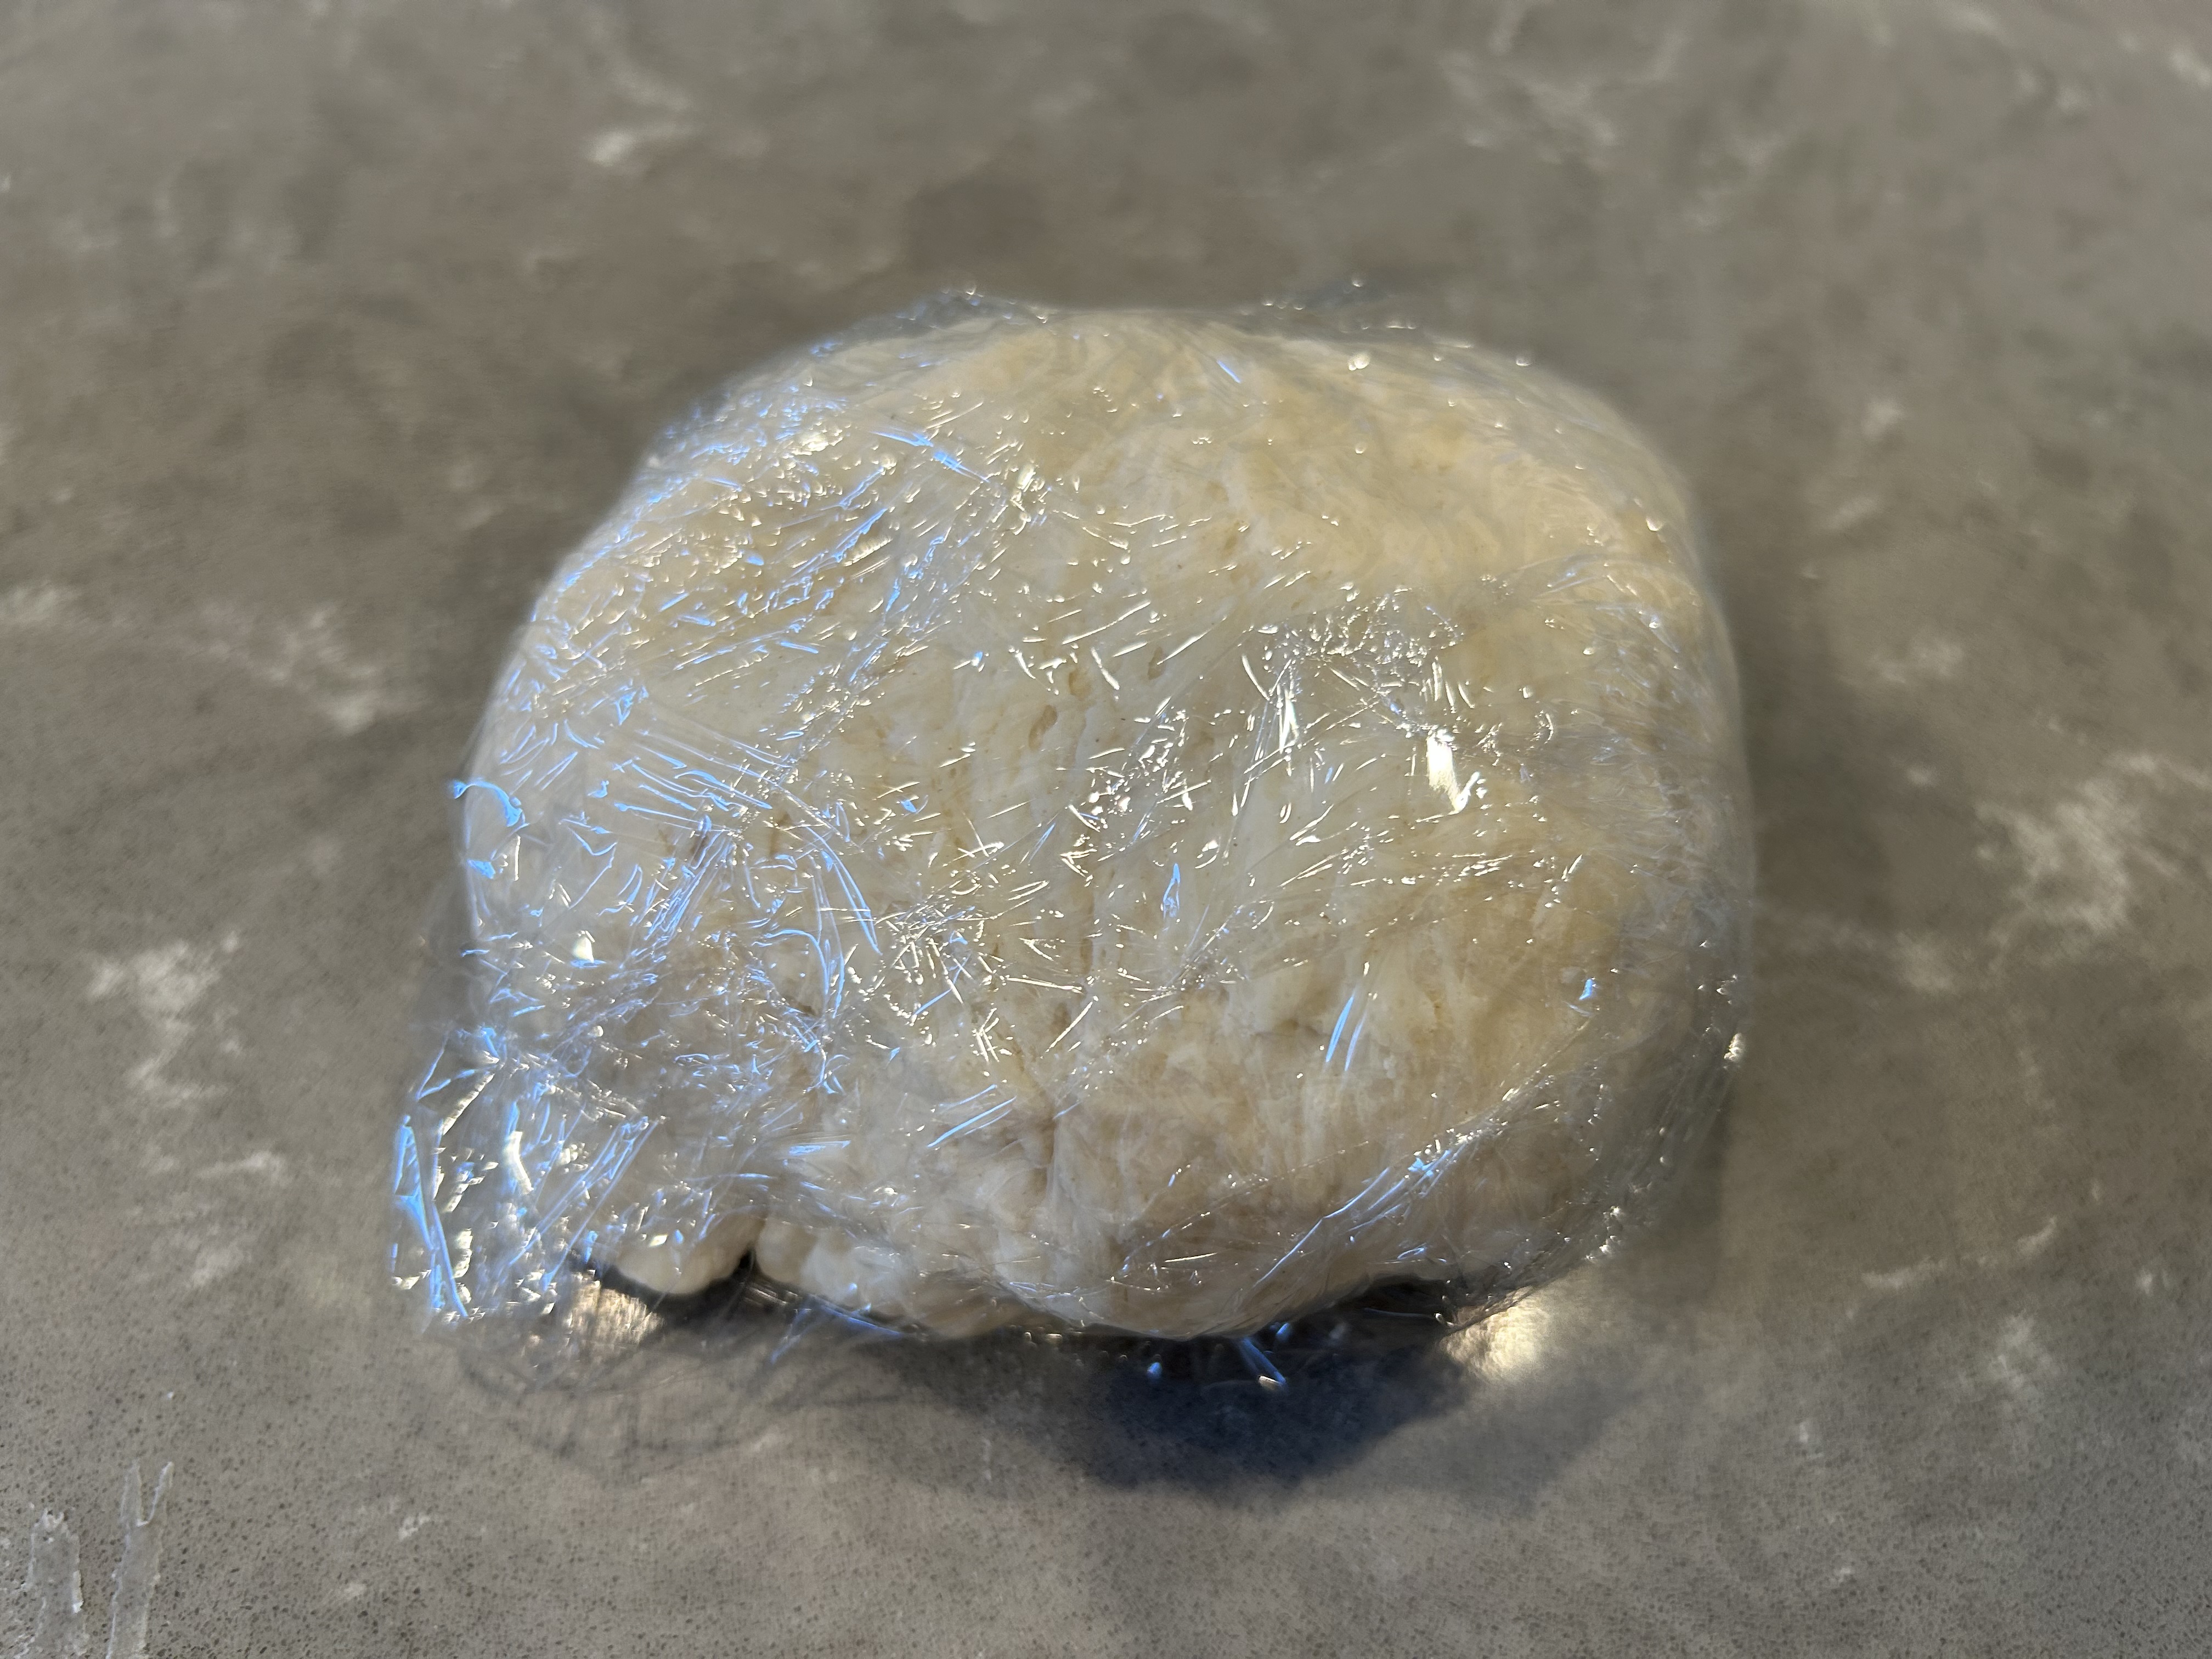
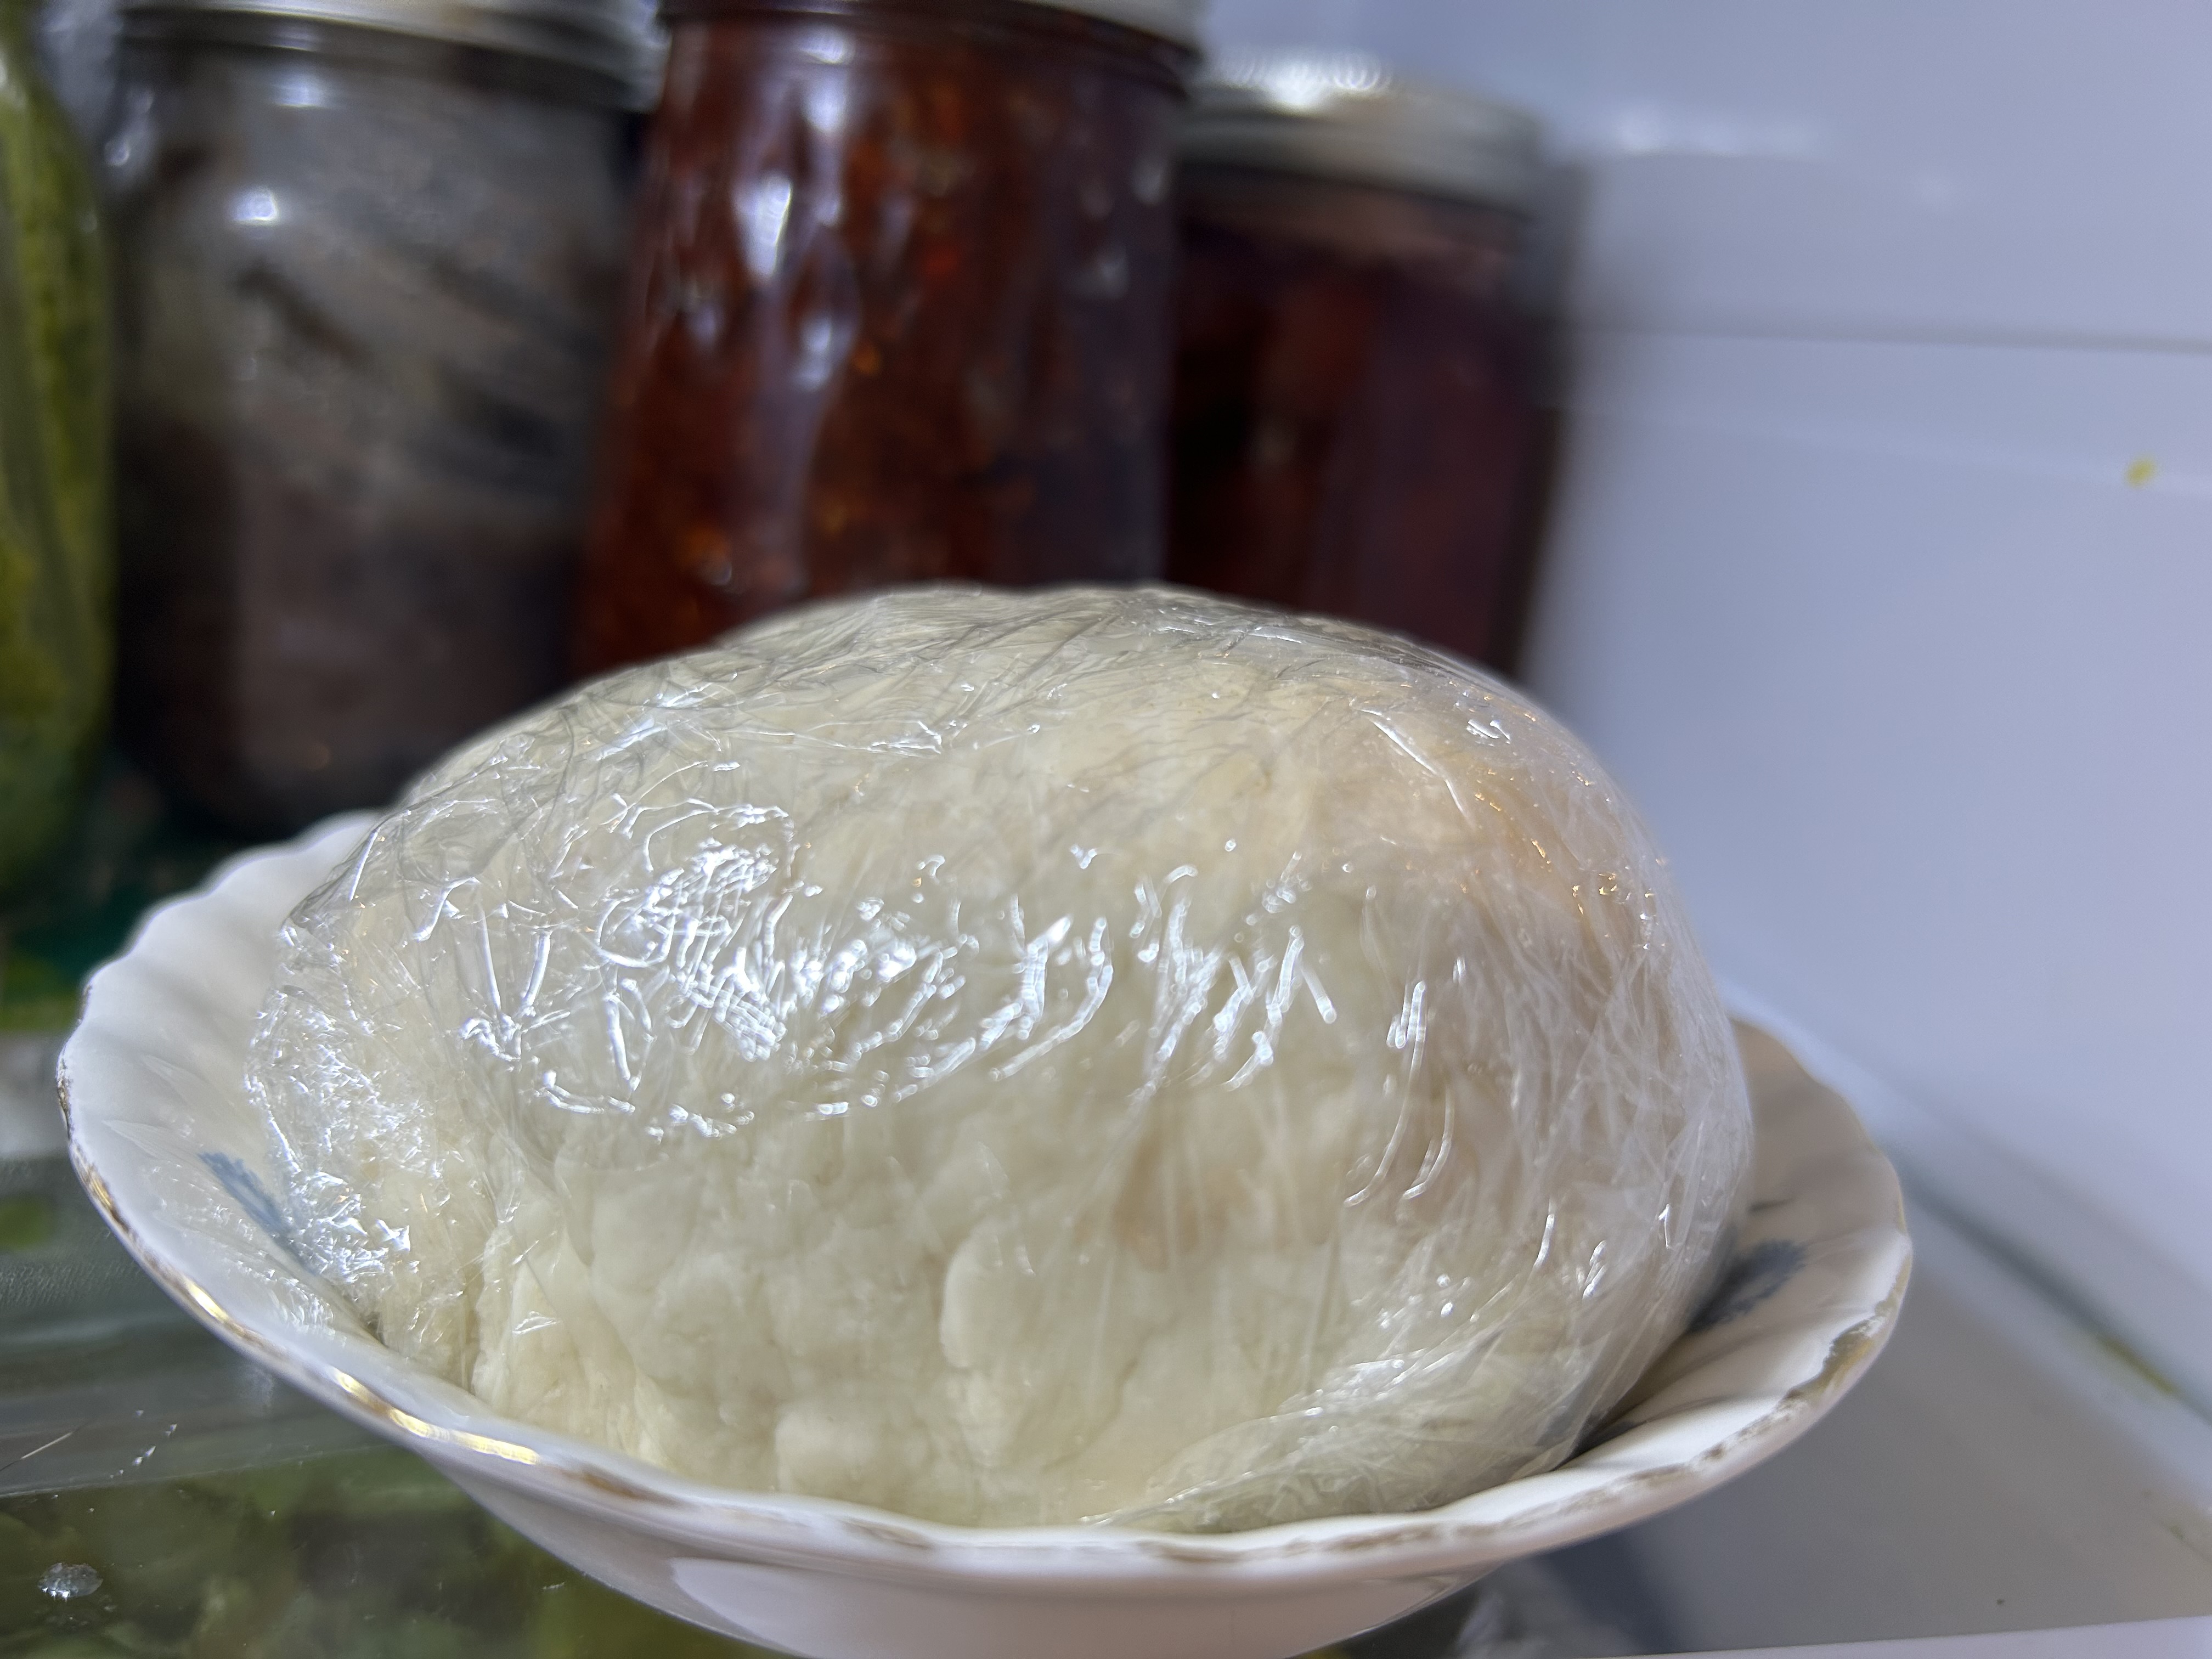
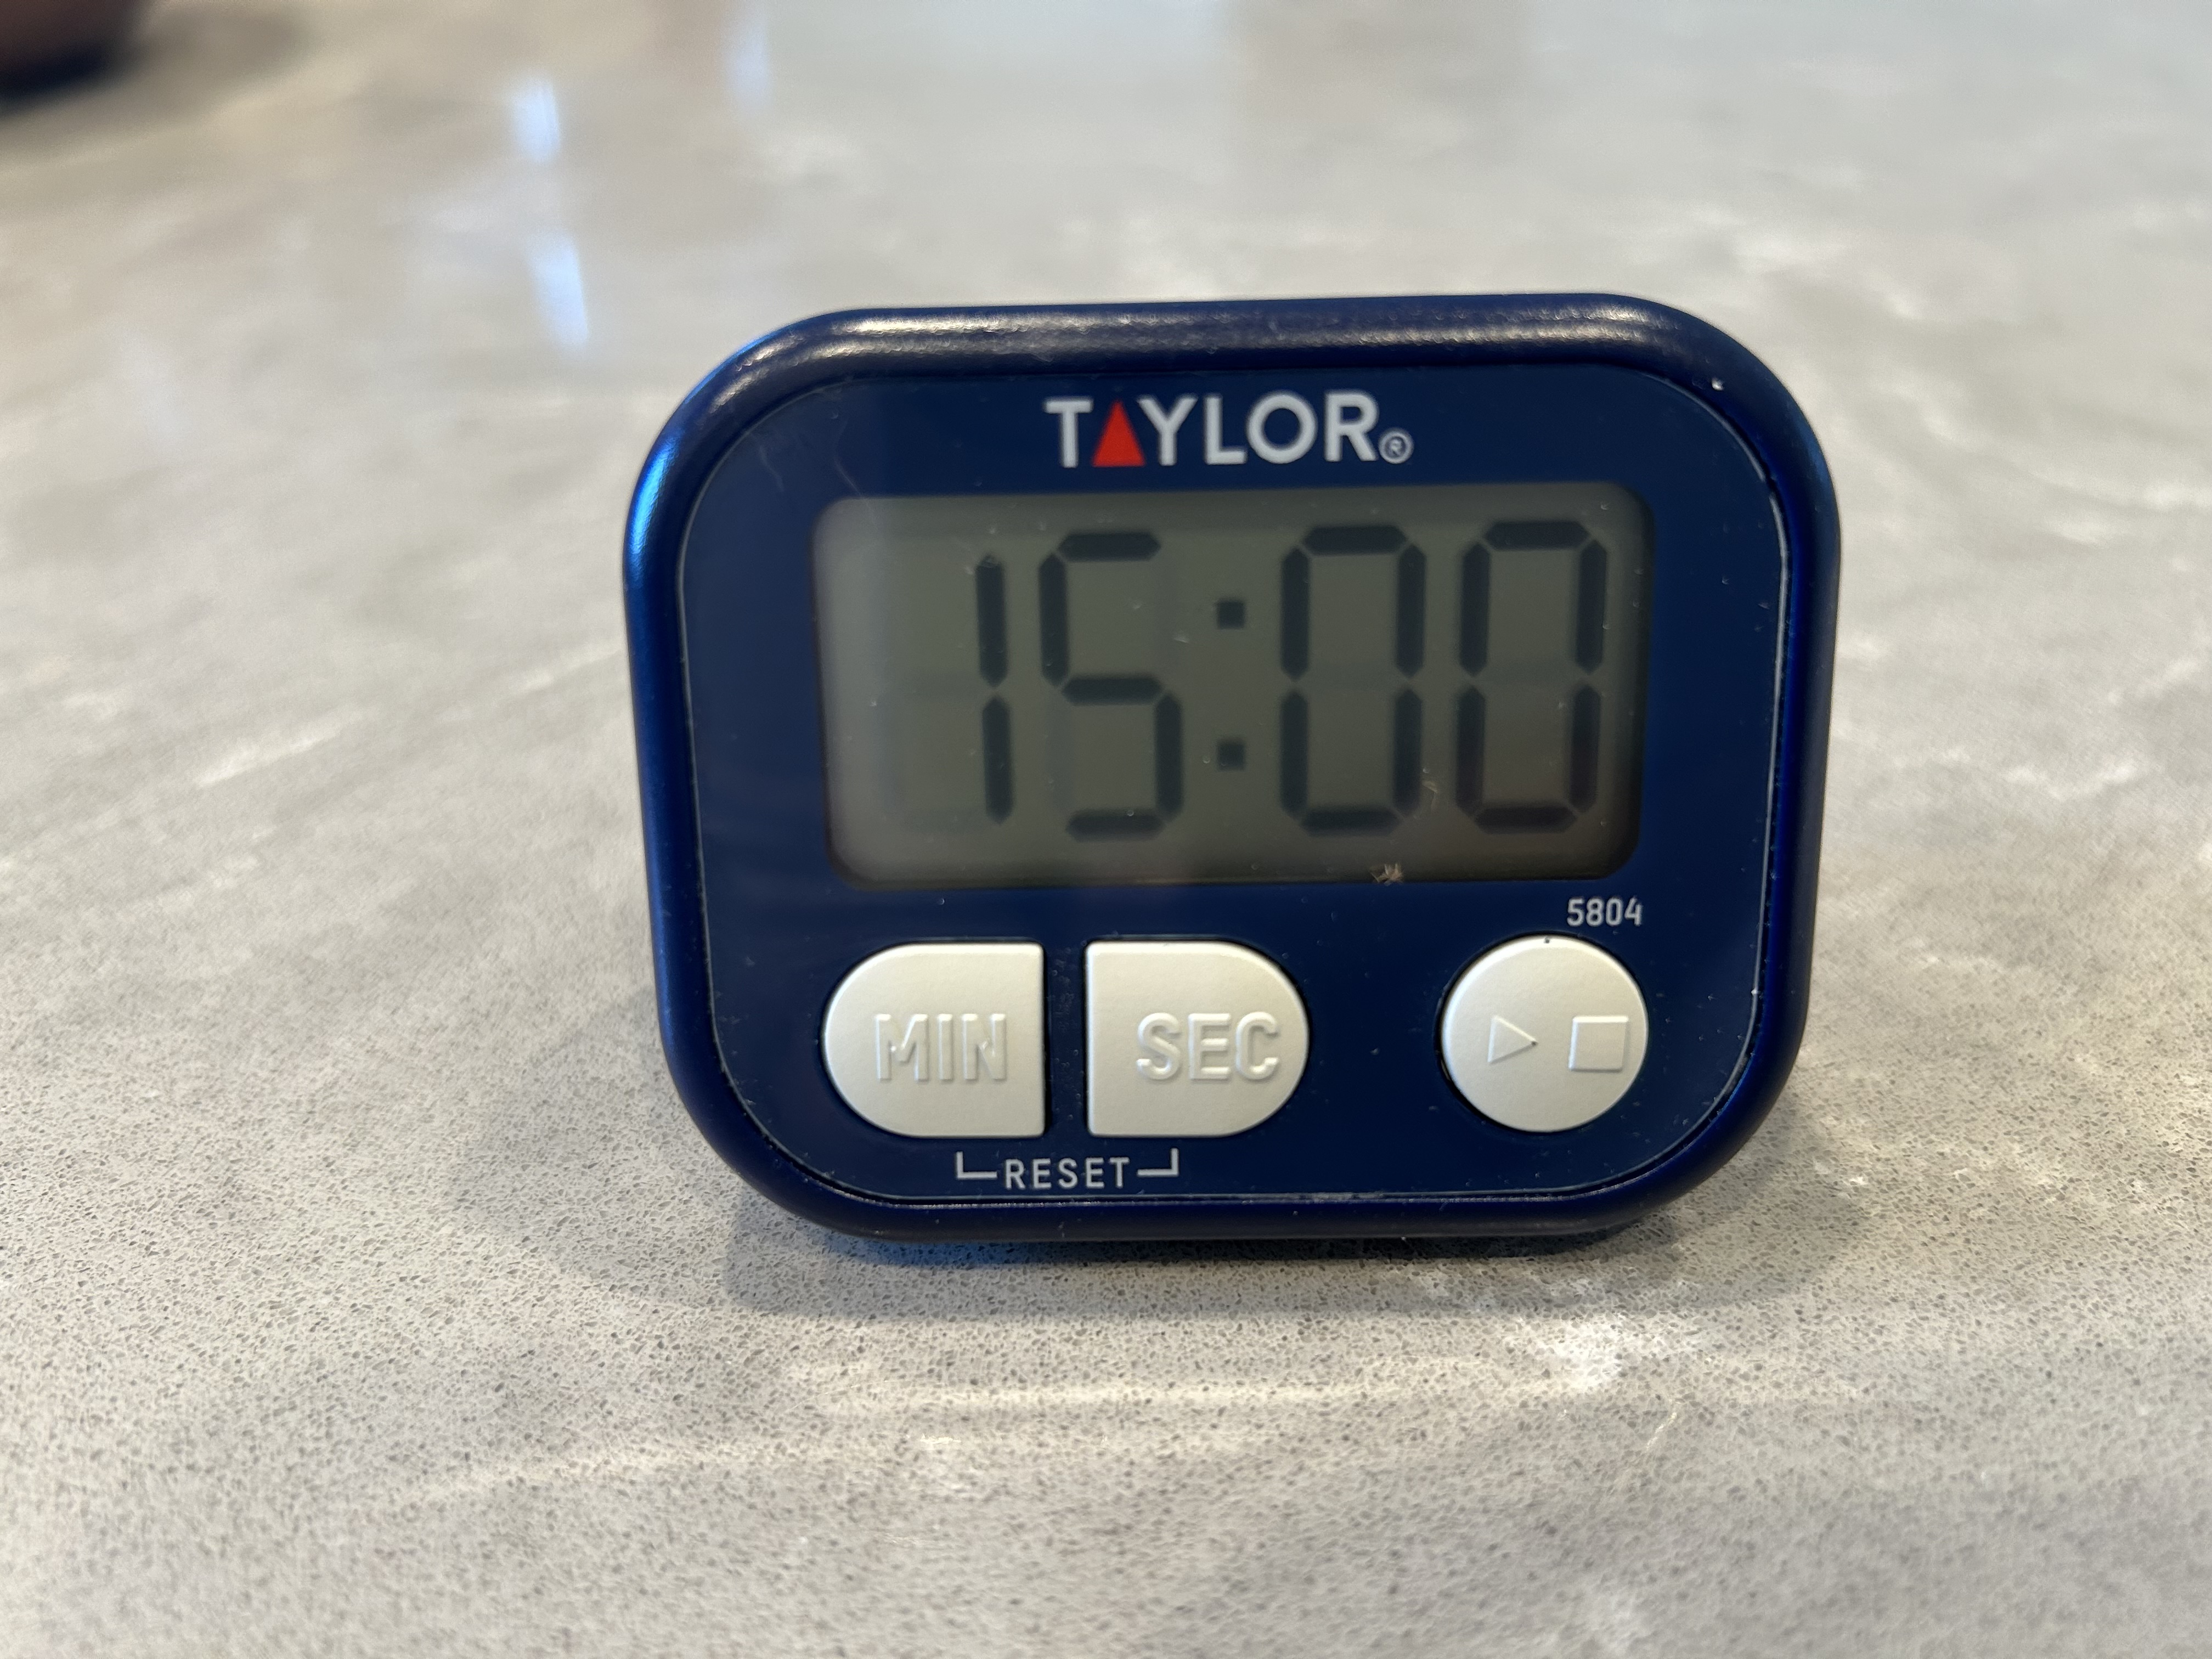
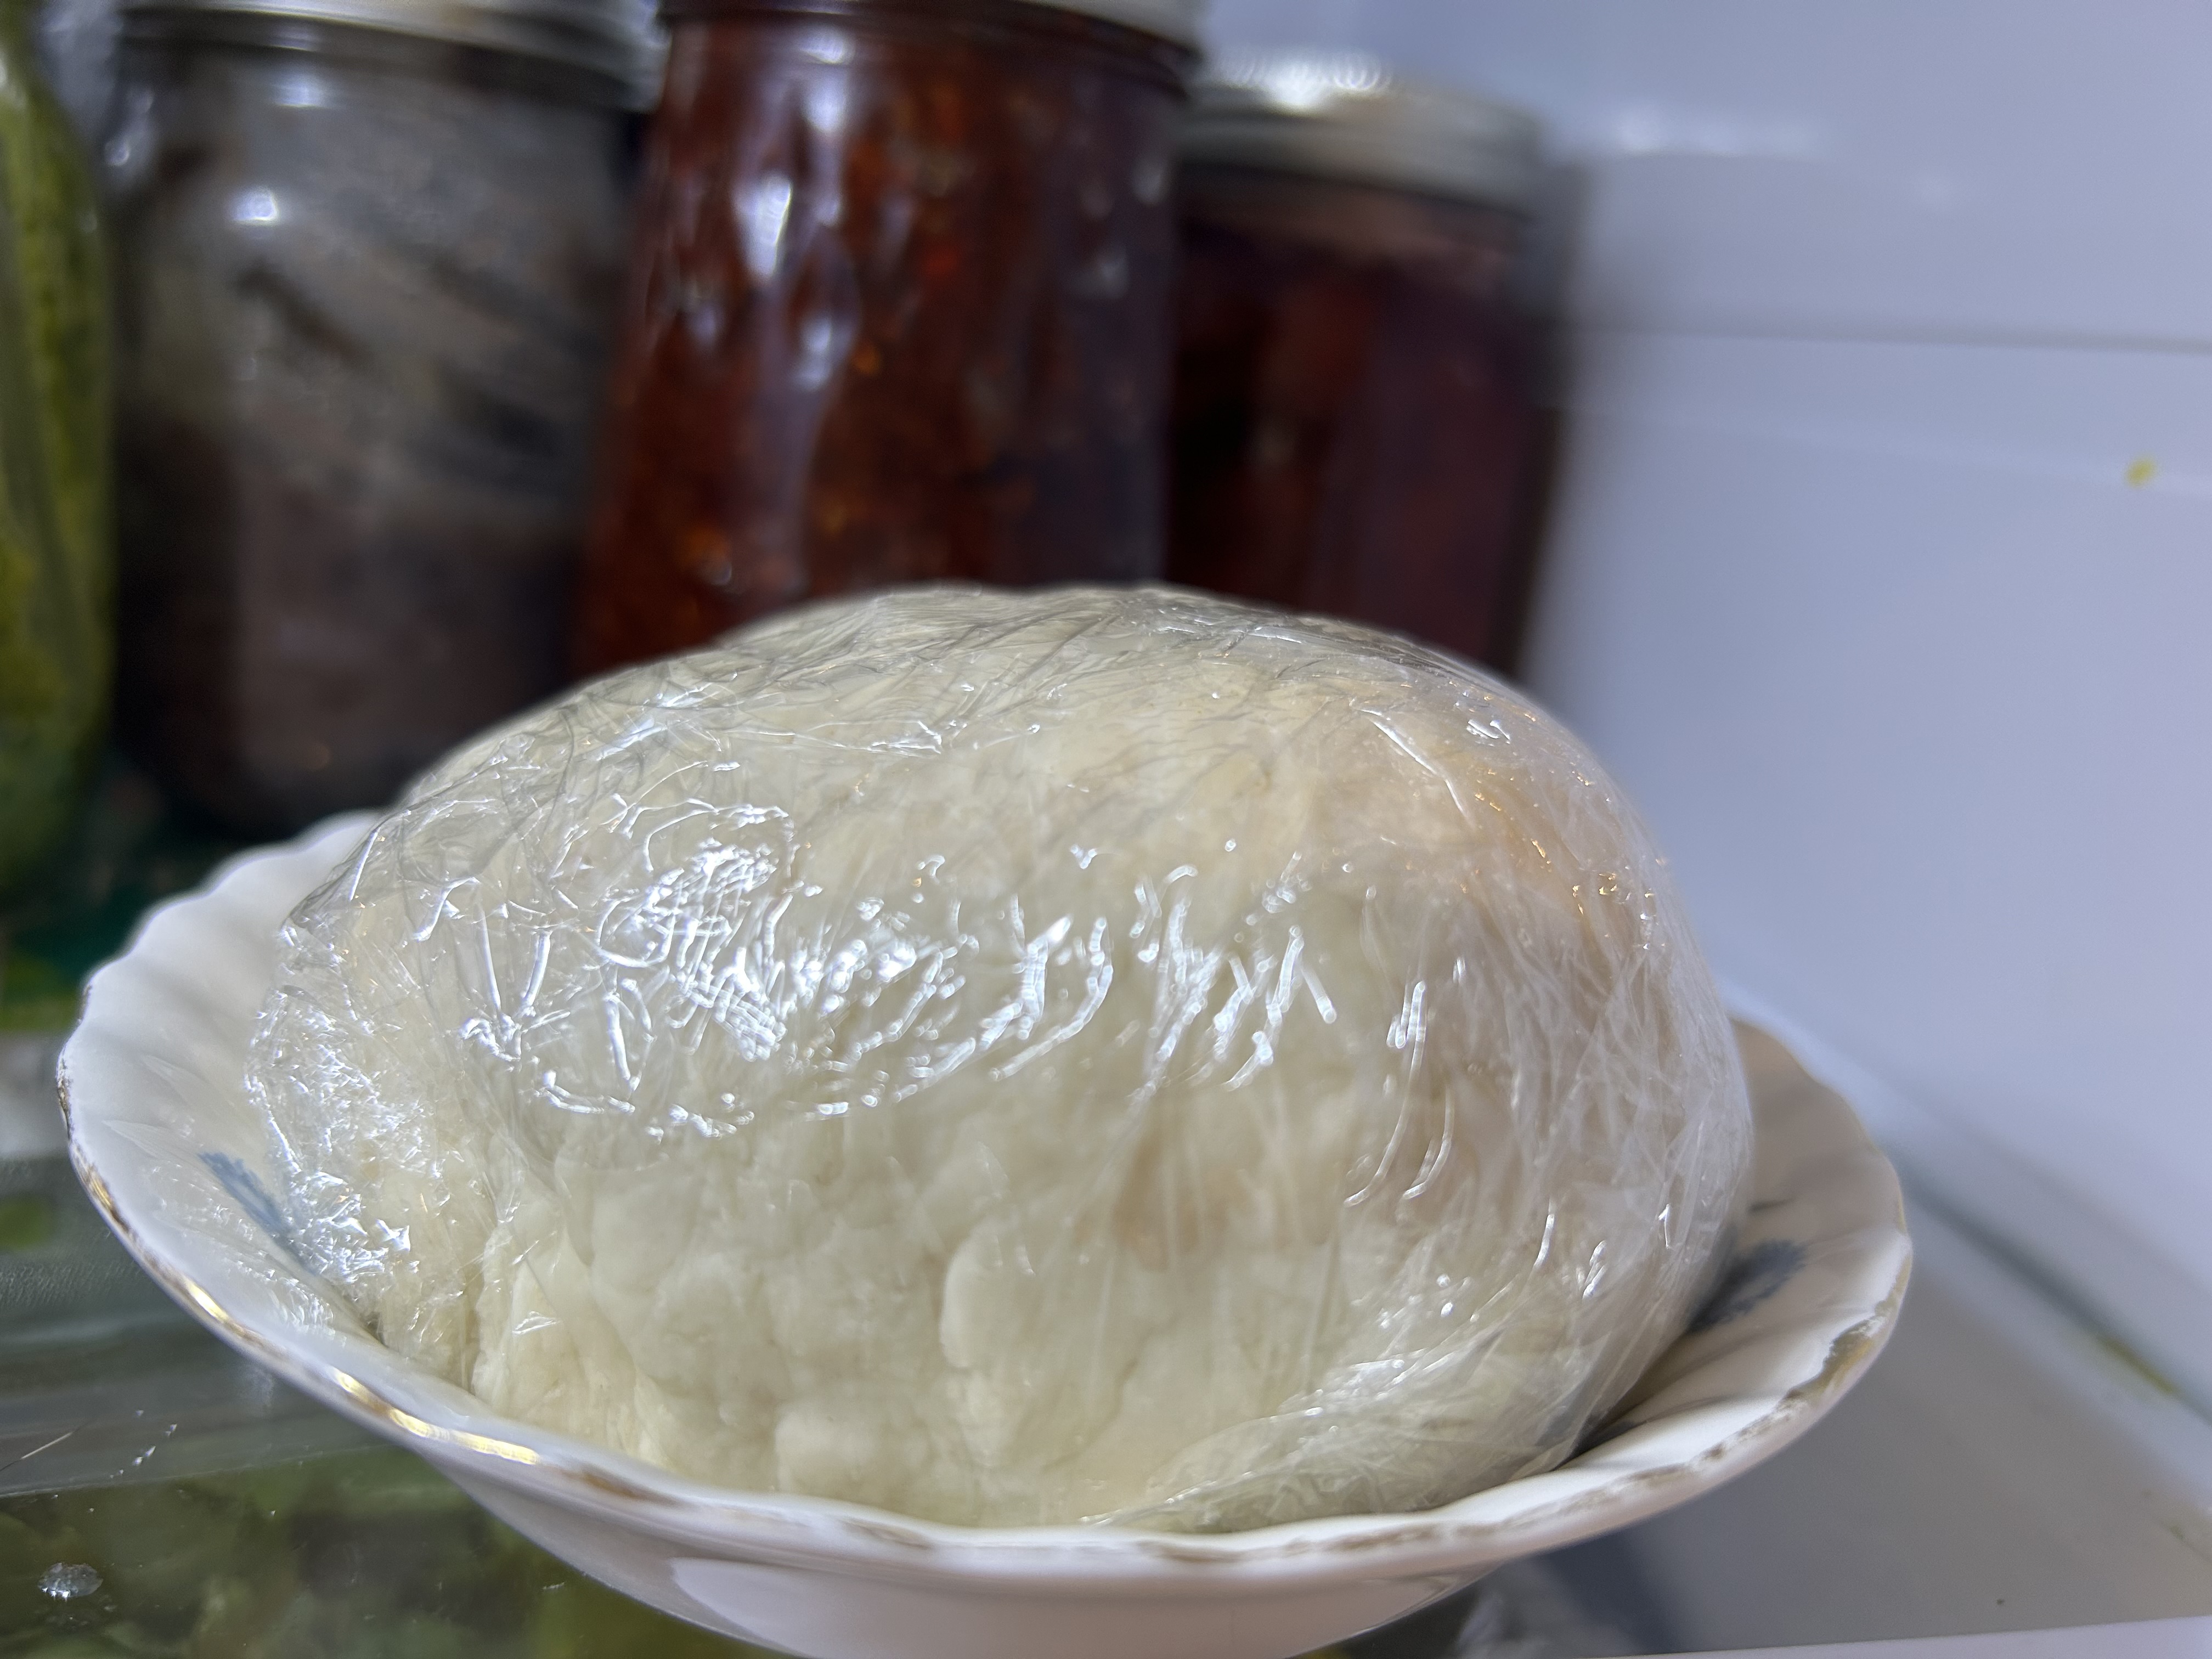
가루가 보이지 않게 뭉쳐지면 반죽을 치대지 않고 그대로 랩에 싸서 냉장고에 15분간 숙성 시킵니다. 이 과정에서 밀가루에 완전히 섞이지 않았던 수분이 깊숙이 스며들어, 뻑뻑했던 반죽이 전체적으로 촉촉하고 부드러워집니다.
Without kneading, wrap the dough in plastic wrap and let it rest in the refrigerator for 15 minutes. During this time, the water fully hydrates the flour, transforming the stiff dough into a soft, moist texture.
2. 1차 치대기 및 2차 숙성 (Kneading & 2nd Rest – 30 mins)
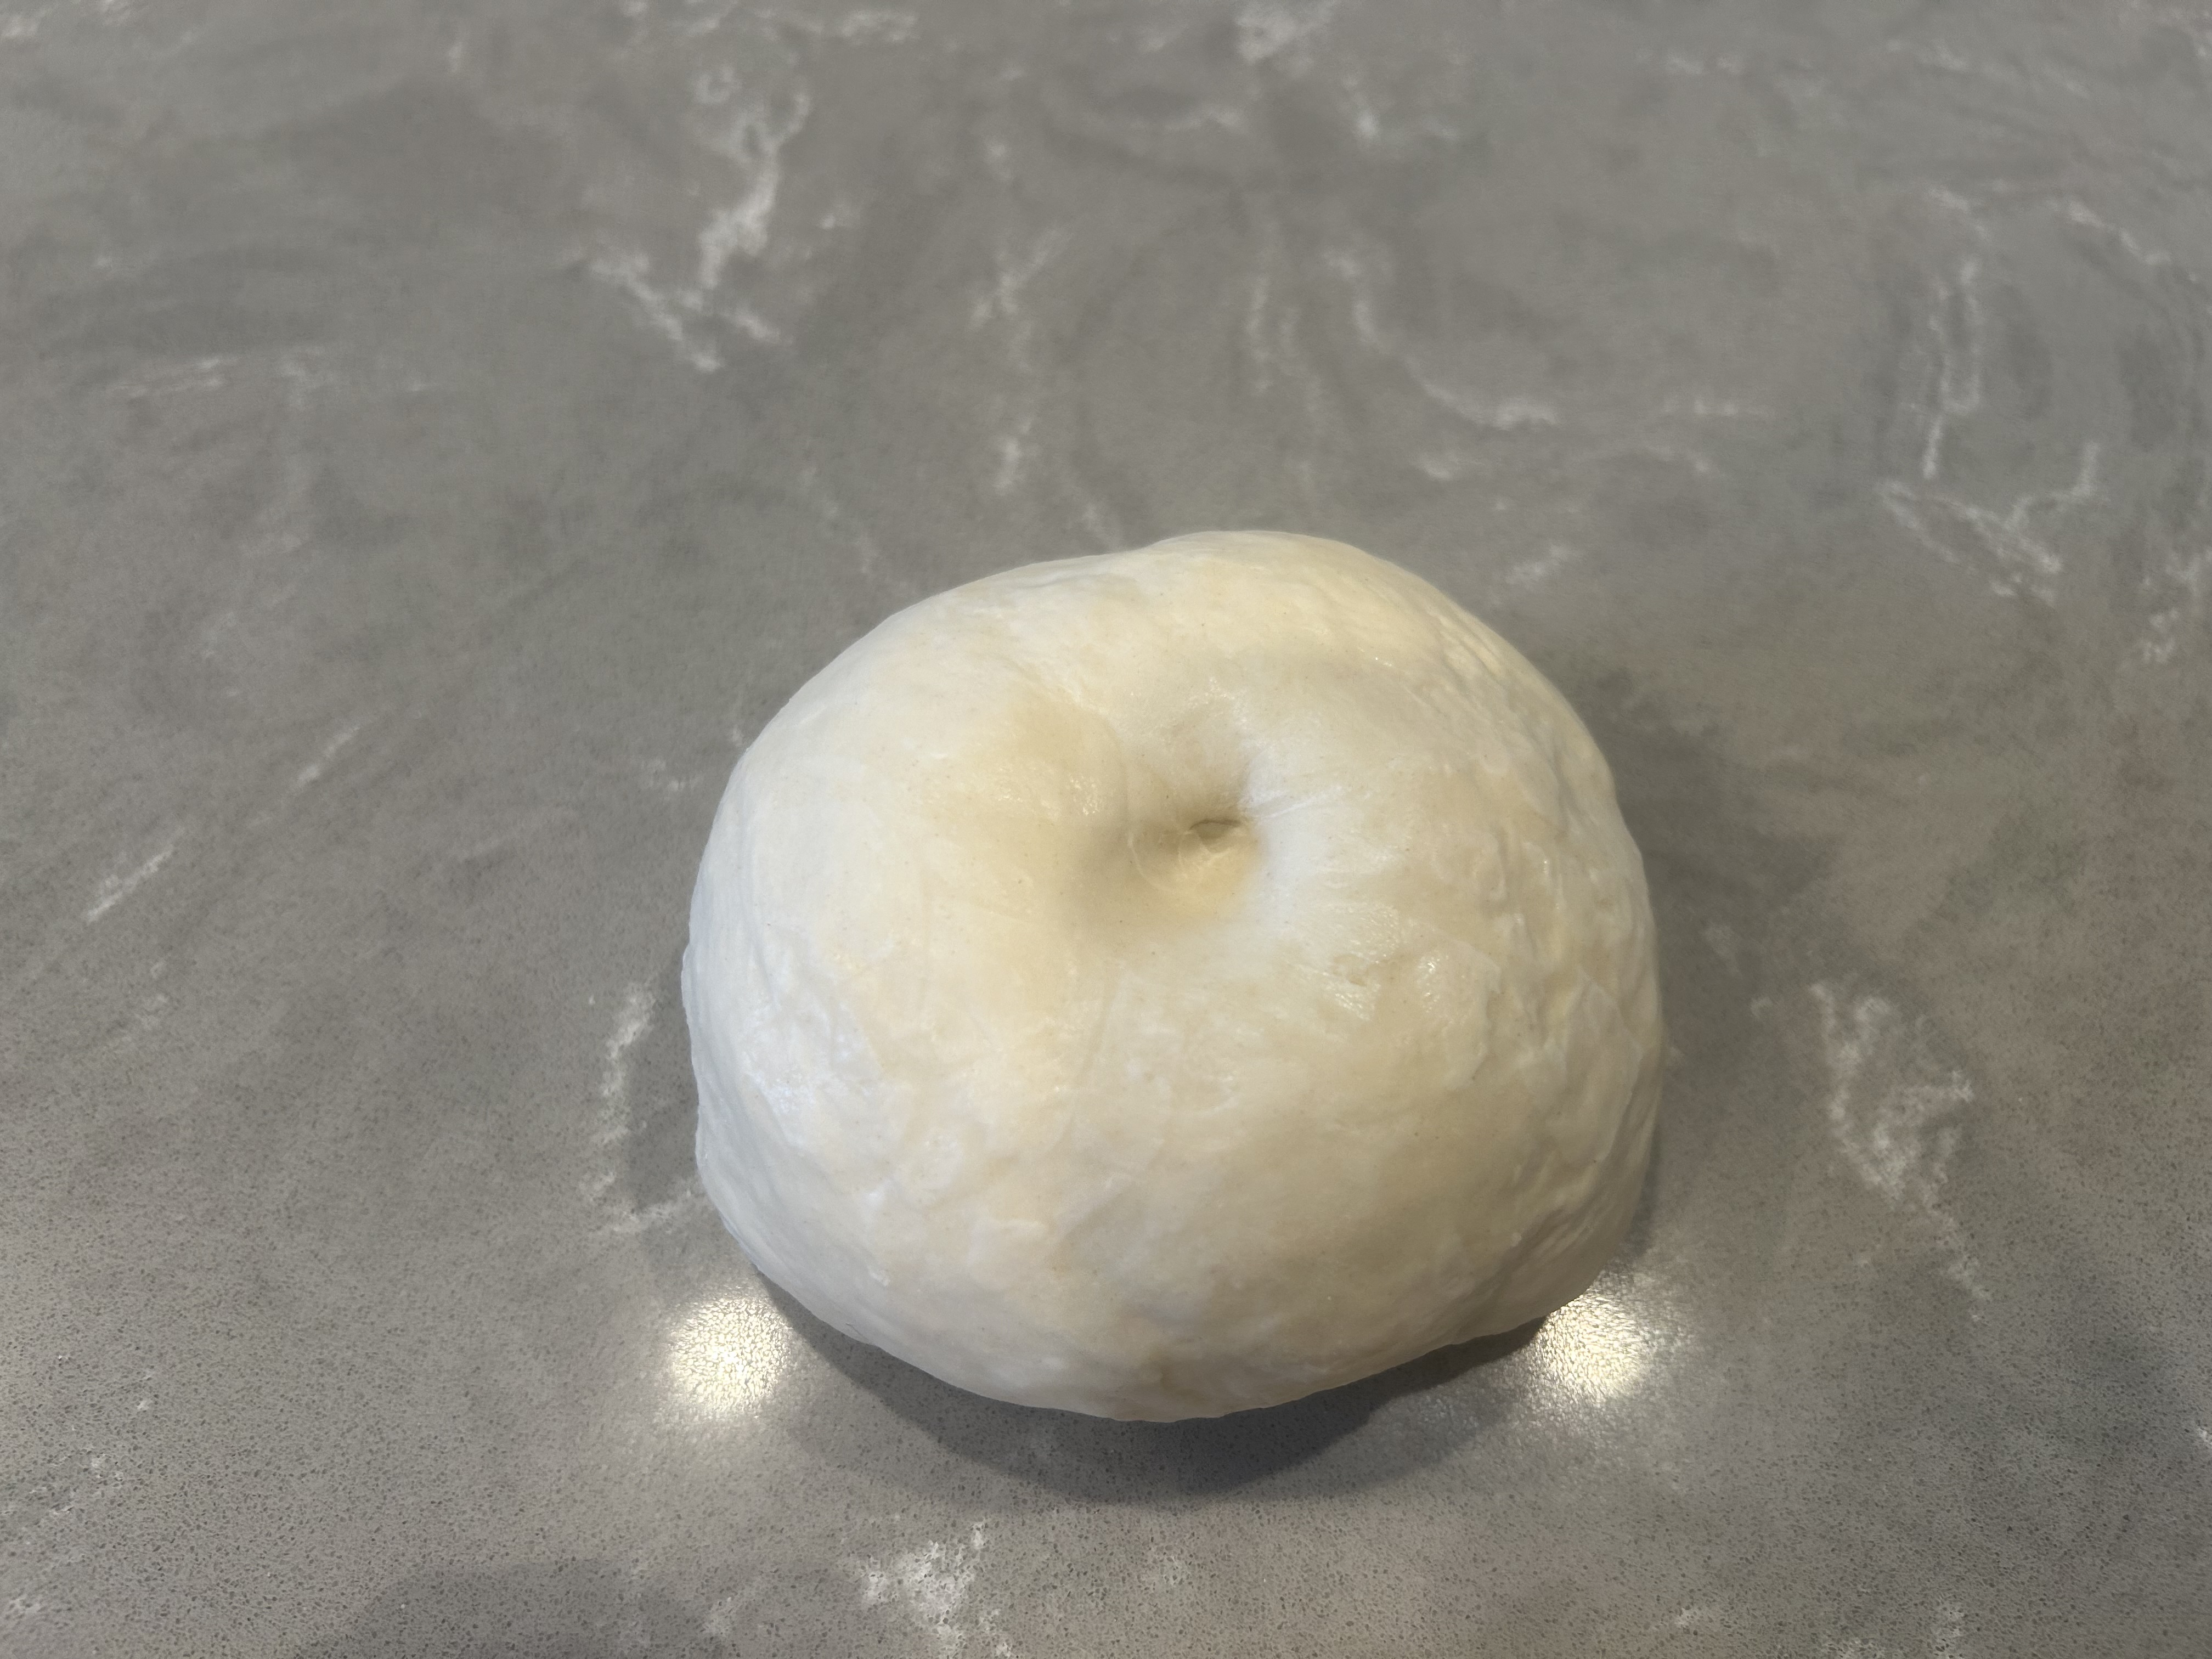
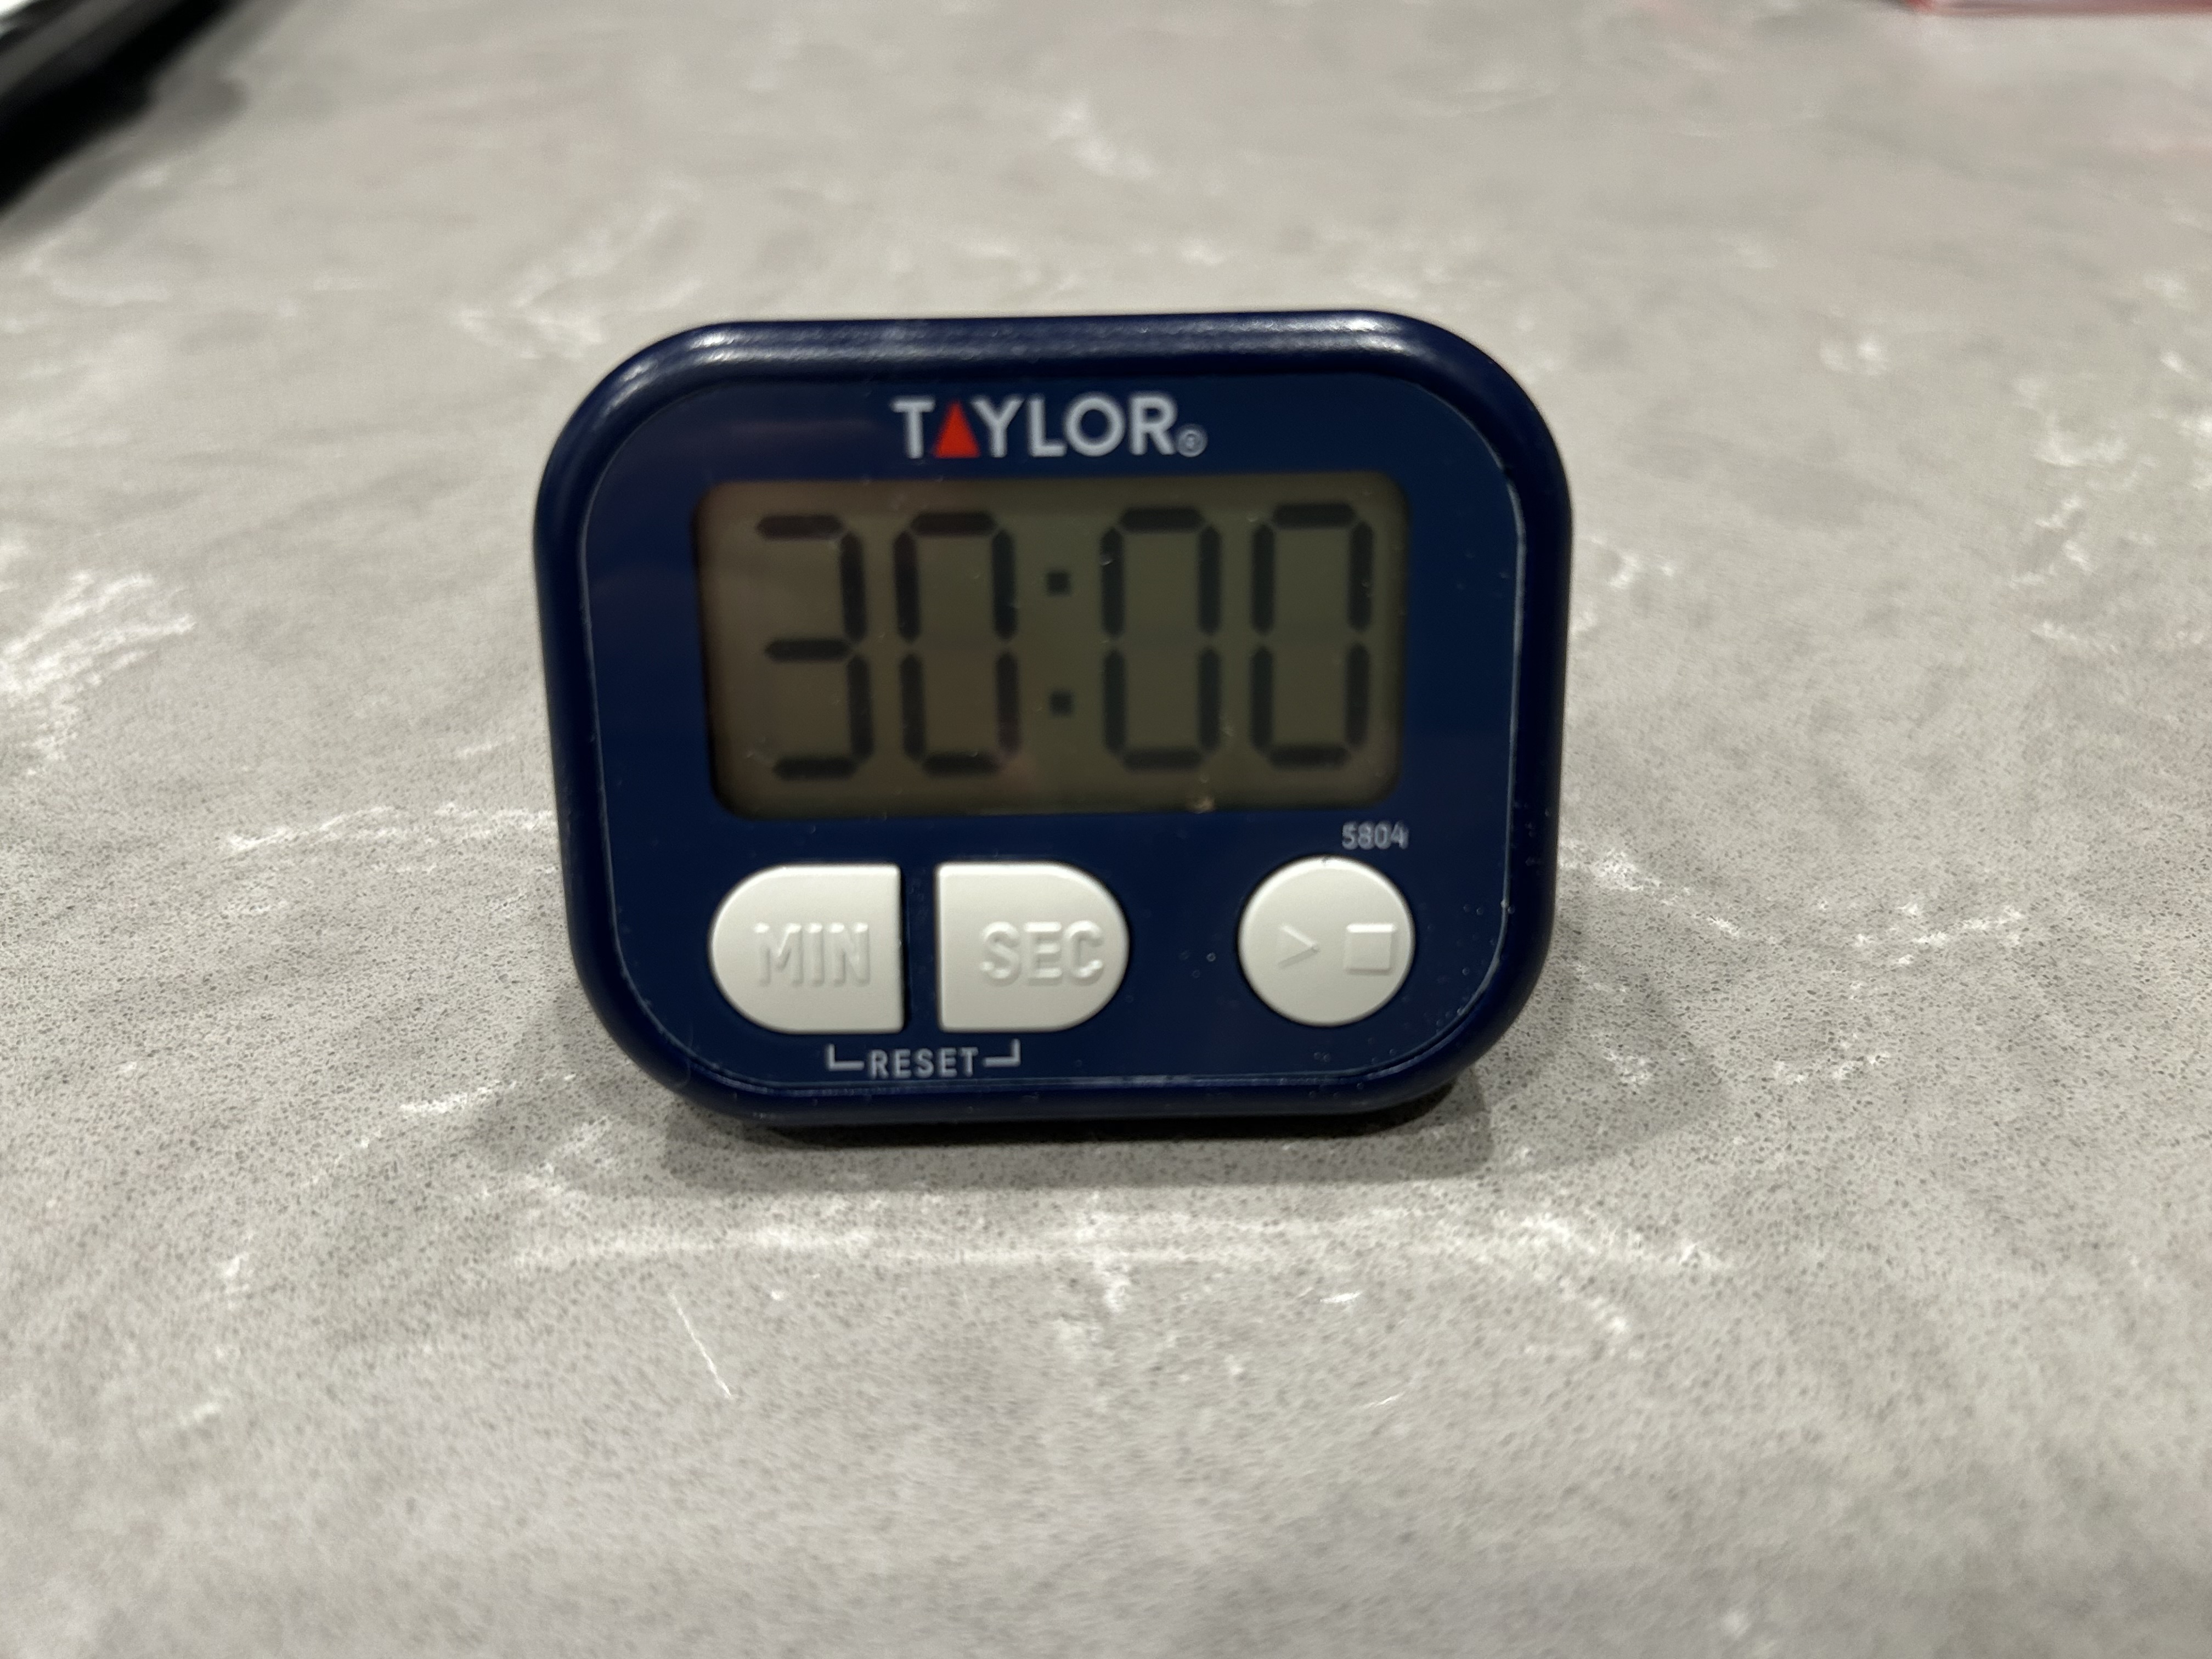
15분 후 냉장고에서 반죽을 꺼냅니다. 이때 반죽을 가볍게 치대어 표면을 매끈하게 만들어 준 후, 다시 랩을 씌워 냉장고에 넣어 30분간 2차 숙성을 시킵니다.
After 15 minutes, remove the dough from the fridge. Lightly knead it until the surface becomes smooth, then wrap it again and return it to the fridge for a second rest of 30 minutes.
이 과정에서 팽팽하게 뭉쳐있던 글루텐 조직이 이완(Relaxation)되어, 반죽이 찢어지지 않고 유연하게 잘 늘어나는 상태가 됩니다.
This allows the tight gluten structure to relax, making the dough pliable and easy to stretch without tearing.
3. 반죽 성형 및 밀기 (Shaping & Rolling Out)
30분 후 매끈해진 반죽을 꺼내며, 이때는 절대로 다시 뭉치거나 치대면 안 됩니다. 반죽이 탄성이 생겨 단단해져 밀어지지 않습니다.만약 그렇다면 다시 냉장고에 넣어 숙성의 시간을 가진 뒤 밀어야 합니다.
After 30 minutes, take out the smooth dough. Do not re-knead or shape it back into a ball at this point.
작업대에 밀가루를 조금 뿌리고 반죽을 올린 뒤 손끝으로 펼칠 수 있는 만큼 펴줍니다. 뭉쳐진 반죽 상태에서 바로 밀대를 사용하면 이미 형성된 글루텐의 탄성 때문에 얇게 밀기가 굉장히 어렵습니다. 손끝으로 먼저 편 후 밀대를 사용하면 훨씬 잘 밀리고 넓게 펴집니다.
Lightly dust your work surface with flour, place the dough on it, and press it out as much as you can using your fingertips. Rolling directly from a tight ball is difficult due to gluten elasticity, so flattening it first with your fingers makes it much easier to roll out thin and wide.
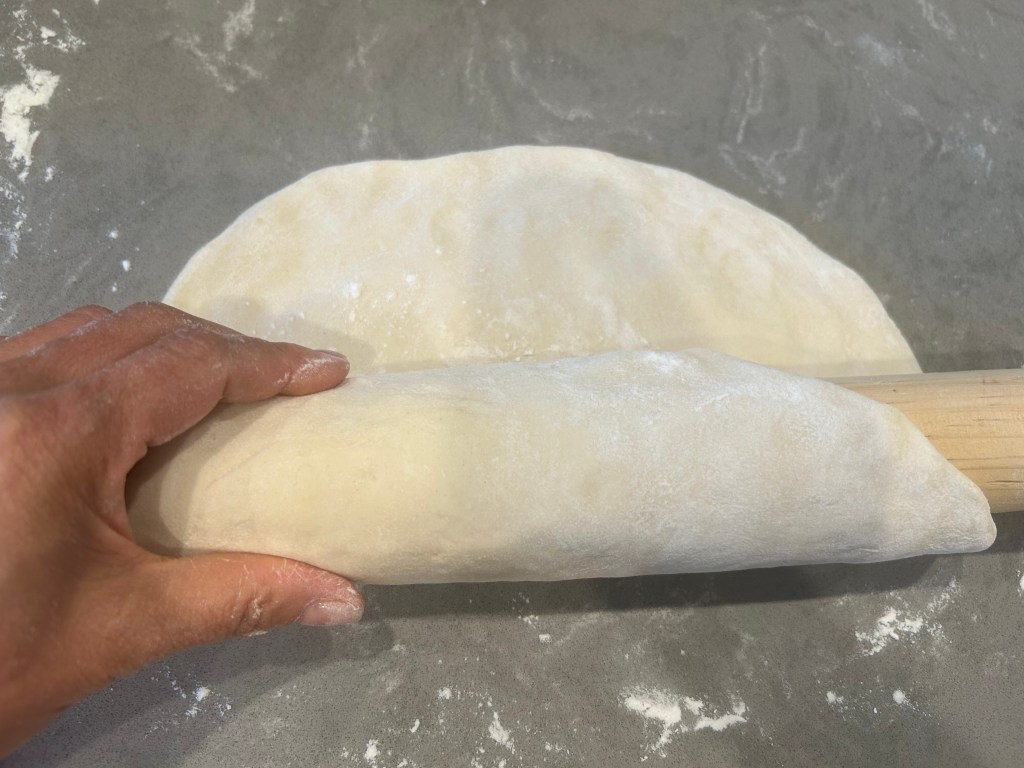
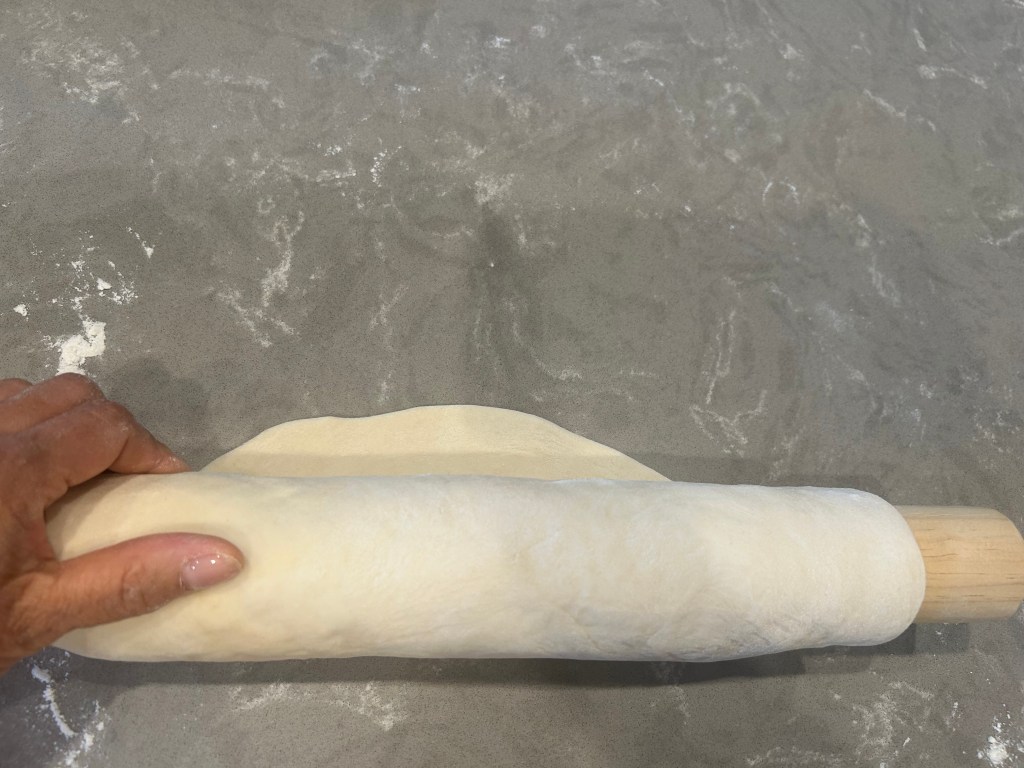
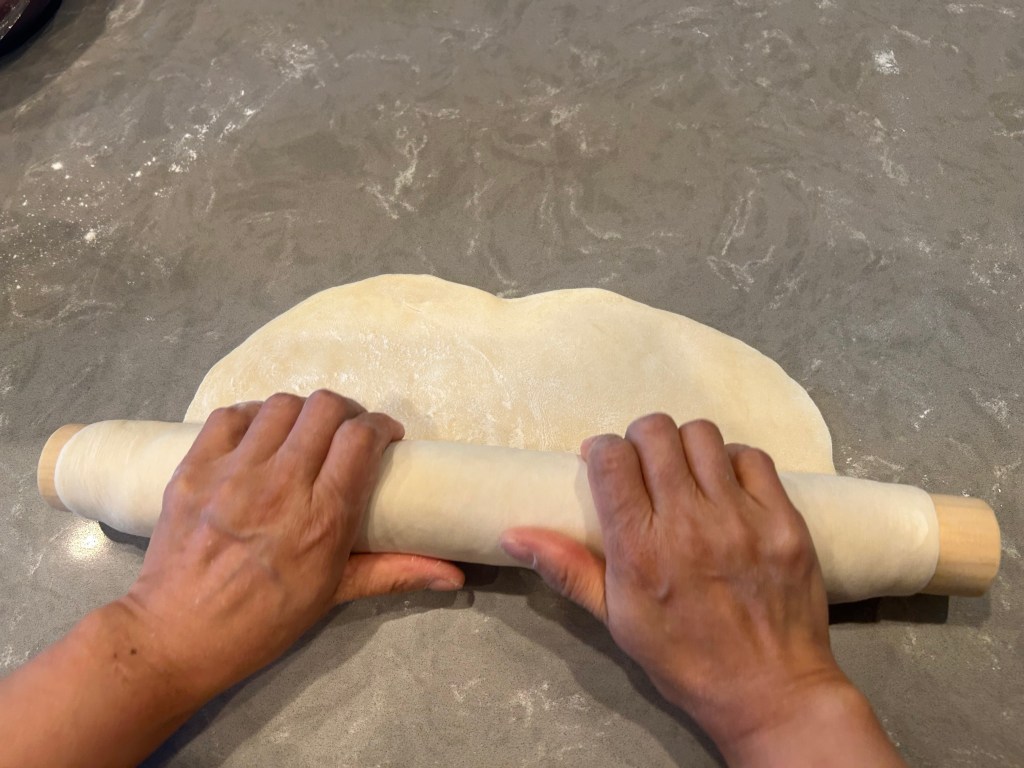
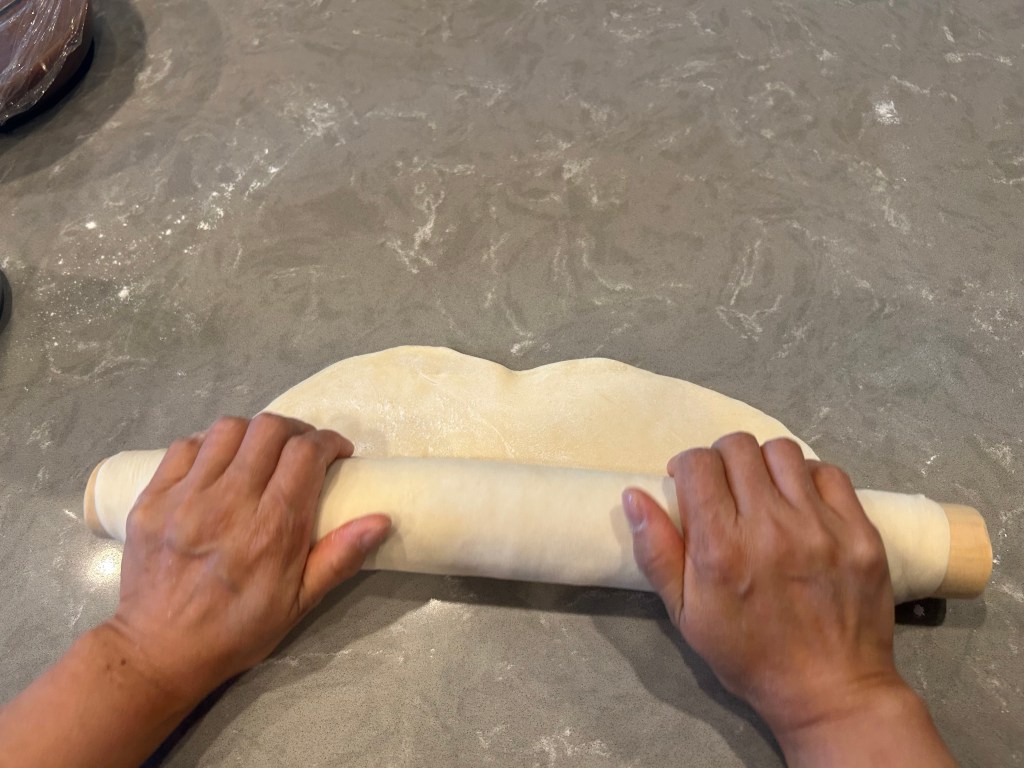
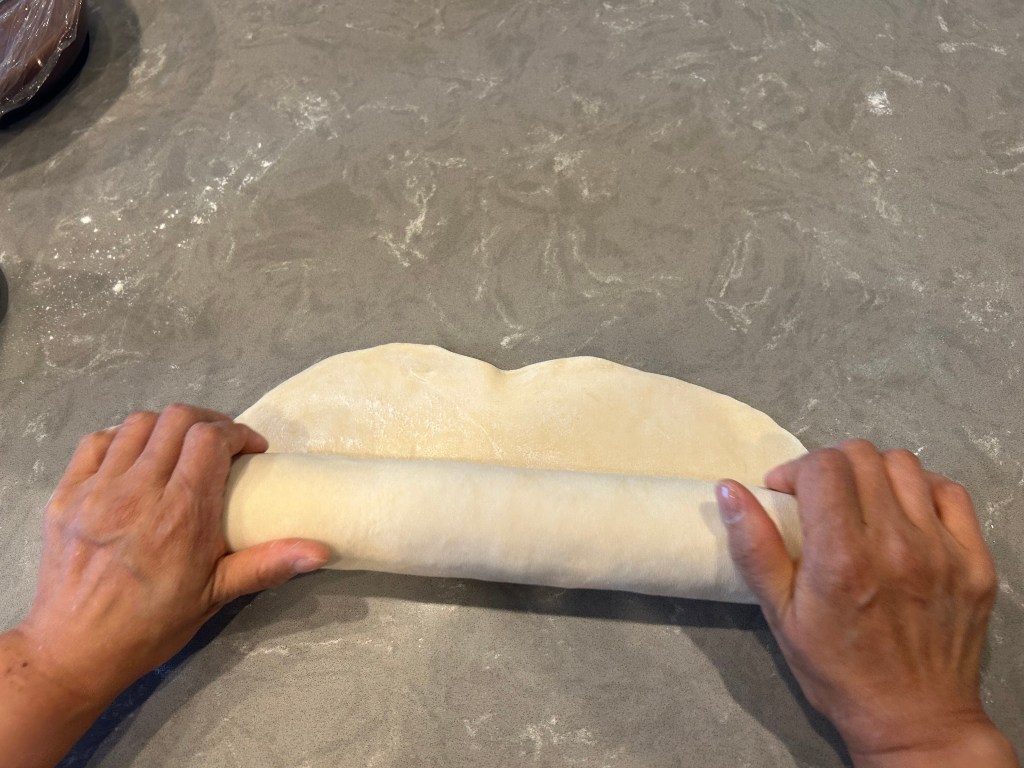
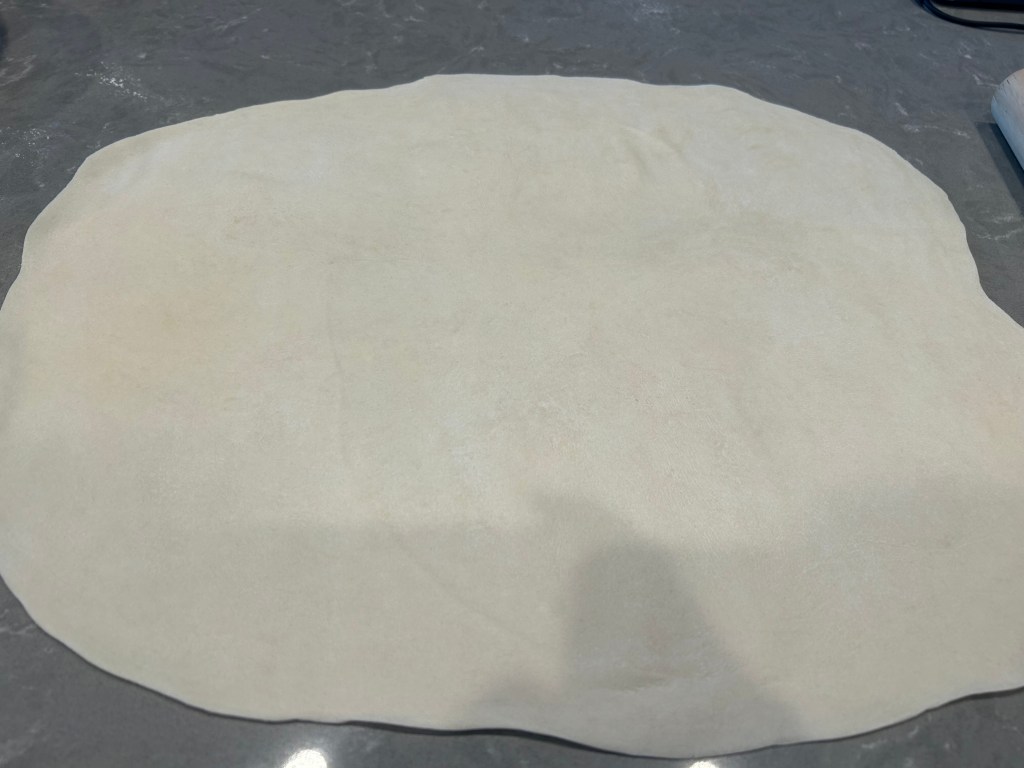
밀대를 잡고 반죽을 감아 두꺼운 부분을 눌러주면서 안에서 밖으로 밀어주듯 펴줍니다. 중간중간 밀어주는 방향도 바꾸고, 펴진 곳에 밀가루를 뿌려주어 늘어난 글루텐이 도로 수축하지 않도록 유지합니다.
Wrap the dough around the rolling pin and roll from the center outward, applying gentle pressure to thicker areas. Occasionally change the rolling direction and lightly dust with flour so the stretched dough doesn’t shrink back.
4. 면 썰기 (Cutting the Noodles)
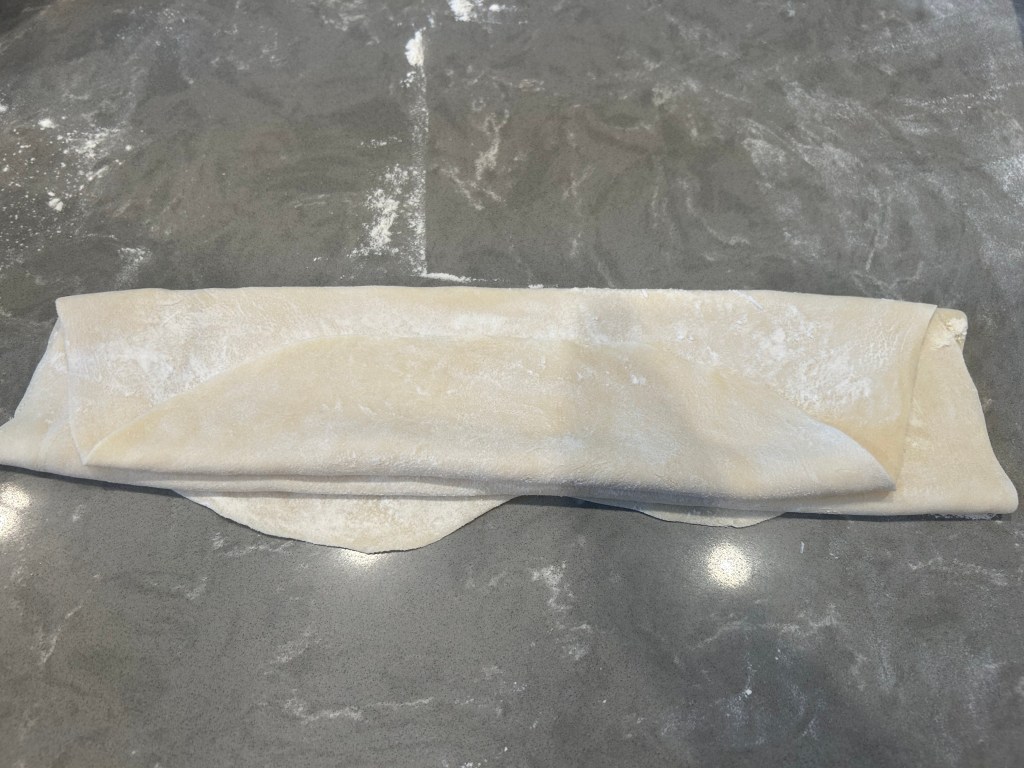
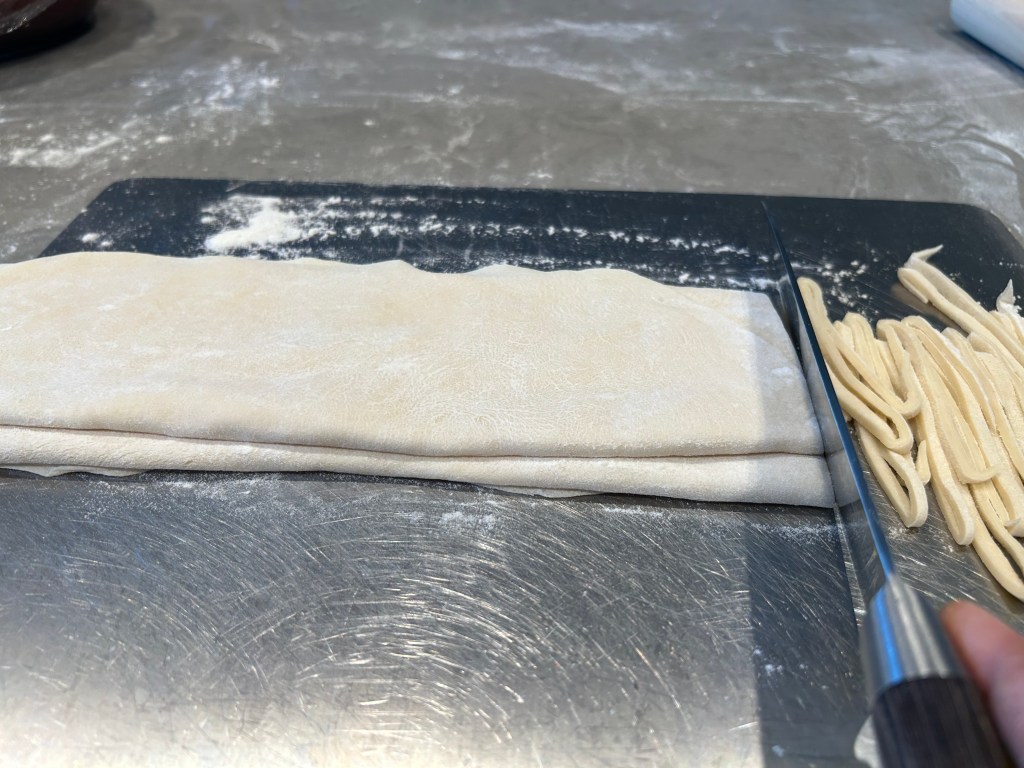
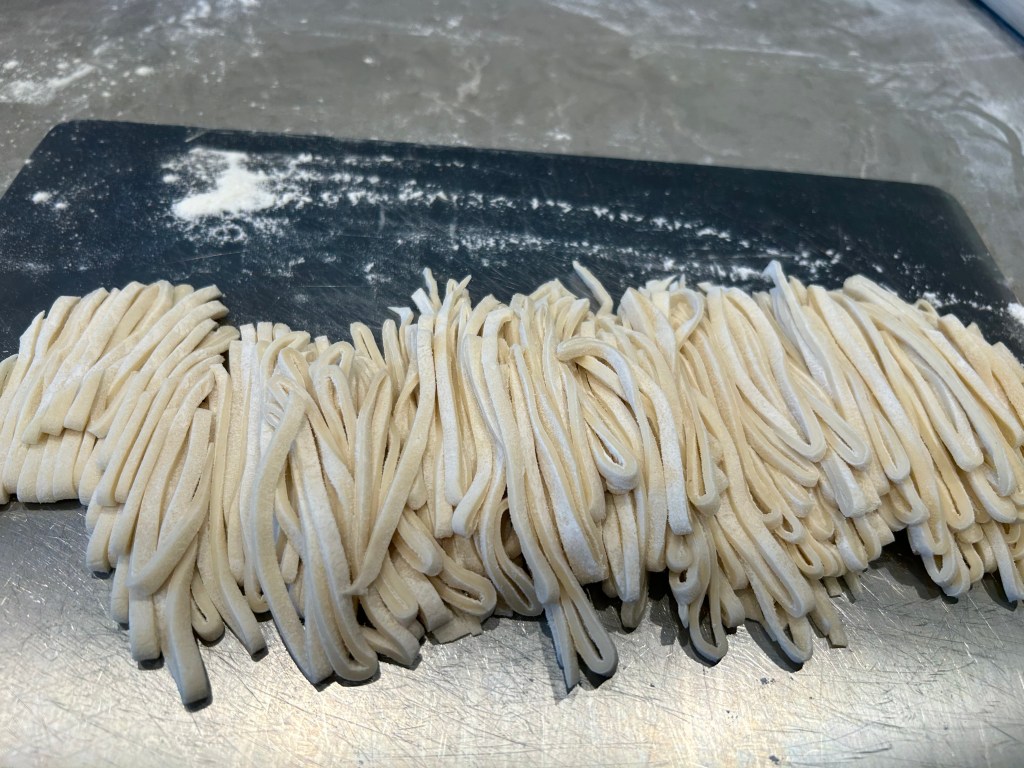
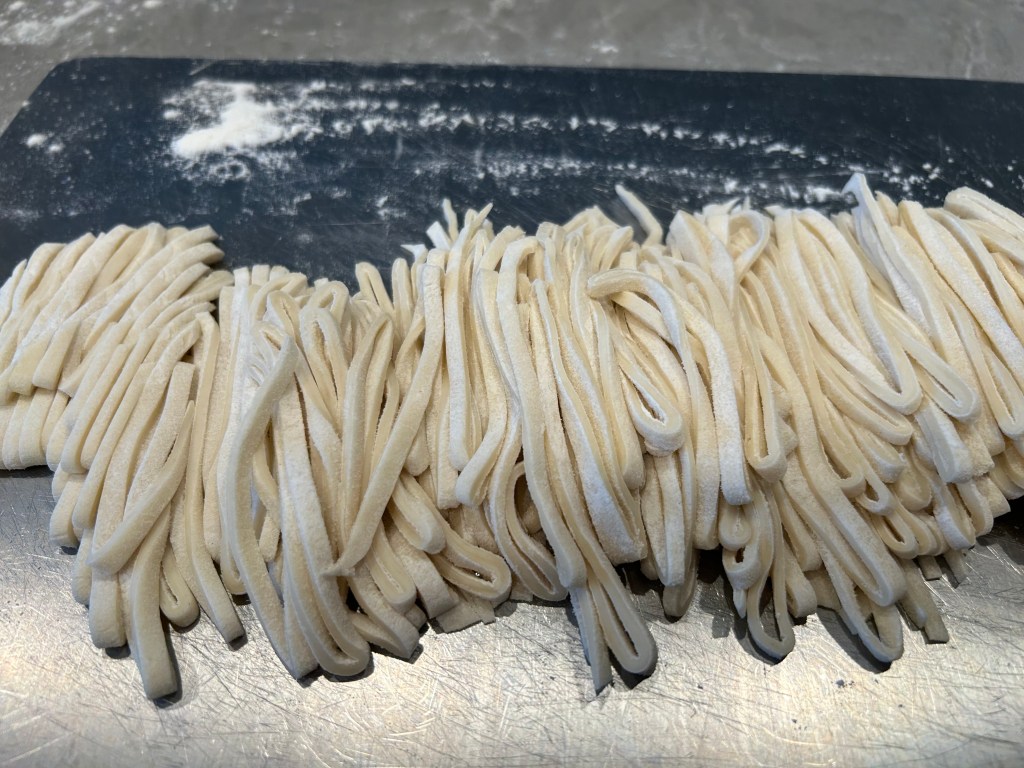
얇게 밀어진 반죽에 밀가루를 뿌린 뒤 지그재그로 접어줍니다. 칼을 사용해 최대한 얇은 사이즈로 썰어줍니다. 얇게 밀었다 해도 반죽 자체의 두께가 있어 자칫 두꺼워질 수 있고, 칼이 아닌 가위 등을 사용하면 잘리는 부위가 뭉개져 국수처럼 잘 풀어지지 않을 수 있습니다.
Dust the thinly rolled sheet with flour and fold it in a zigzag pattern. Slice as thinly as possible using a sharp knife. Even if rolled thin, the layers can end up thick, and using scissors instead of a knife can crush the cut edges, preventing the strands from unraveling properly.
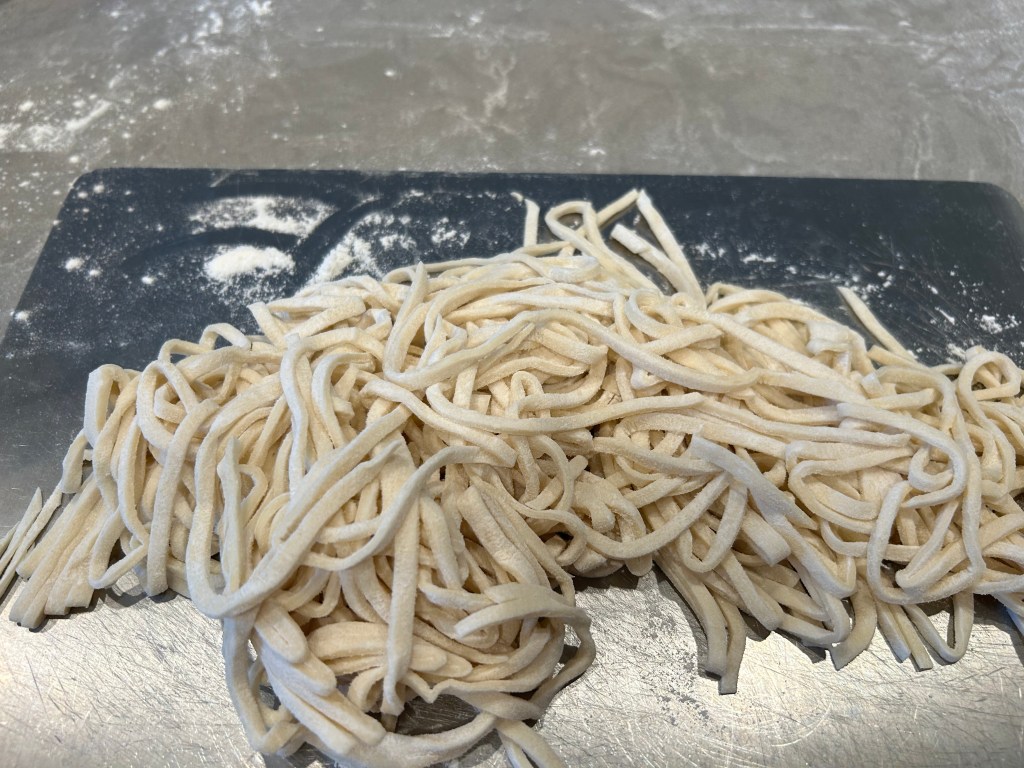
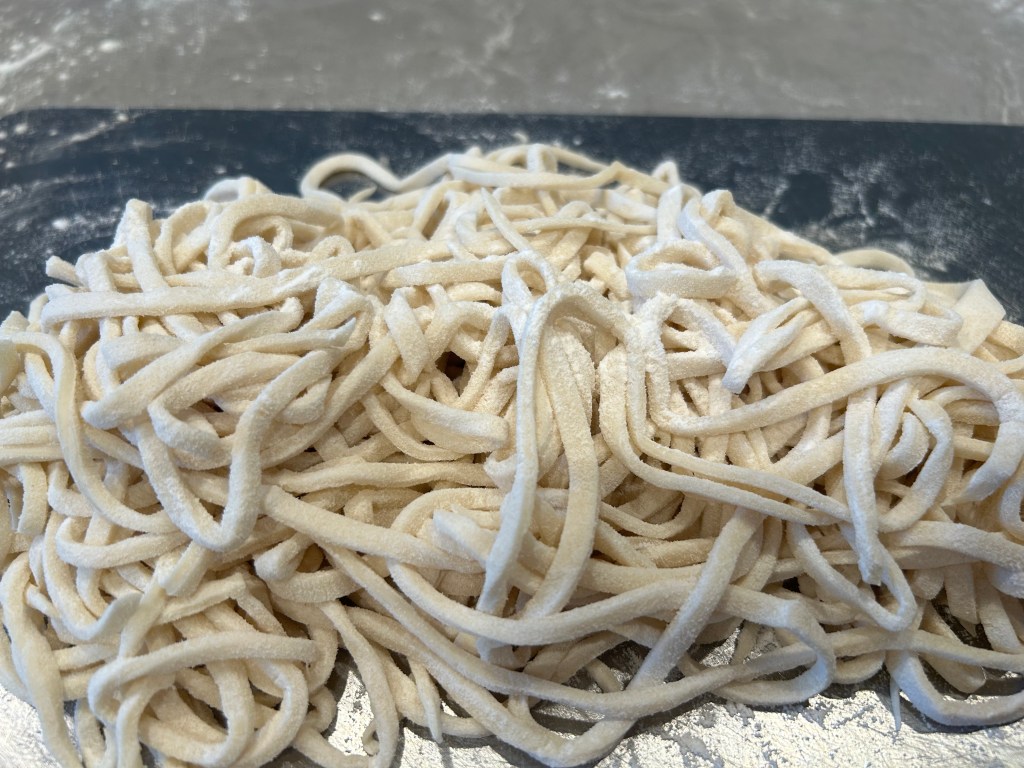
칼질을 마치면 이제 반죽이 아닌 국수가 됩니다. 썰어둔 국수를 가닥가닥 풀고 밀가루를 뿌려 잘린 부위가 서로 엉겨 붙지 않도록 잘 털어줍니다.
Once cut, it turns from dough into fresh noodles! Gently unravel the strands and toss them with a bit of flour to keep the edges from sticking together.
5. 면 삶기 (Boiling)
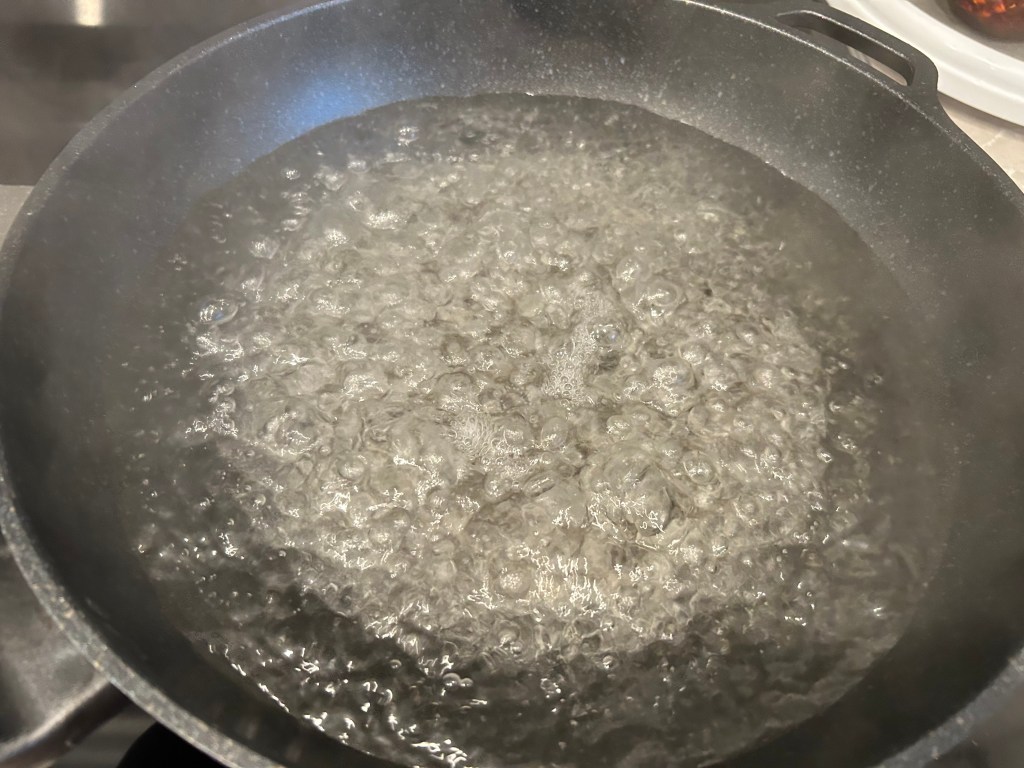
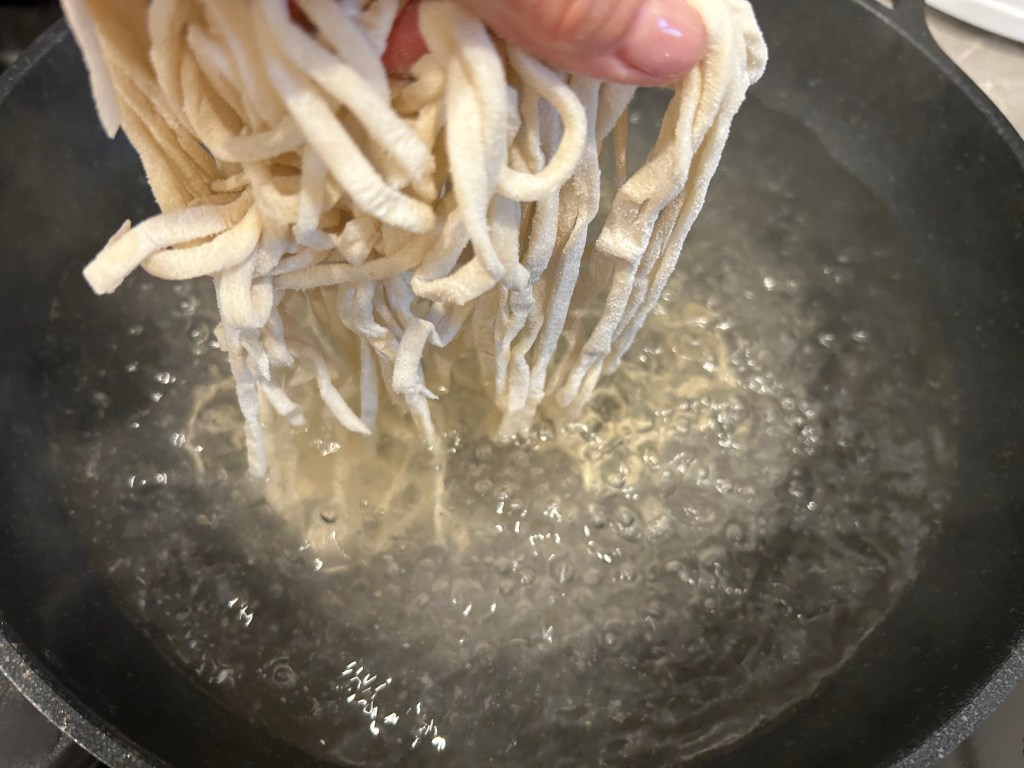
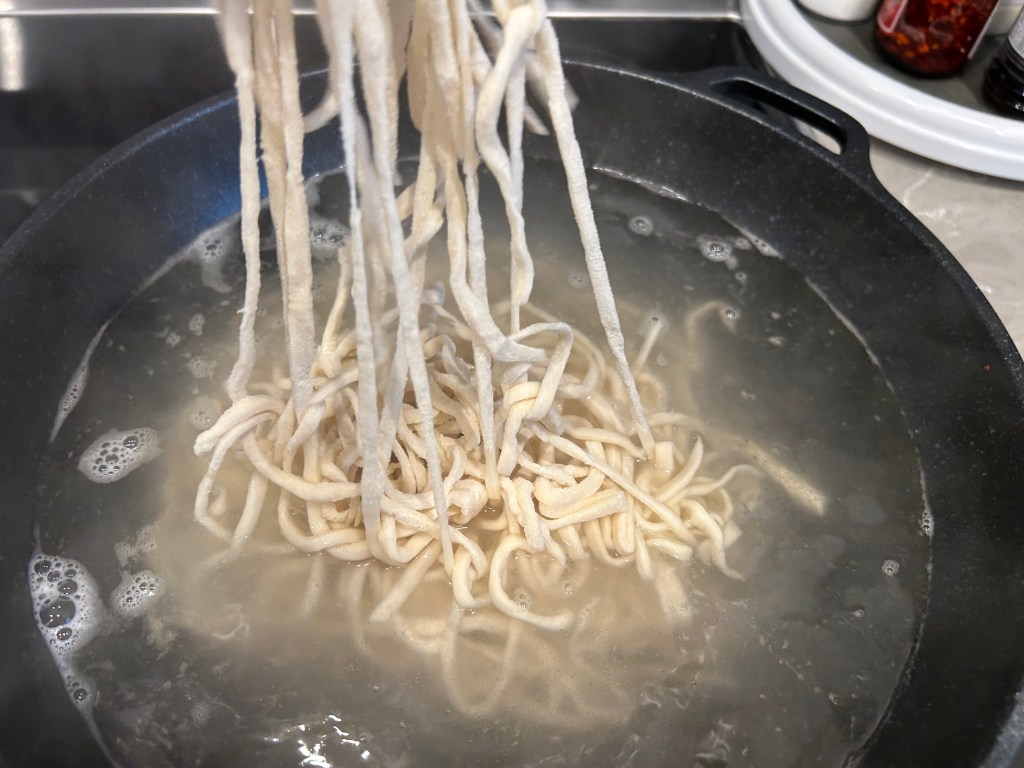
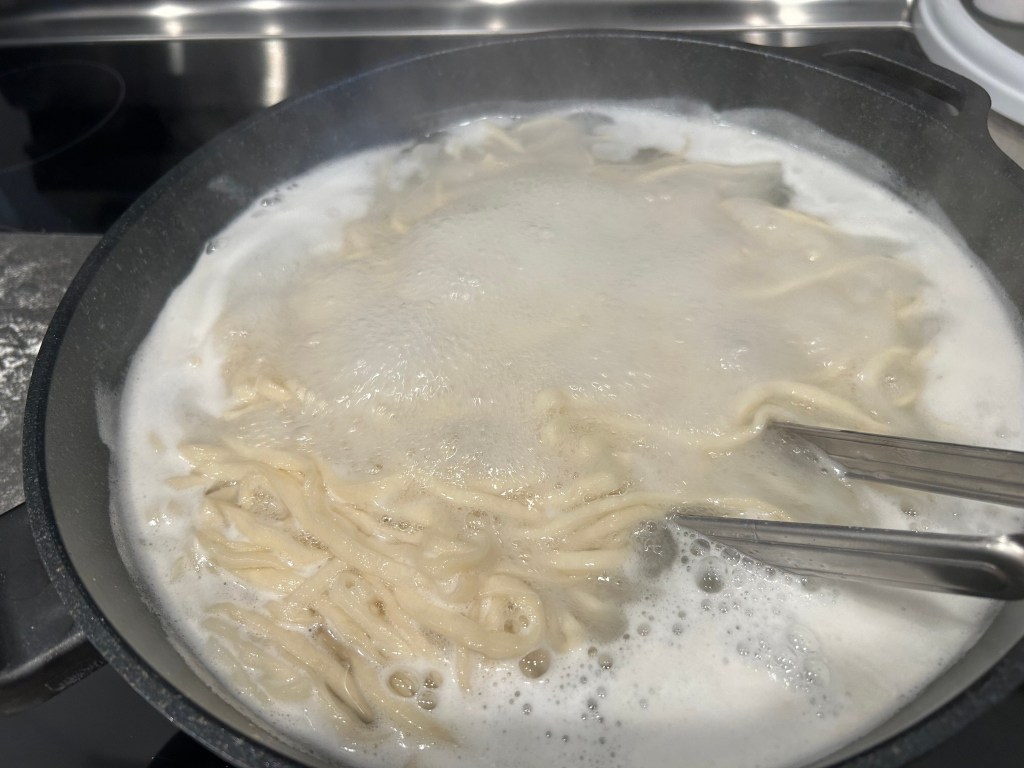
끓는 물에 국수를 넣을 때 한 번에 넣지 말고 나누어 넣으며, 물에 들어간 면이 서로 붙지 않게 바로바로 저어주면서 삶아줍니다.
Add the noodles to boiling water gradually rather than all at once. Stir immediately so the strands don’t stick to each other.
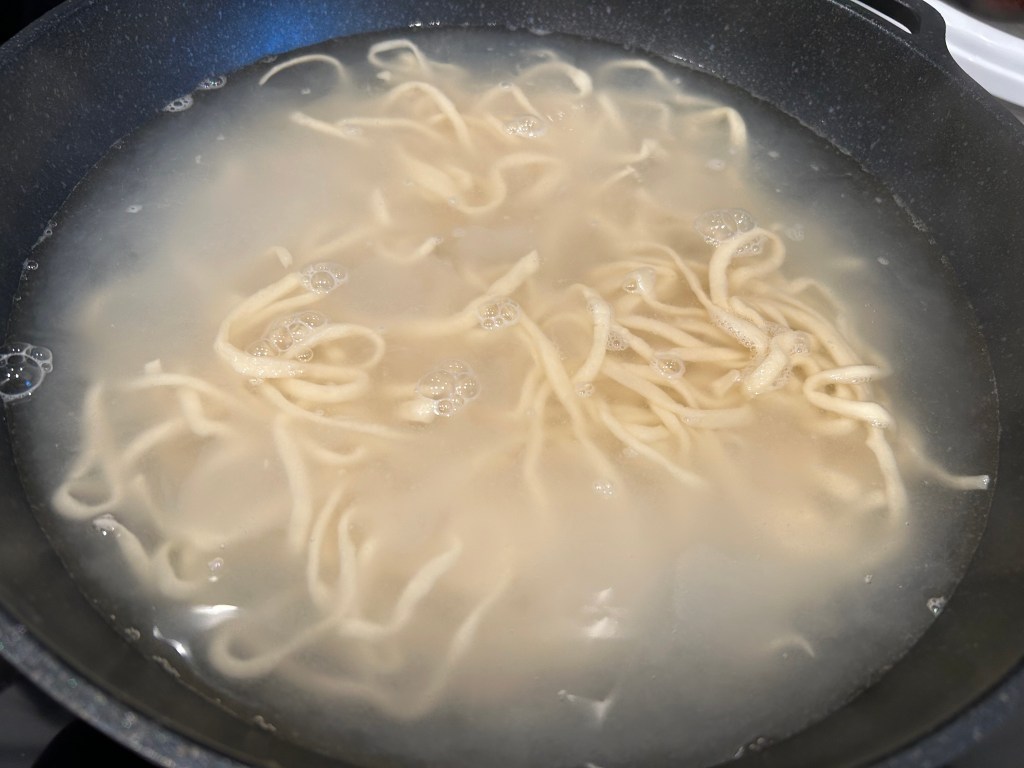
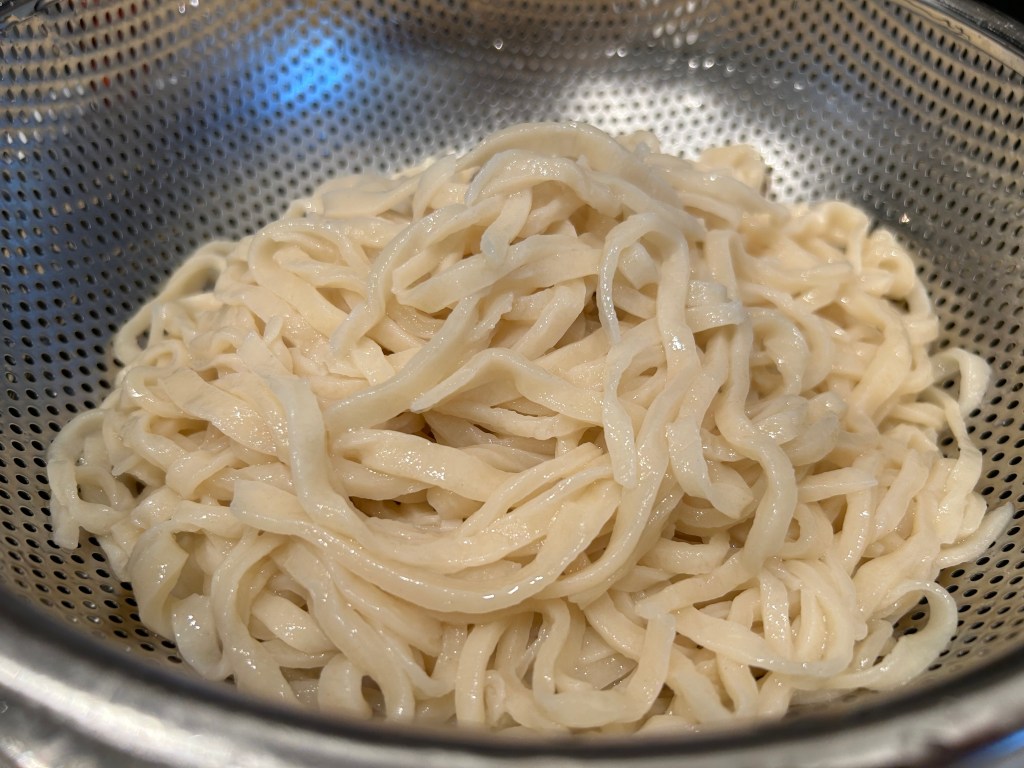
중간중간 면을 건져 색을 확인하고, 면이 전체적으로 투명해지면 꺼내어 완성합니다.
Check the noodles occasionally; once they turn translucent, drain them and enjoy!

댓글 남기기