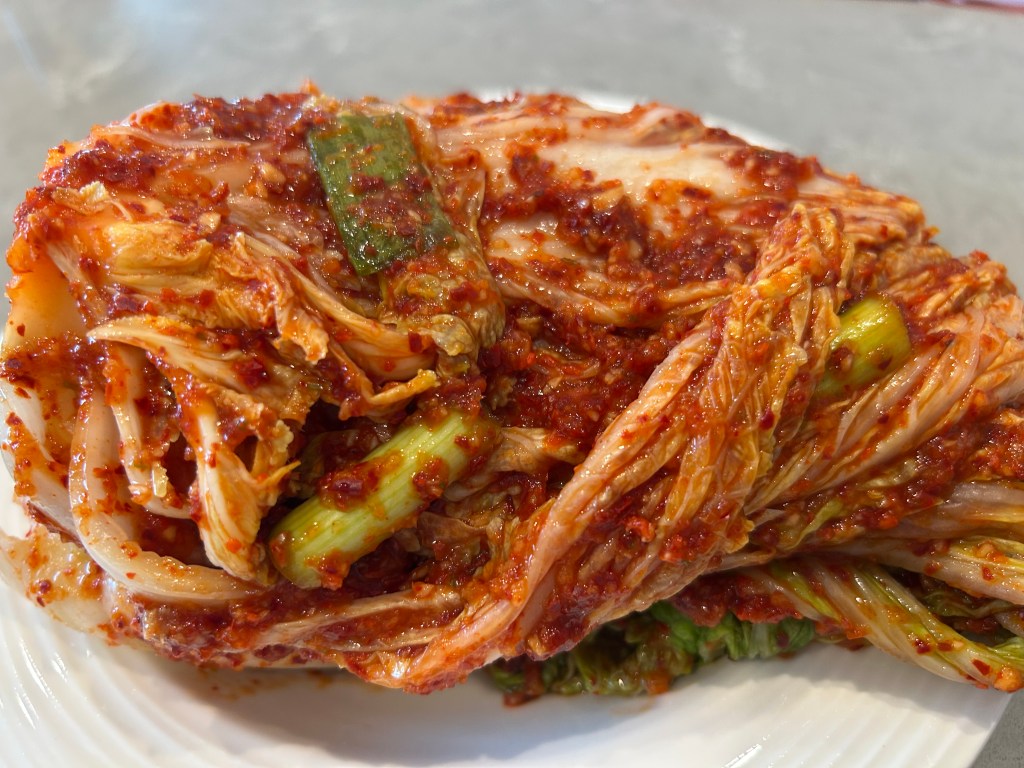
재료 (Ingredients):
배추 절임 (Pickling Cabbage)
나파배추 2포기 (Napa Cabbage 2 heads)
물 3.5L (Water 3.5L)
소금 500ml (Salt 500ml)
배추 위에 뿌릴 소금 1/3 cup (Coarse Salt to sprinkle on cabbage 1/3 cup)
찹쌀풀 만들기 (Glutinous Rice Porridge)
건식 찹쌀가루 1/4 cup (Dry Glutinous Rice Flour 1/4 cup)
물 1 cup (Water 1 cup)
야채 베이스 (Vegetable Base)
사과 1개 (Apple 1)
양파 1개 (Onion 1)
파 3뿌리 (Green Onions 3 stalks)
양념 만들기 (Seasoning Paste)
고춧가루 1/2 cup + 1/4 cup (Korean Red Pepper Flakes / Gochugaru 1/2 cup + 1/4 cup)
피시소스 1/2 cup (Fish Sauce 1/2 cup)
마늘 1/3 cup (Minced Garlic 1/3 cup)
설탕 1/4 cup + 3 TBSP (Sugar 1/4 cup + 3 TBSP)
소금 1 TBSP (Salt 1 TBSP)
파 3뿌리 (Green Onions 3 stalks)
Instructions:
배추 절이기– 나파배추 2포기를 사용했습니다. 캐나다의 나파배추는 한국의 배추와는 다르게 줄기 부분이 많이 연합니다. 수분이 많은 것처럼 단단함이 덜합니다.그래서 절여주는 과정이 중요한데 많이 절이면 수분이 너무 날아가서 아삭한맛이 덜합니다. 쉽게 설명해서 줄기 부분을 먹을 때 잎파리부분을 먹는 것처럼 먹을 때 젓가락에 잘 감깁니다. 반대로 덜 절여지면 줄기 부분 수분이 나와서 싱거워 지거나 밍밍한 맛이 겉돌게 됩니다. 이것이 나파배추의 단점 입니다. 그럼에도 배추를 구해서 김치를 만들어 먹을 수 있음에 감사합니다.
Salting the Cabbage – I used 2 heads of Napa cabbage. Unlike Korean cabbages, Napa cabbage in Canada has much softer stalks. They feel less firm, as if they hold more moisture. That is why the salting process is so crucial: if over-salted, too much moisture gets drawn out, leaving them less crispy. To put it simply, when eating the stalk, it wraps around your chopsticks easily, almost like a leaf. On the other hand, if under-salted, moisture releases from the stalk later, diluting the flavor and making the kimchi taste bland or watery. This is the downside of Canadian Napa cabbage. Nevertheless, I am grateful to be able to find cabbage here and make kimchi to enjoy.
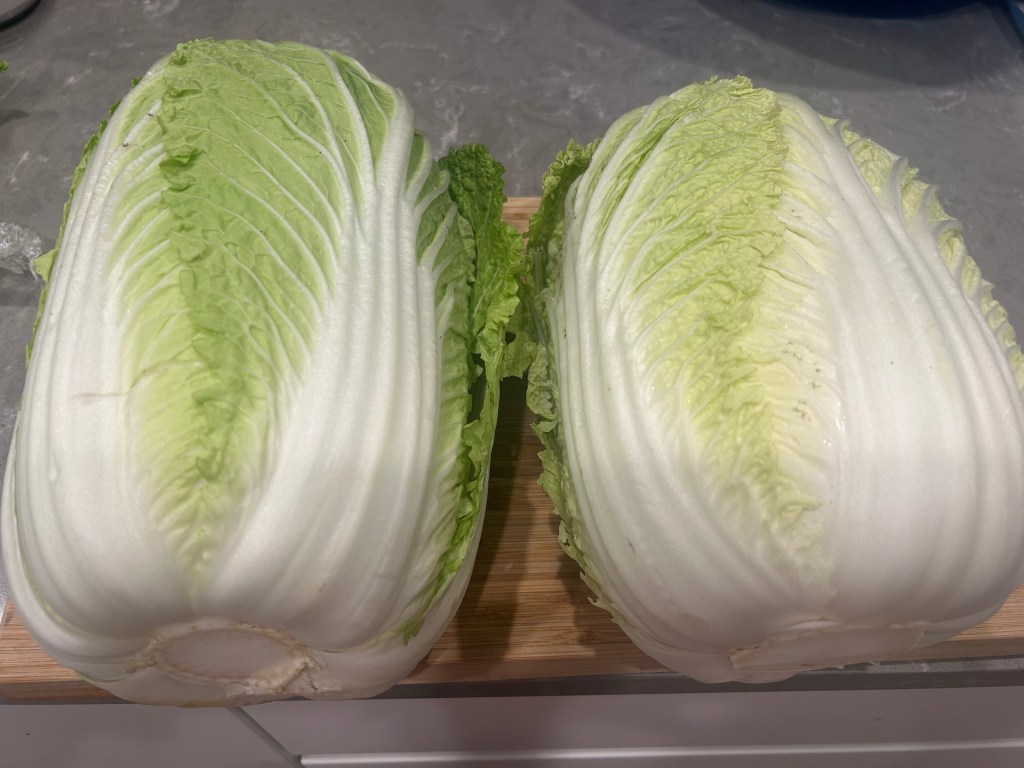
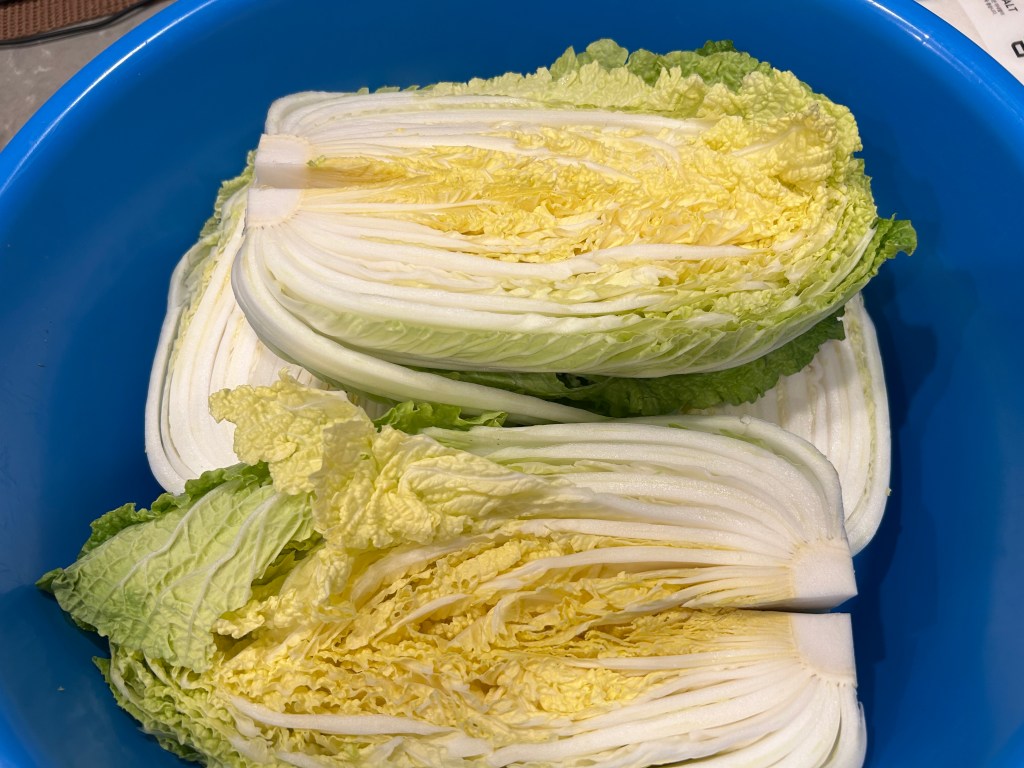
배추2포기를 통으로 반을 갈라줍니다. 배추는 씻지 않고 너무 지저분한 겉잎몇장만 손질해주고 바로 사용합니다 물에 씻게 되면 배추 사이로 들어간 물로 인해 정확한 소금 절임이 힘들고 나중에 충분히 씻어주기 때문에 괜찮습니다.
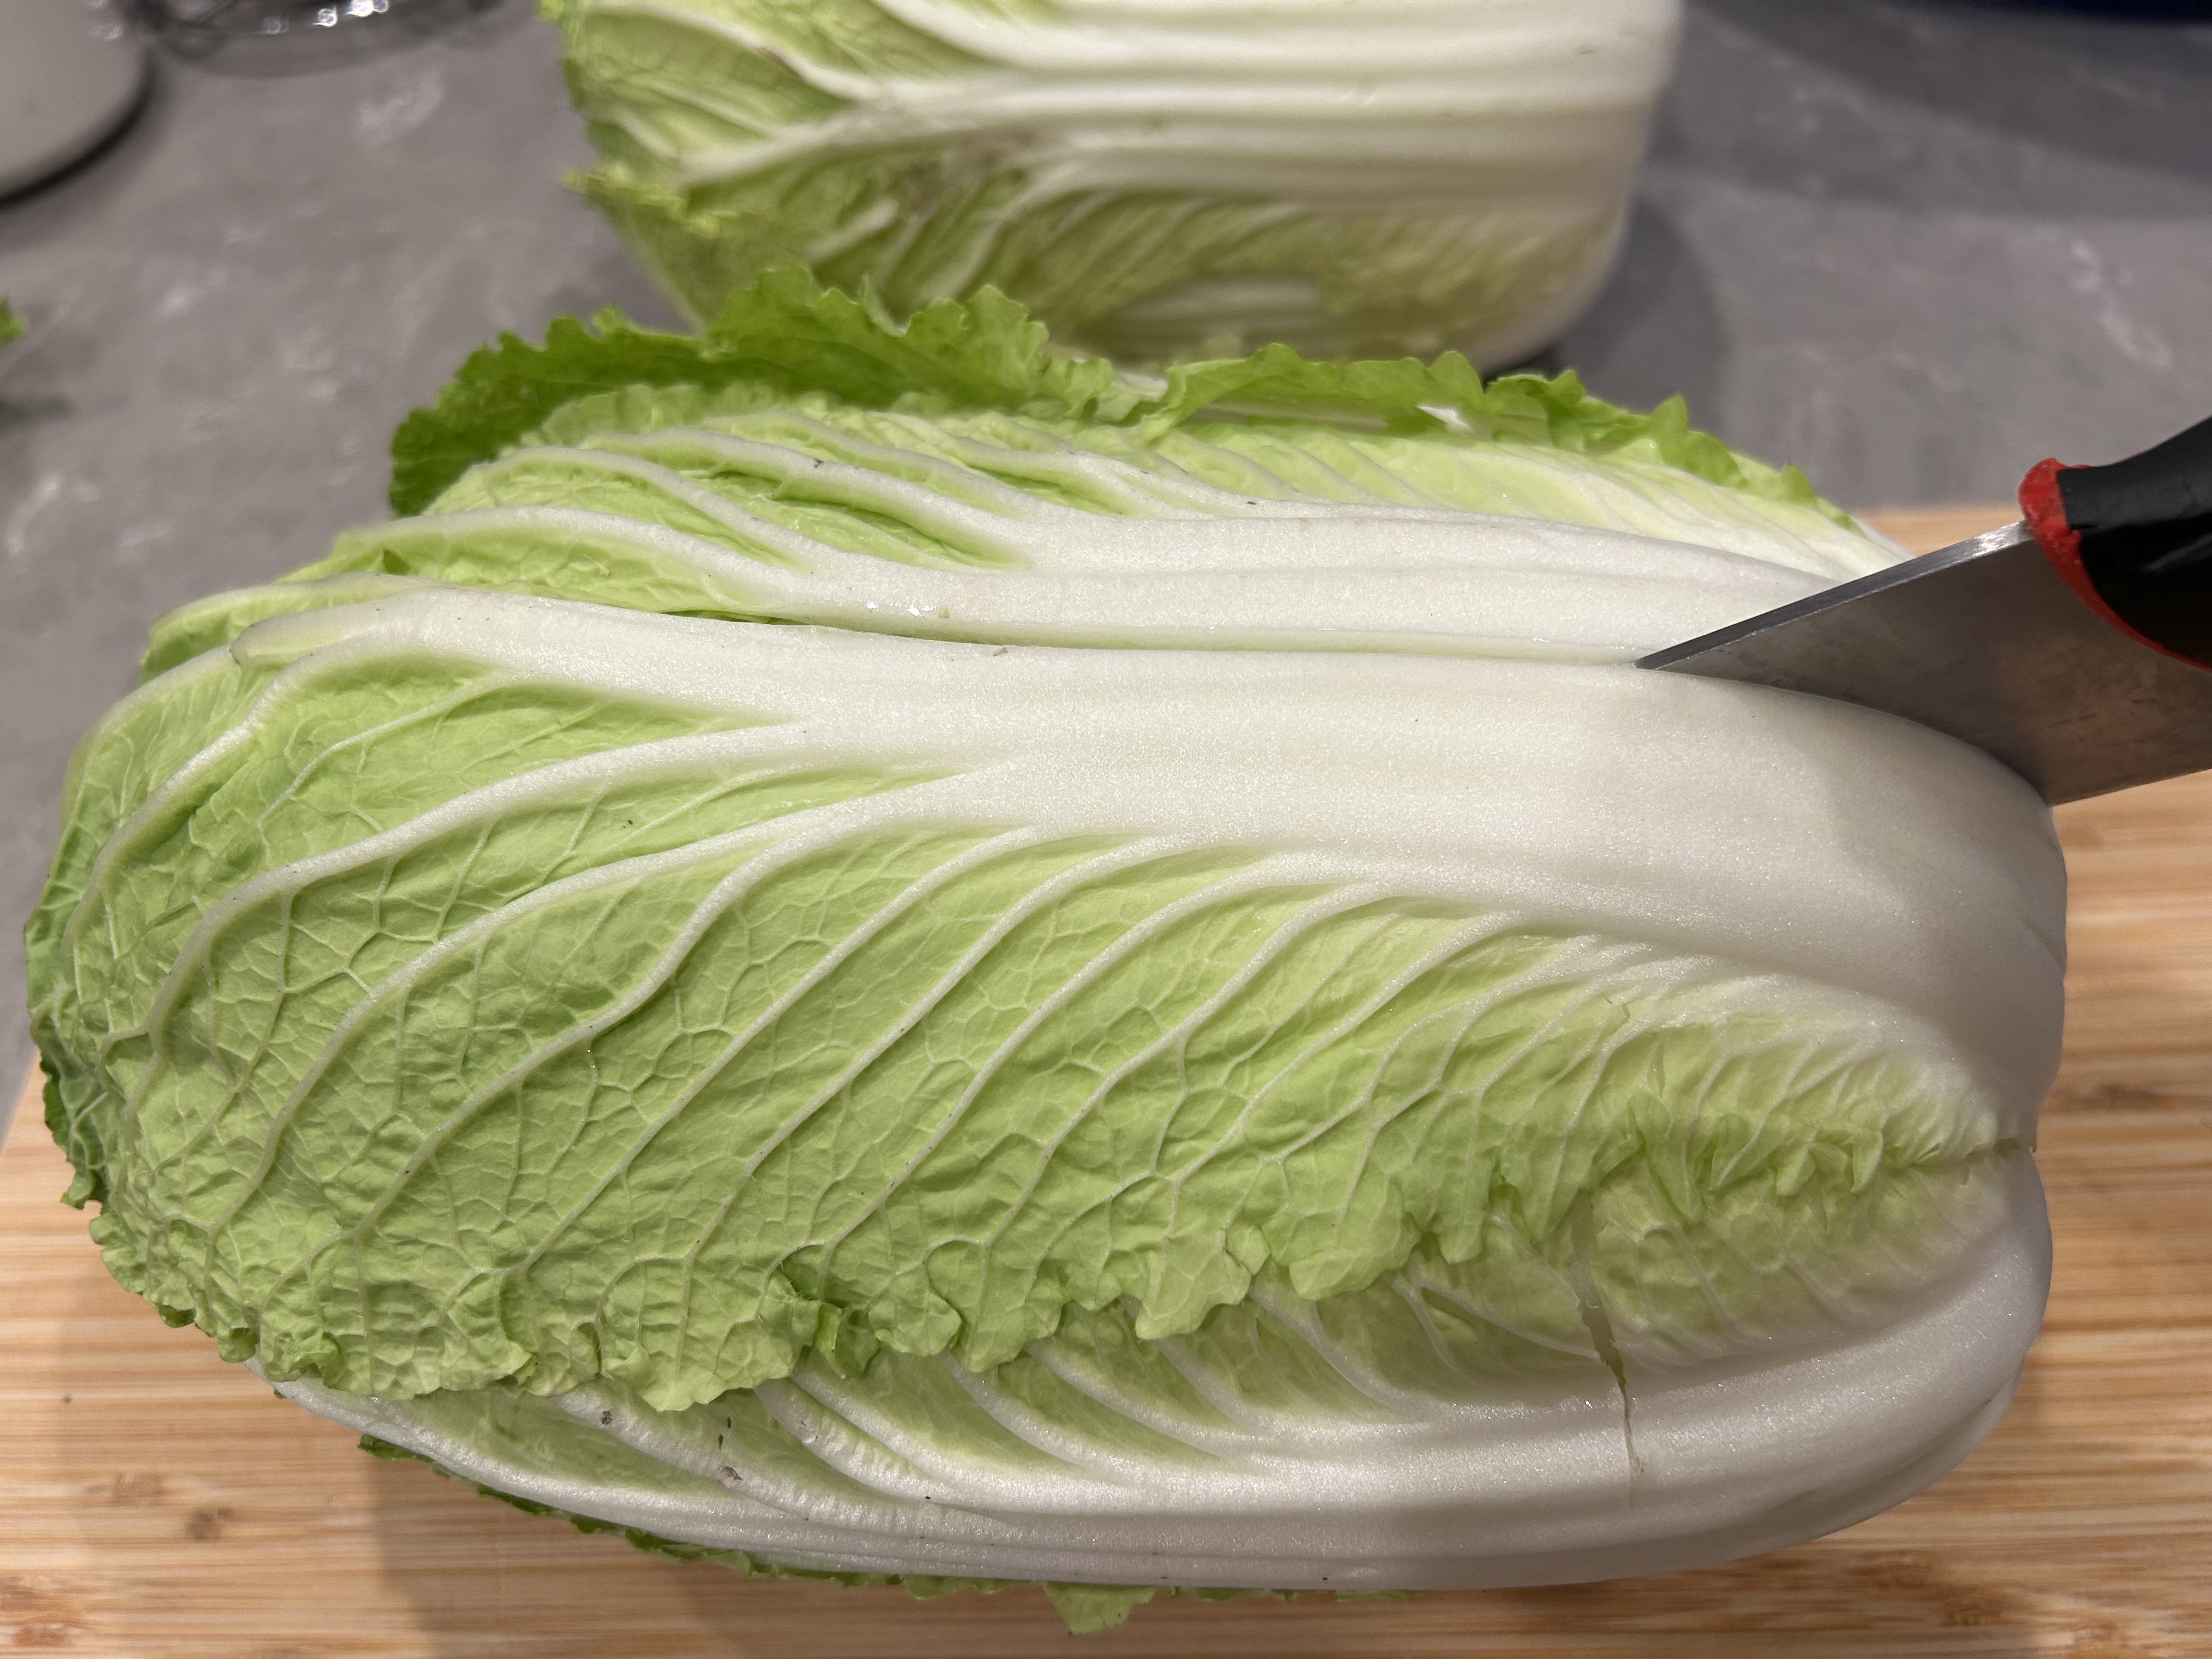
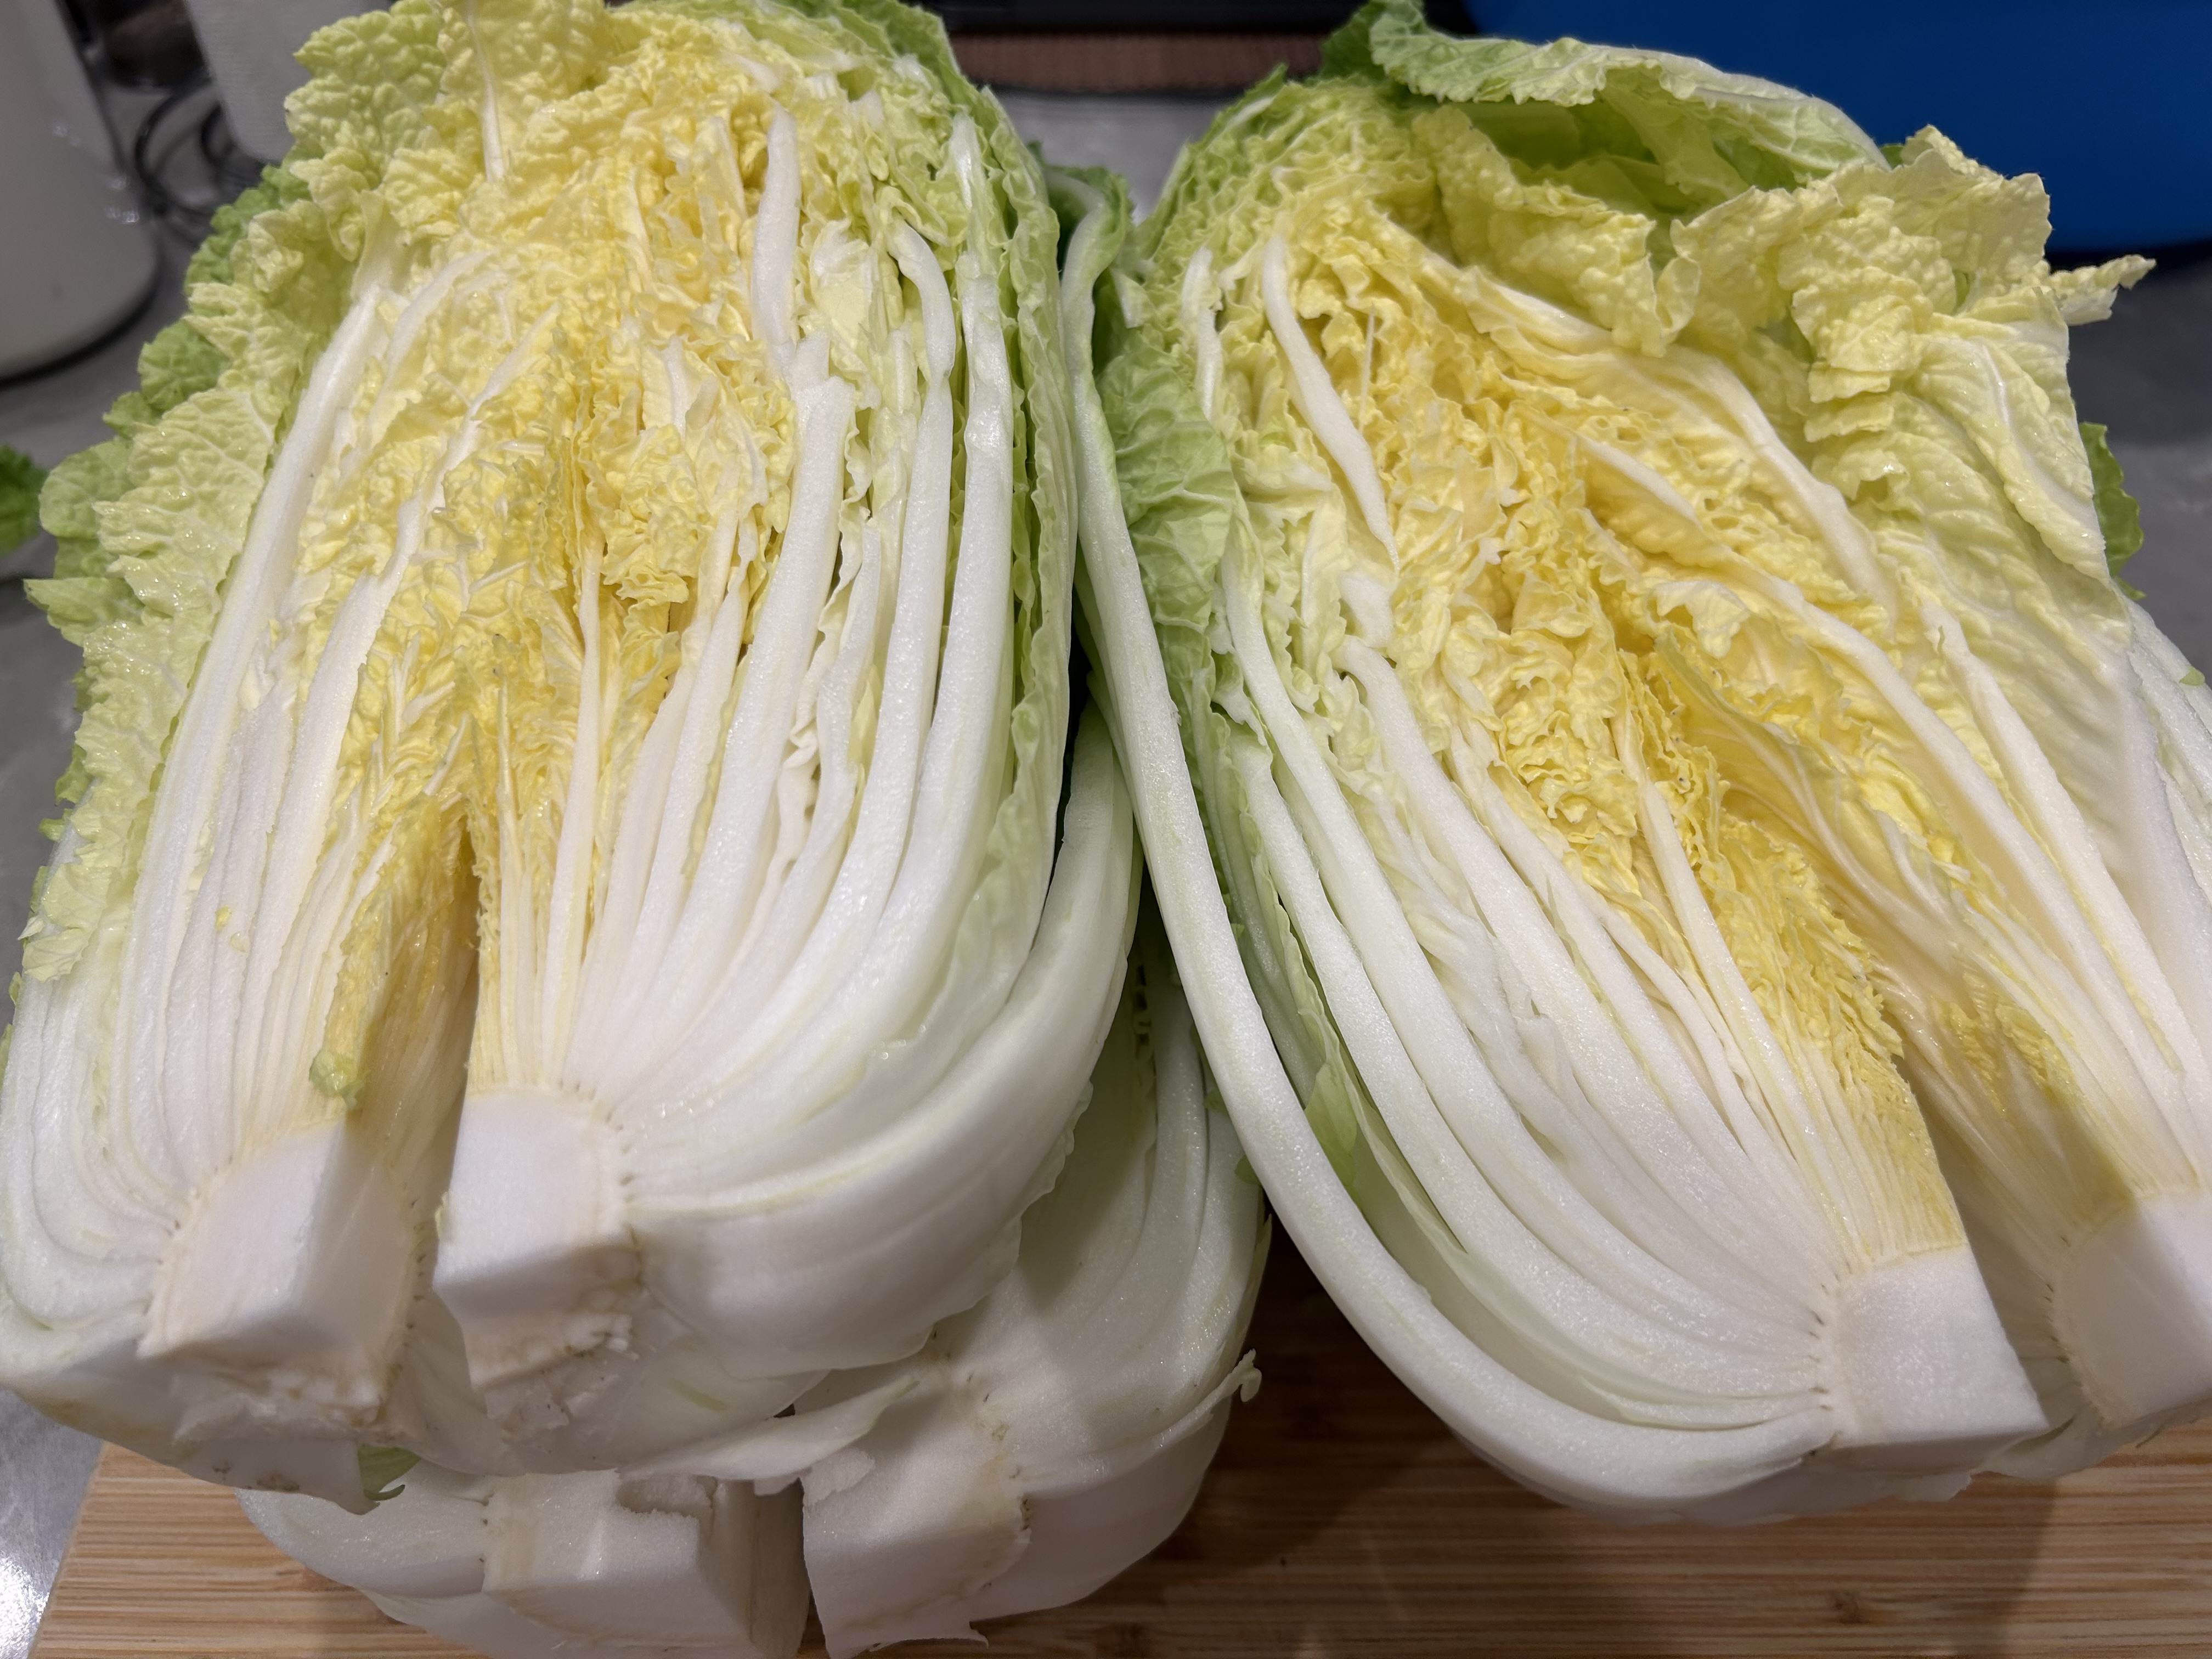
반으로 갈라진 배추의 심지 부분만 칼집을 넣어주고 나머지는 자르지 않습니다.
Cut two heads of Napa cabbage in half lengthwise. Do not wash the cabbages beforehand; simply trim off a few of the dirtiest outer leaves and use them right away. If you wash them first, the water trapped between the leaves makes it difficult to get an accurate salt cure, and since they will be thoroughly washed later, it is completely fine.
Make a small slit only at the core of each halved cabbage, leaving the rest uncut.
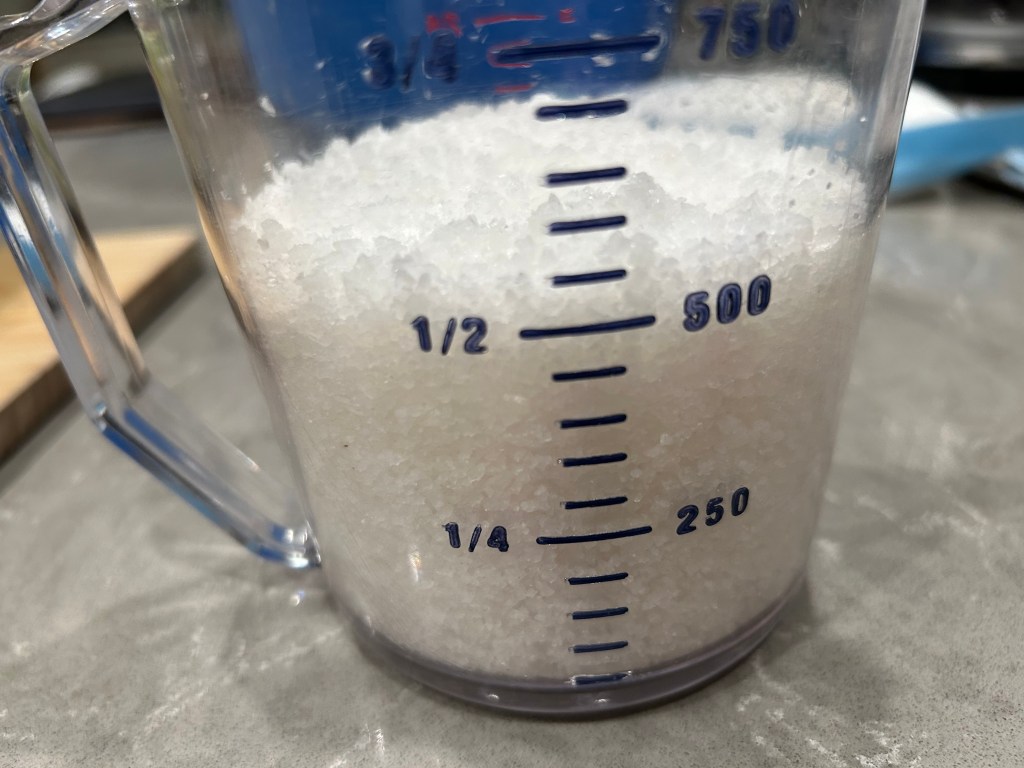
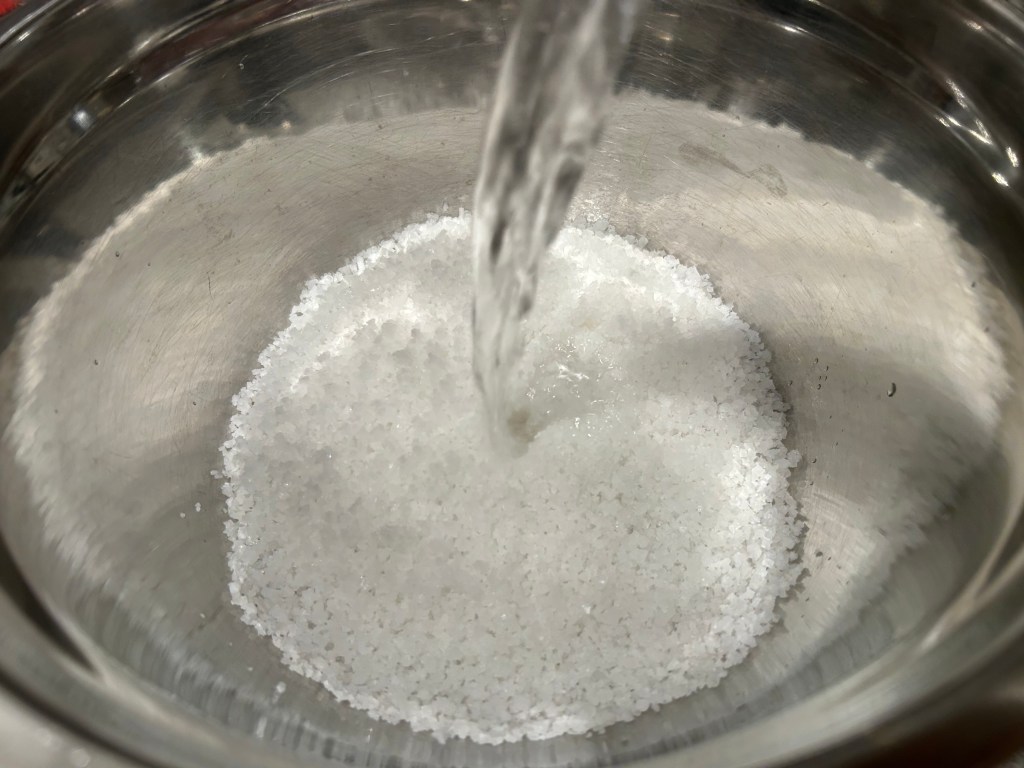
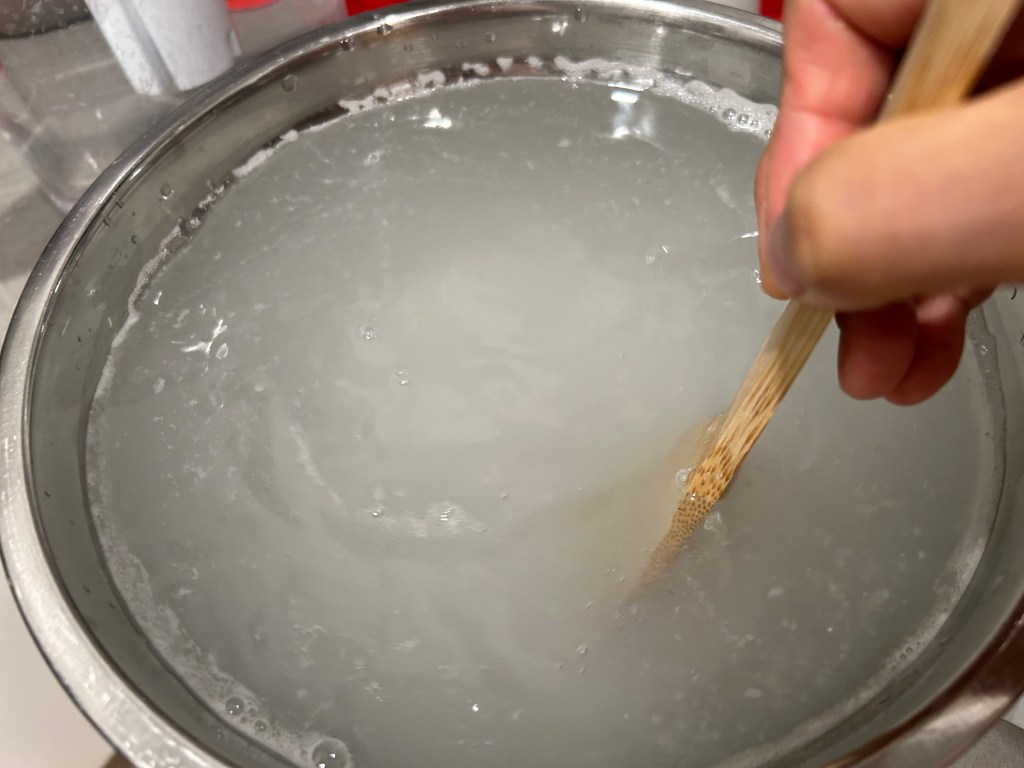
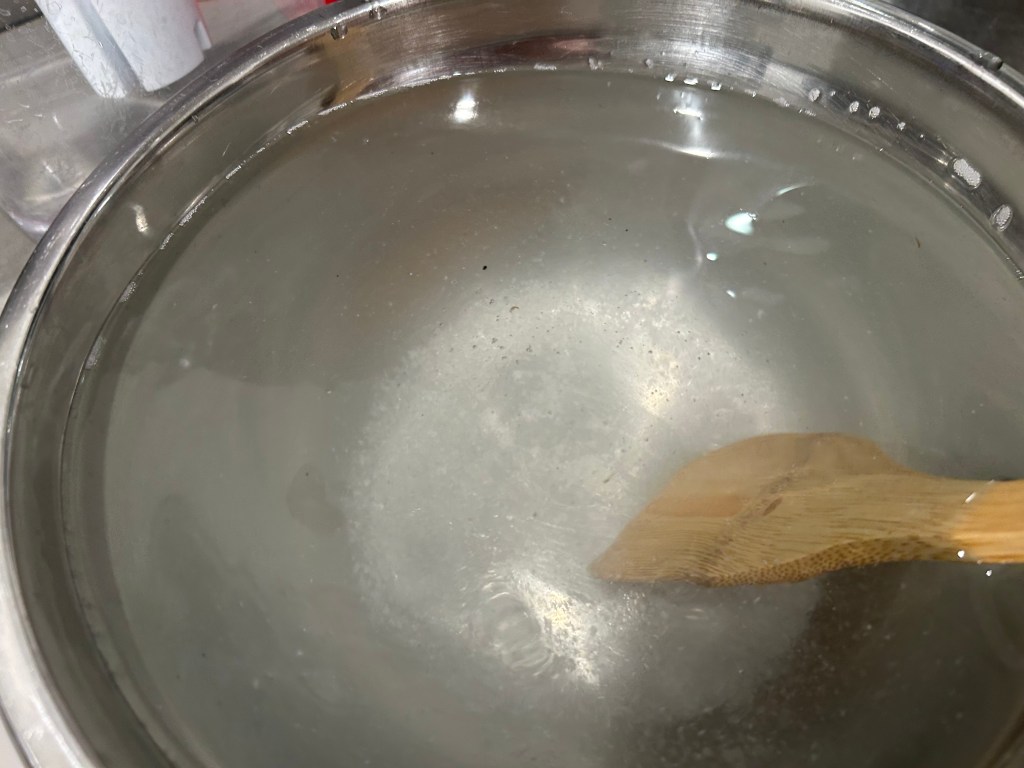
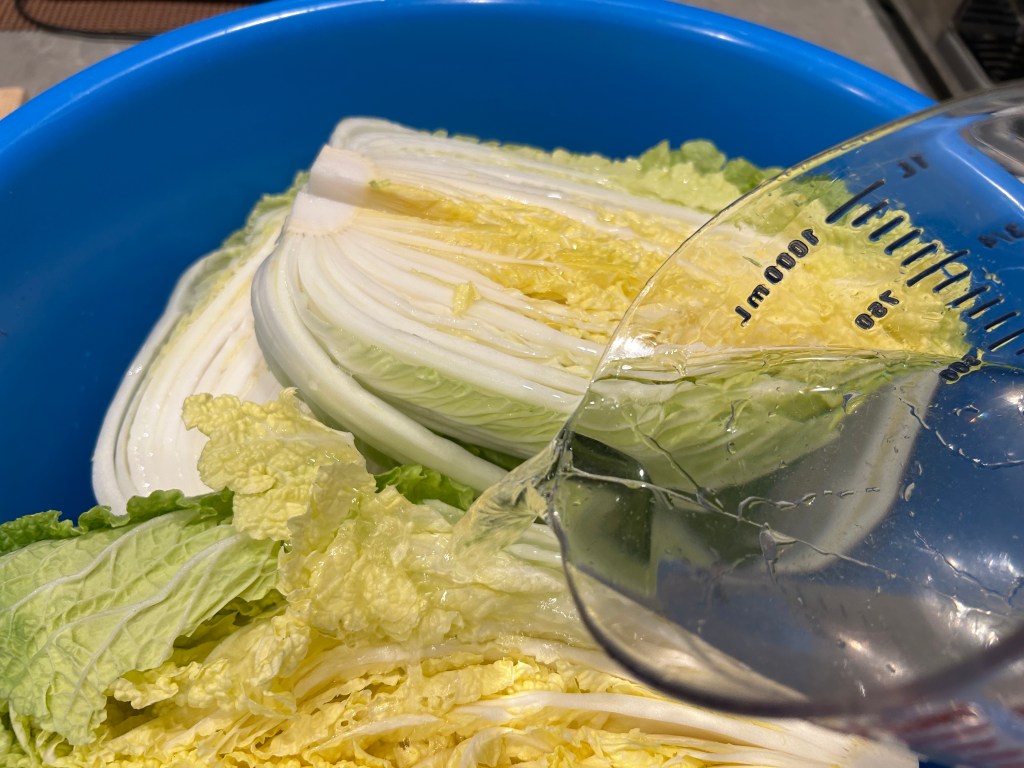
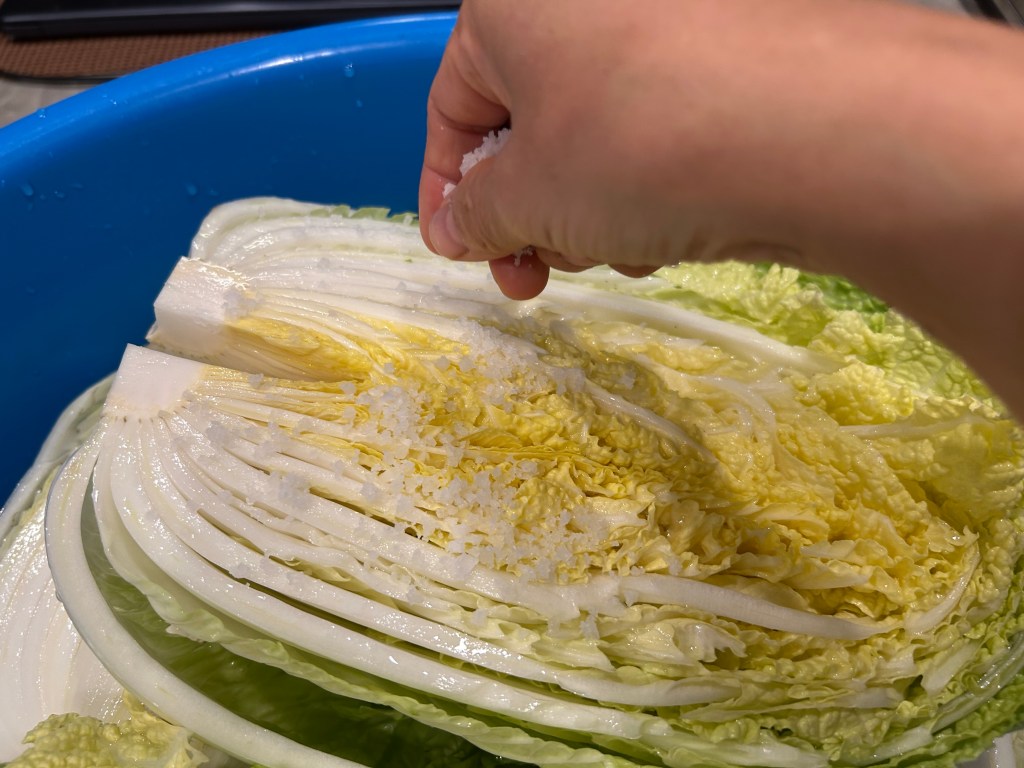
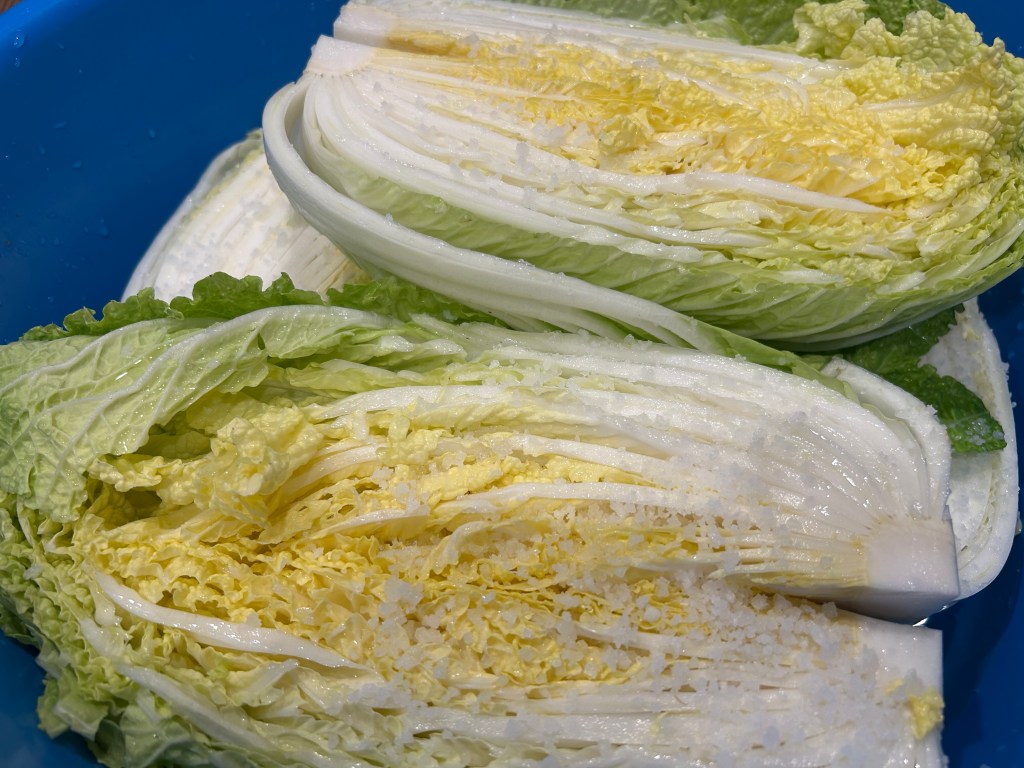
물 3.5L에 굵은 소금 500ml 을 넣어 완전히 녹여 줍니다. 녹여준 물을 배추 위에 부어주는데 촘촘한 사이사이로 물이 들어가게 부어줍니다. 물이 부족한 듯 해도 절여 지는 동안에 뒤집어주고 눌러줄 것이라 충분합니다. 소금물을 다 부어진 배추의 줄기 부분에 소금1/3cup을 뿌려 단단한 줄기에 소금을 더해 줍니다.
마지막으로 배추 위에 무거운 것을 올려주어서 절이 는 동안 배추가 뜨지 않게 해줍니다.
Dissolve 500ml of coarse salt completely in 3.5L of water. Pour the salted water over the cabbage halves, ensuring it gets thoroughly between all the tightly packed layers. Even if it seems like there is not enough water, it is plenty, as you will flip and press the cabbage down during the salting process. Once all the salt water is poured over, sprinkle 1/3 cup of salt directly onto the thick stems of the cabbages to give them extra salting.
Finally, place a heavy object on top of the cabbage so it stays submerged and does not float while salting.
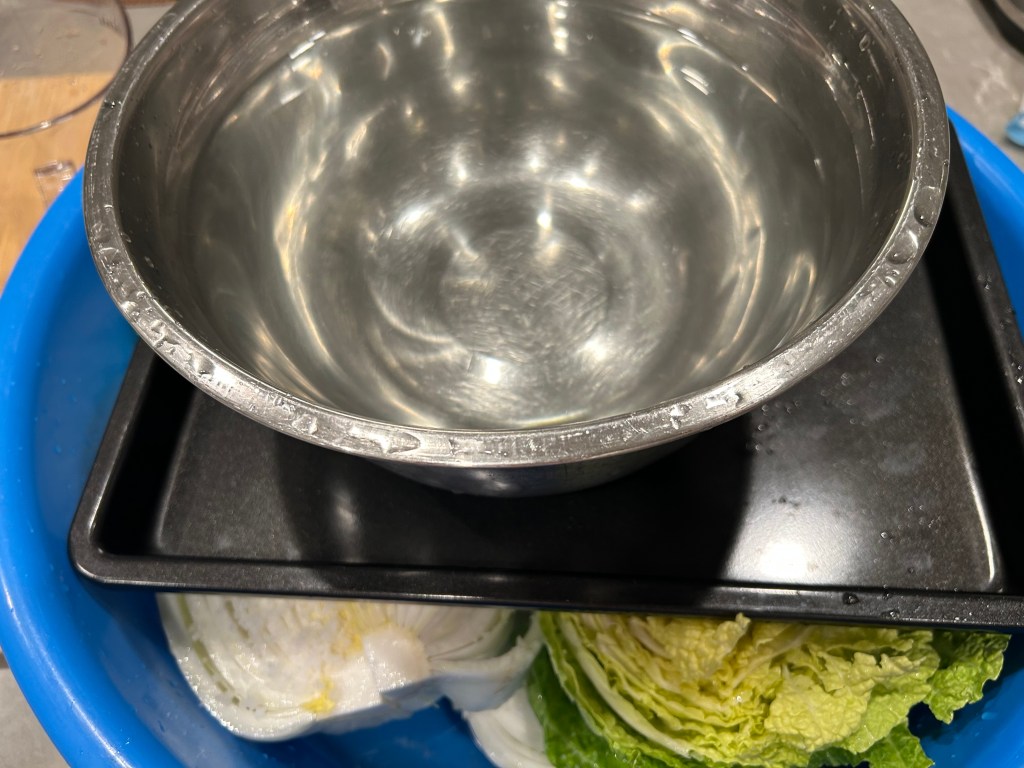
12시간을 절여줍니다. 배추를 절이 는 것이 많이 어려울 때가 있습니다. 겨울이 다르고 여름이 다르지만 이 방법은 겨울이든 여름이든 상관없이 일정하게 절여집니다. 시간이 오래 걸리고 대체로 하룻밤을 절이 는 경우이지만 제일 배추 절임에 실패가 없습니다. 이곳에 한국 마트도 없어 배추를 박스로 살 수 없고 산다고 해도 파운드 가격이라 엄청 비쌉니다. 또한 우리가 고양이를 키우고 있기도 해서 실패 없이 자주 2포기를 담그고 있습니다.
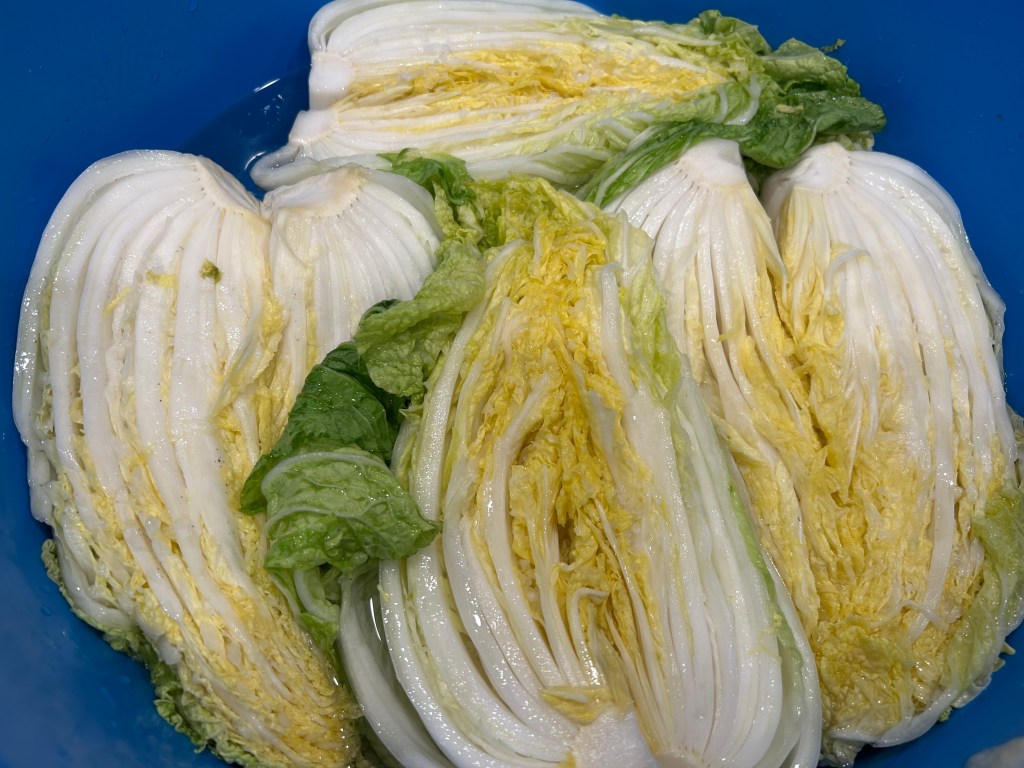
5시간이 지난 배추 입니다. 위 아래를 뒤집어 주면 됩니다.
Salt the cabbage for 12 hours. Salting cabbage can often feel tricky, as the process varies between winter and summer. However, this method yields consistent results regardless of the season. Although it takes longer and usually involves overnight salting, it is the most foolproof way to avoid failure. Since there are no Korean grocery stores nearby, buying cabbage by the box isn’t an option, and buying it by the pound can be quite expensive. Having pets to take care of as well, I regularly make smaller 2-head batches without fail using this reliable method.
This is the cabbage after 5 hours. Simply flip the top and bottom layers to ensure even salting.
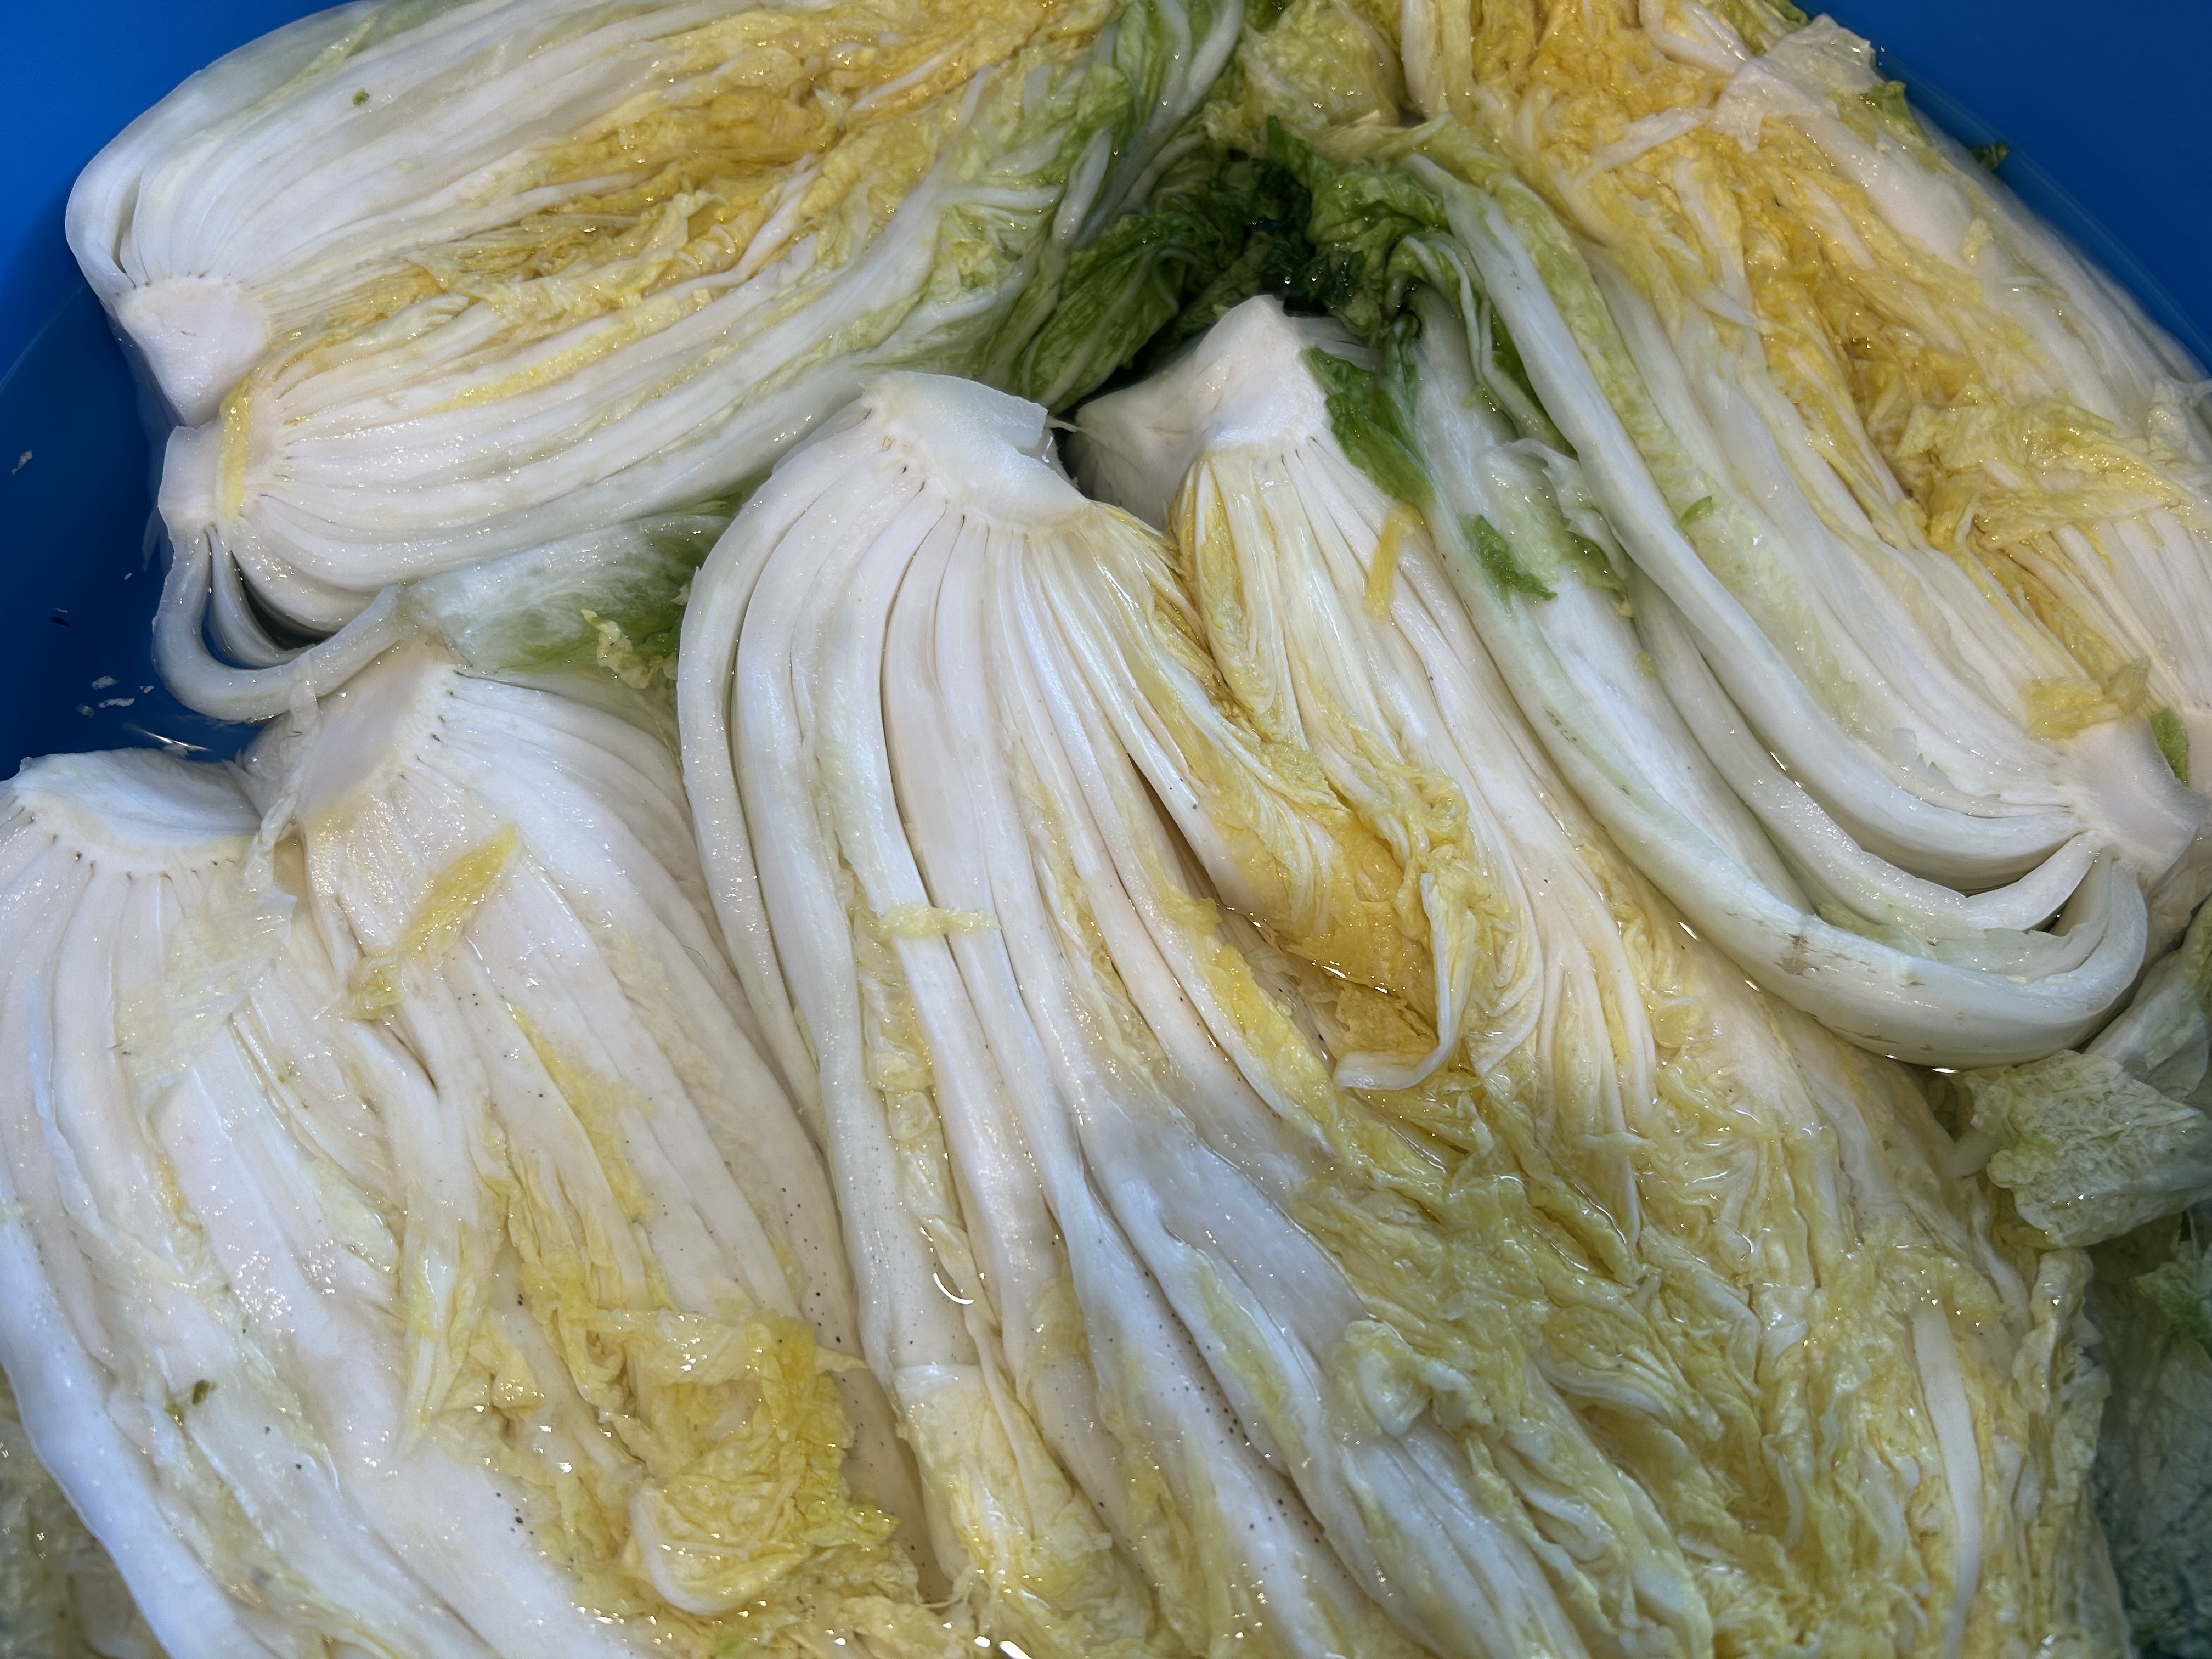
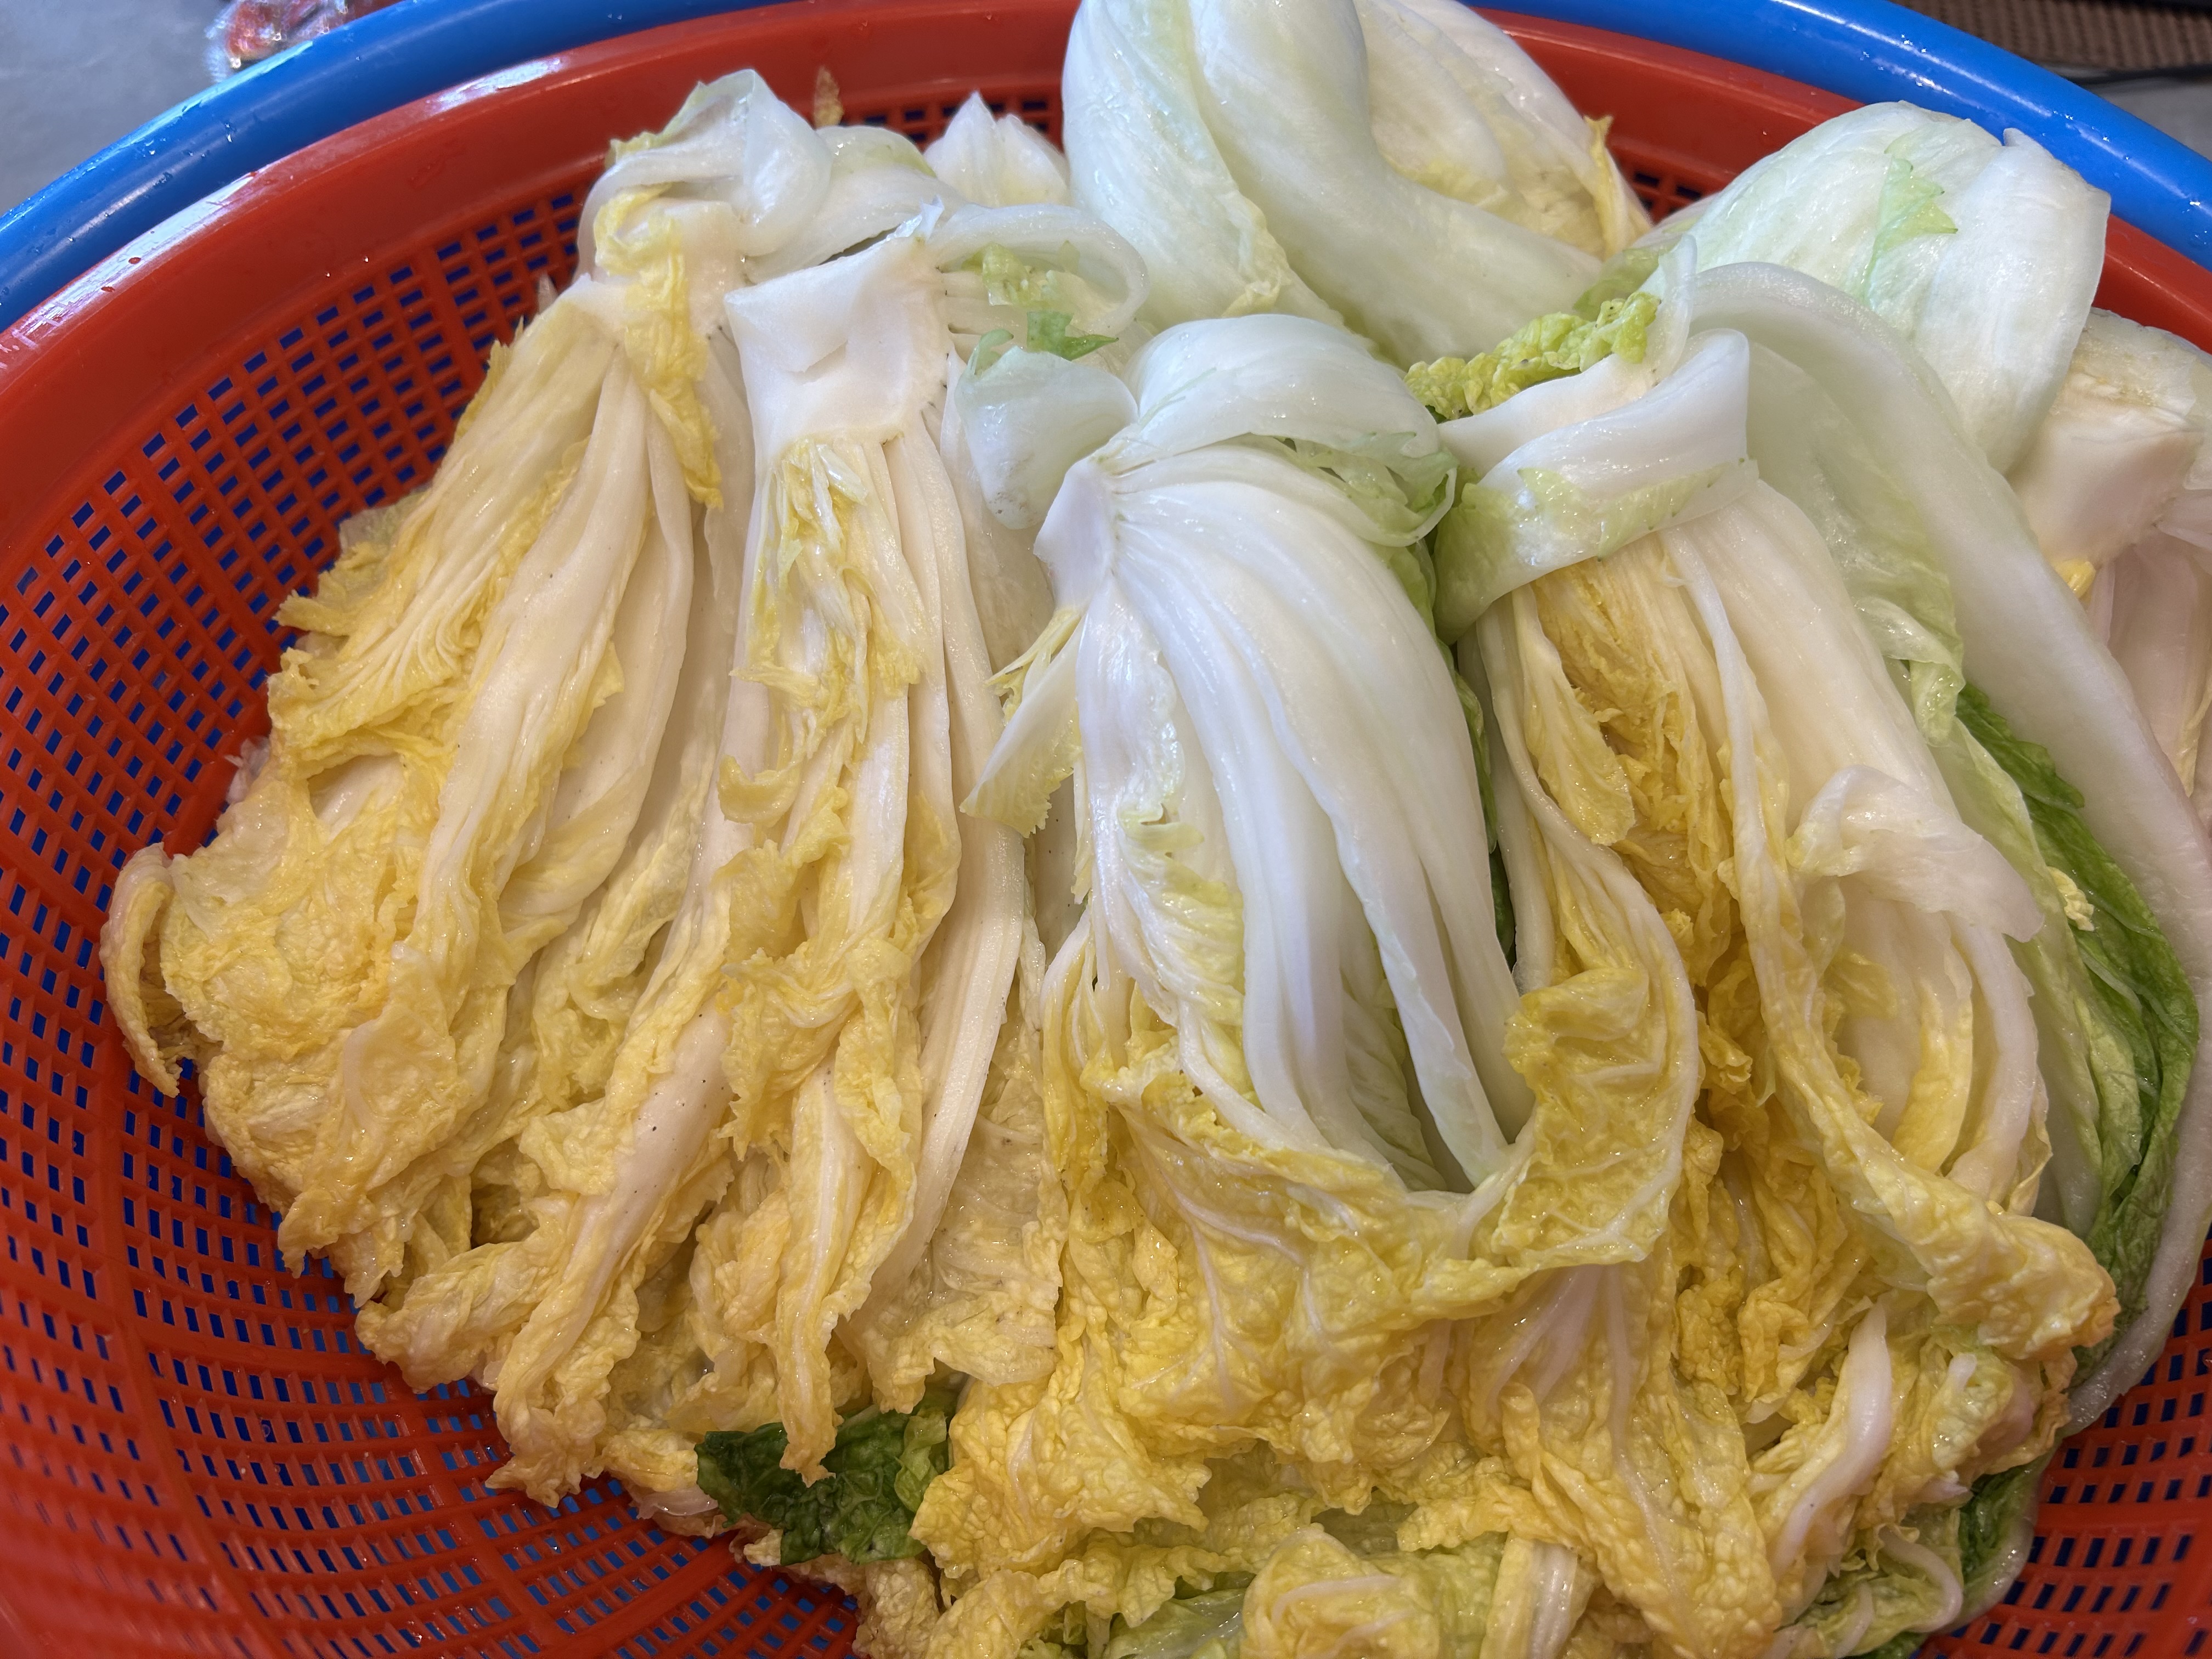
다음날 아침 입니다. 잘절여진 배추를 여러 번 깨끗이 씻어 줍니다. 3~4번 정도면 충분 합니다. 씻어진 배추를 채에 받쳐서 1시간 물을 빼줍니다. 너무 오래 빼면 배추의 줄기 부분이 살아나듯 뻣뻣해져서 양념 버무리기 어렵습니다.
The next morning, thoroughly wash the well-salted cabbage several times. Washing it 3 to 4 times is plenty. Place the rinsed cabbage in a colander and let it drain for 1 hour. If left to drain for too long, the cabbage stems can stiffen up again as if coming back to life, making it difficult to coat them with the seasoning paste.
이때 찹쌀 풀을 만들어 줍니다. 건식찹쌀가루를 사용했고 월 마트나 현지마켓에서 구할 수 있습니다. 아시아 제품 코너가 있어서 필요할 때 이용하며 이 제품이 호박죽,팥죽 등 새알이 들어가는 음식에 사용하기 좋습니다.
At this time, prepare the glutinous rice porridge. I used dry glutinous rice flour, which can easily be found at Walmart or local grocery stores. They usually have an Asian section, making it convenient when needed, and this product works great for dishes that require rice cake balls, such as pumpkin porridge or red bean porridge.
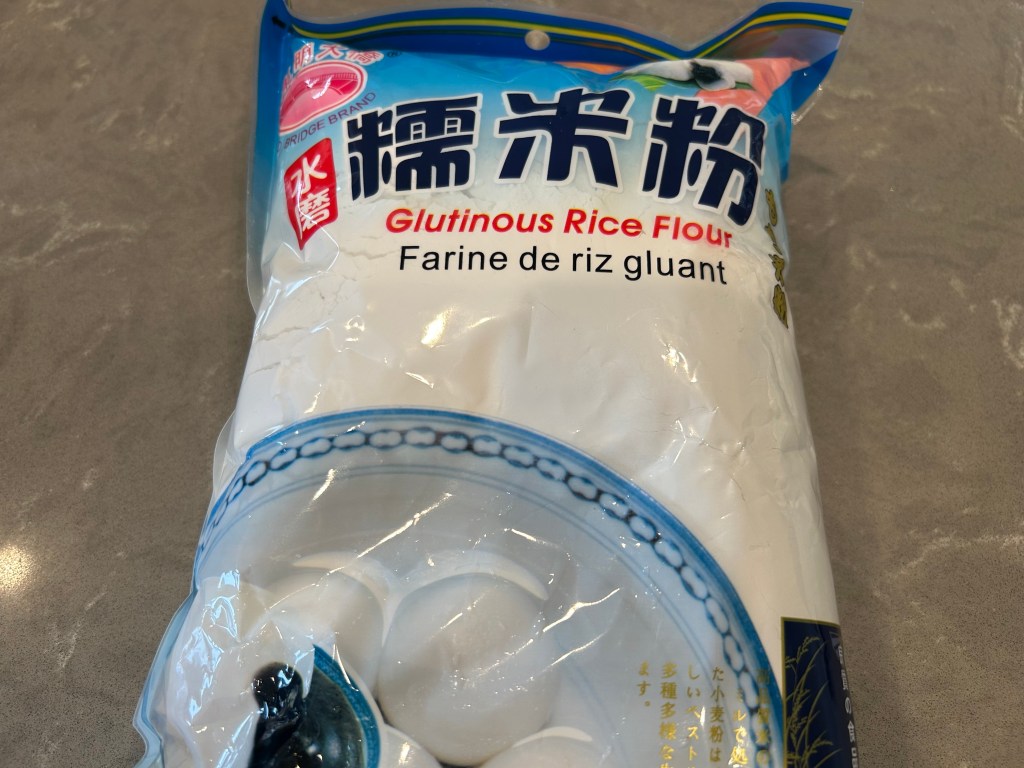
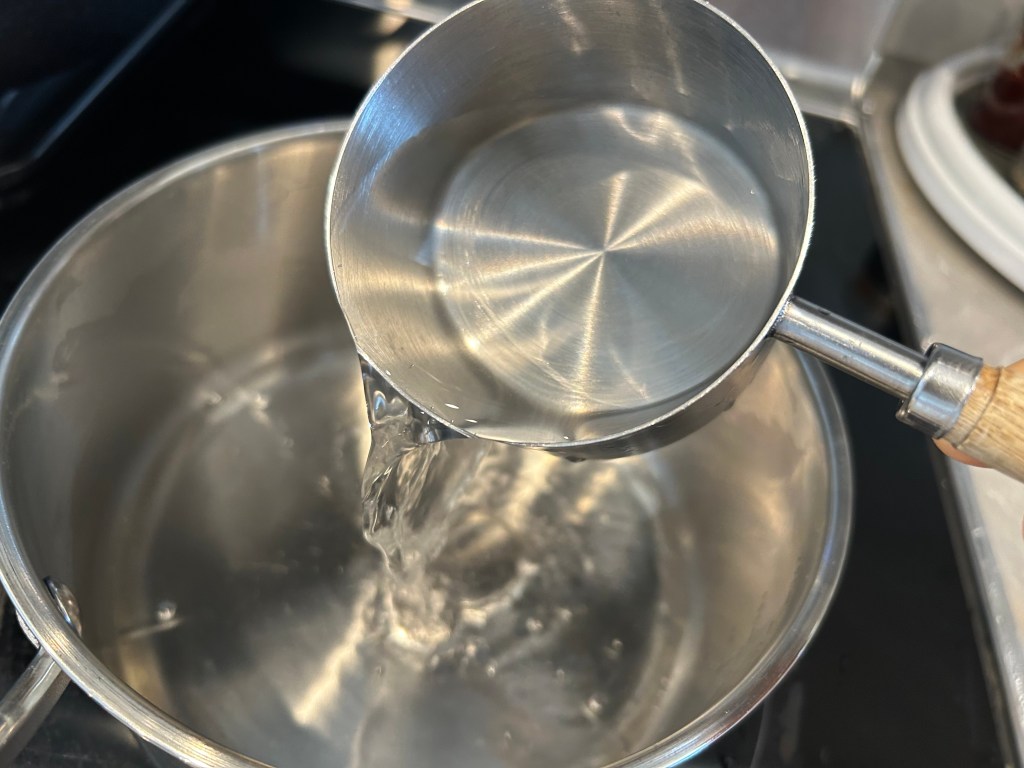
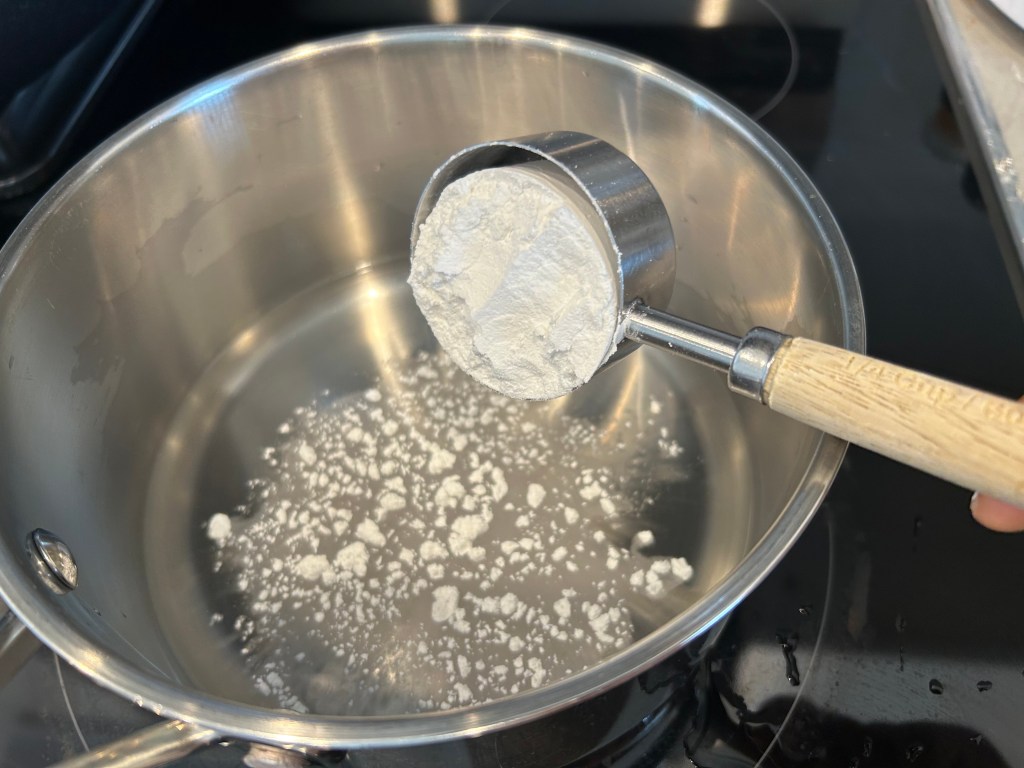
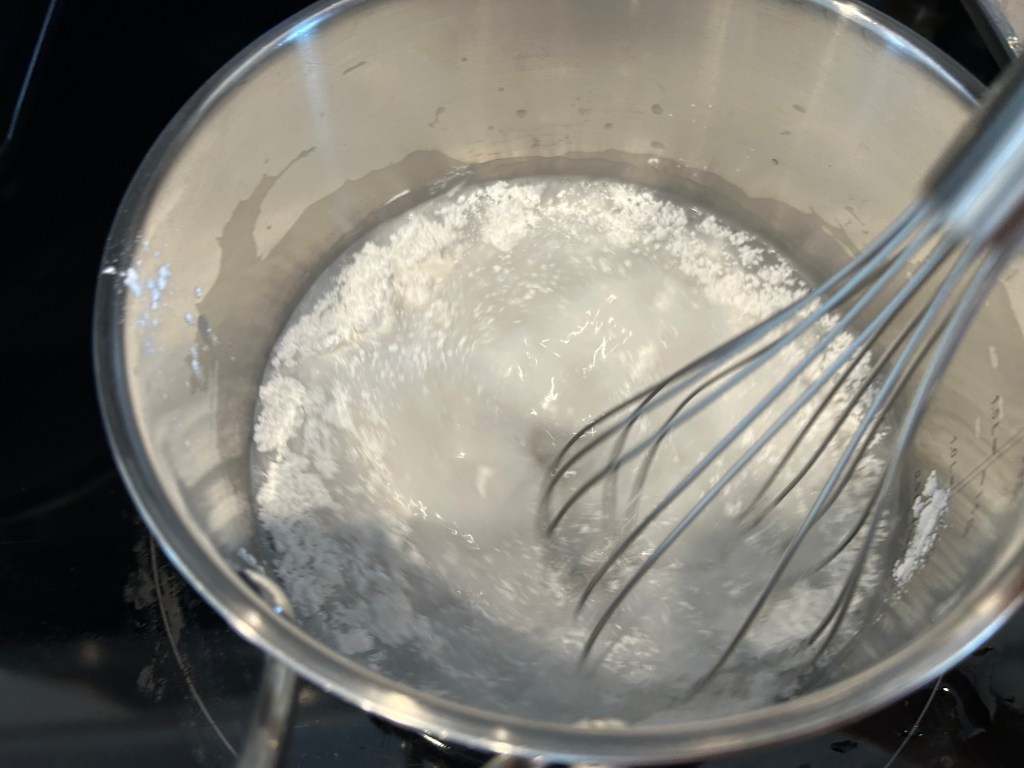
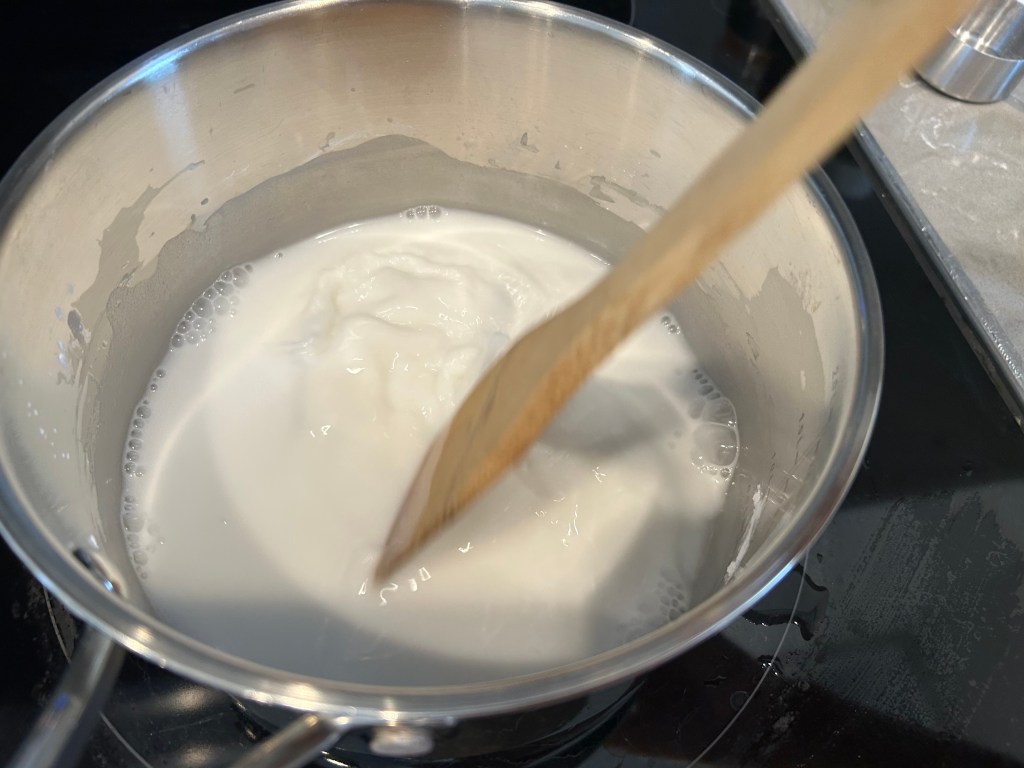
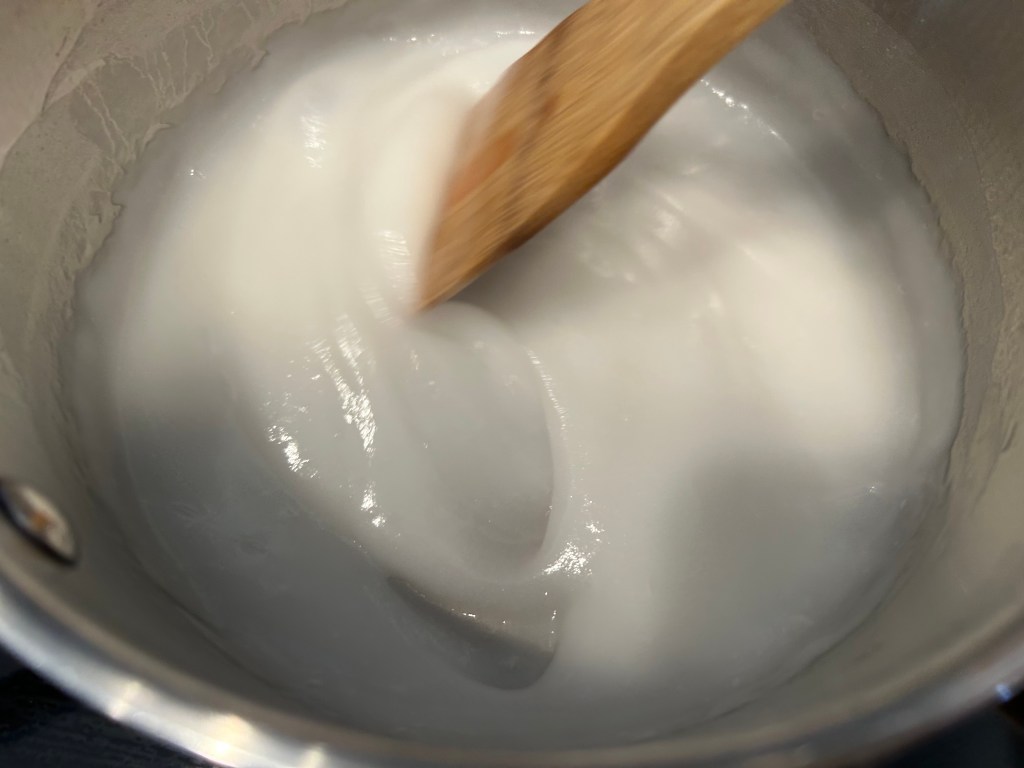
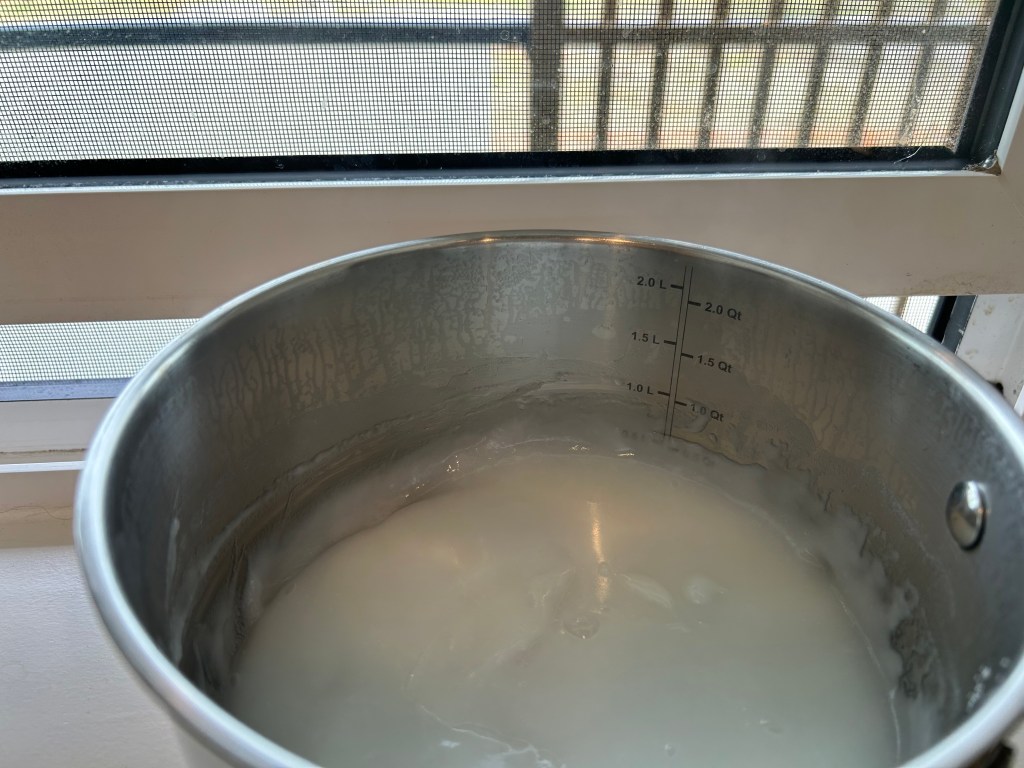
냄비에 물1cup을 붓고 건식찹쌀가루1/4cup 를 넣어 잘 풀어준 뒤 저어가면서 찹쌀 풀을 만들어 줍니다. 이 과정이 힘들면 밥3TBSP를 야채와 함께 넣어 갈아주면 되는데 찹쌀 풀이 훨씬 양념을 만들 때나 버무릴 때 잘 섞이고 배추와의 밀착이 잘되는 것 같습니다. 만들어진 찹쌀 풀을 차갑게 식혀 둡니다.
Pour 1 cup of water into a pot, add 1/4 cup of dry glutinous rice flour, and stir well until dissolved. Cook over heat while stirring continuously to make the glutinous rice porridge. If this process feels too troublesome, you can blend 3 TBSP of cooked rice together with the vegetables instead; however, glutinous rice porridge mixes much better when making and coating the seasoning paste, adhering far better to the cabbage leaves. Allow the prepared glutinous rice porridge to cool completely.
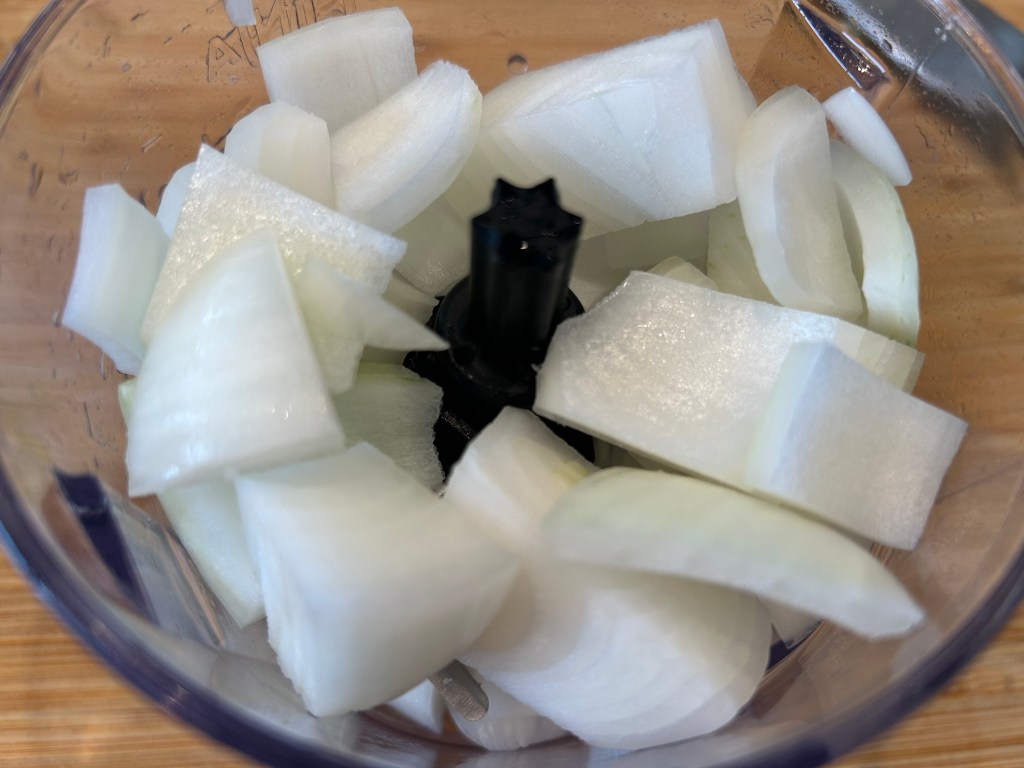
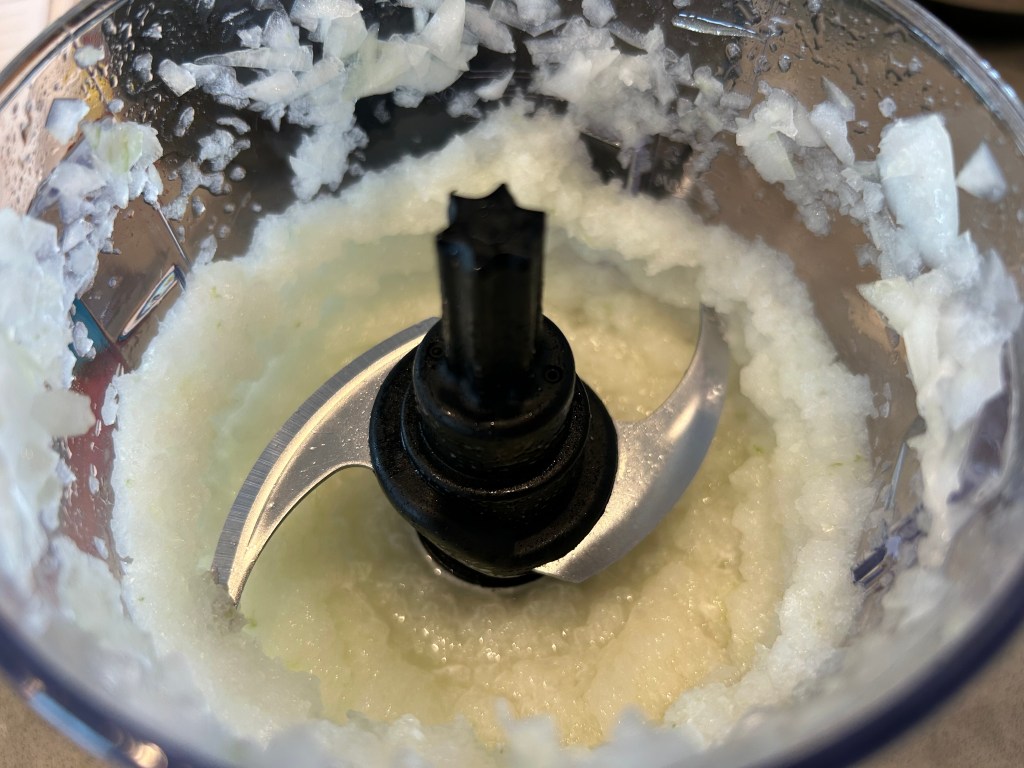
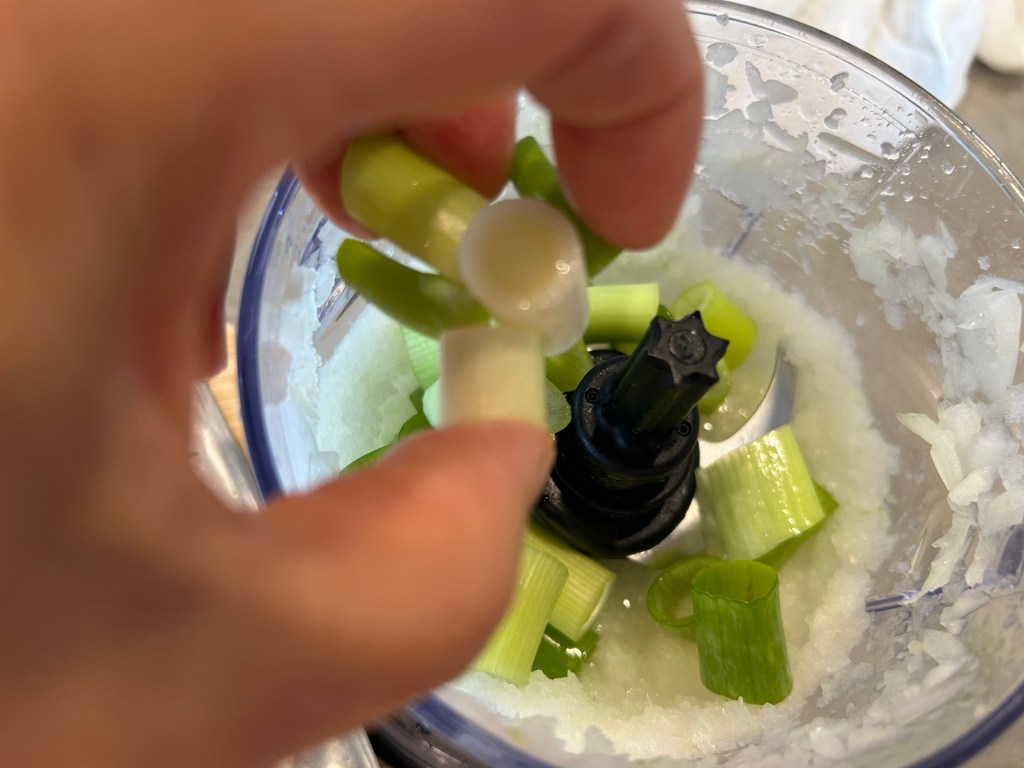
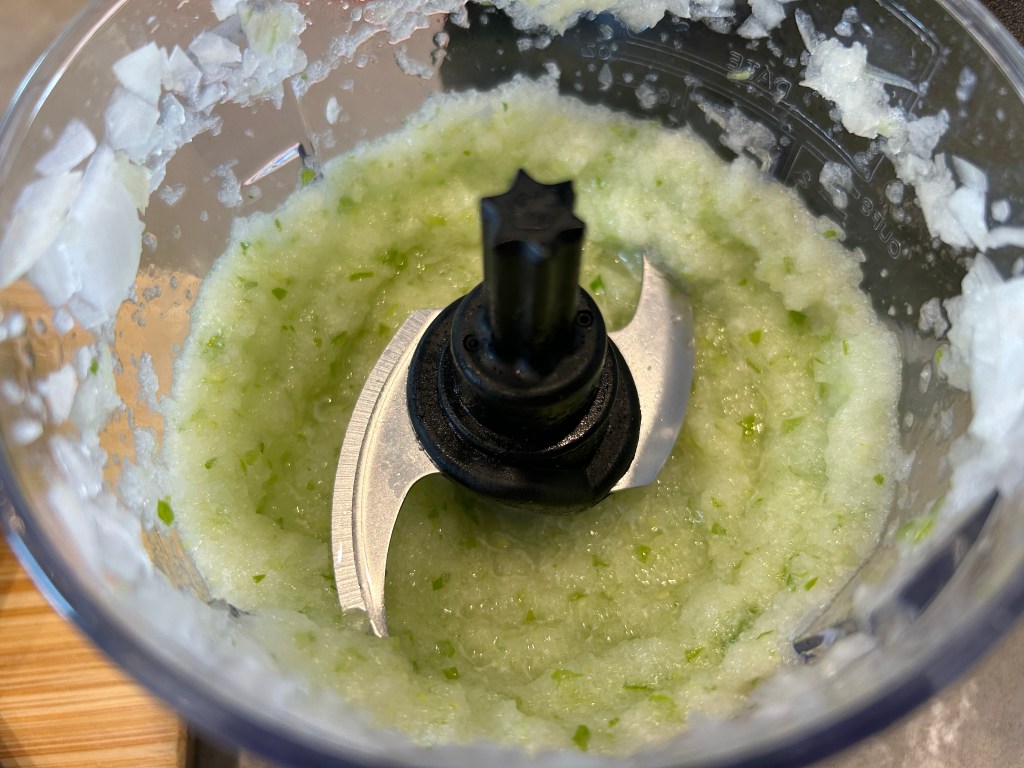
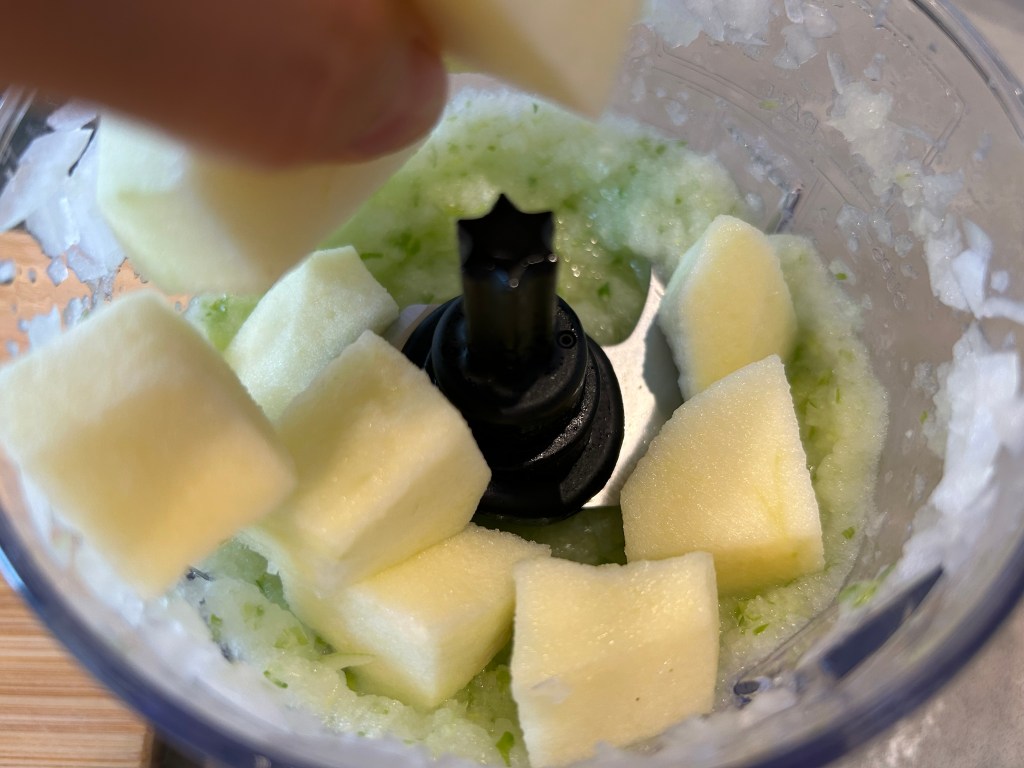
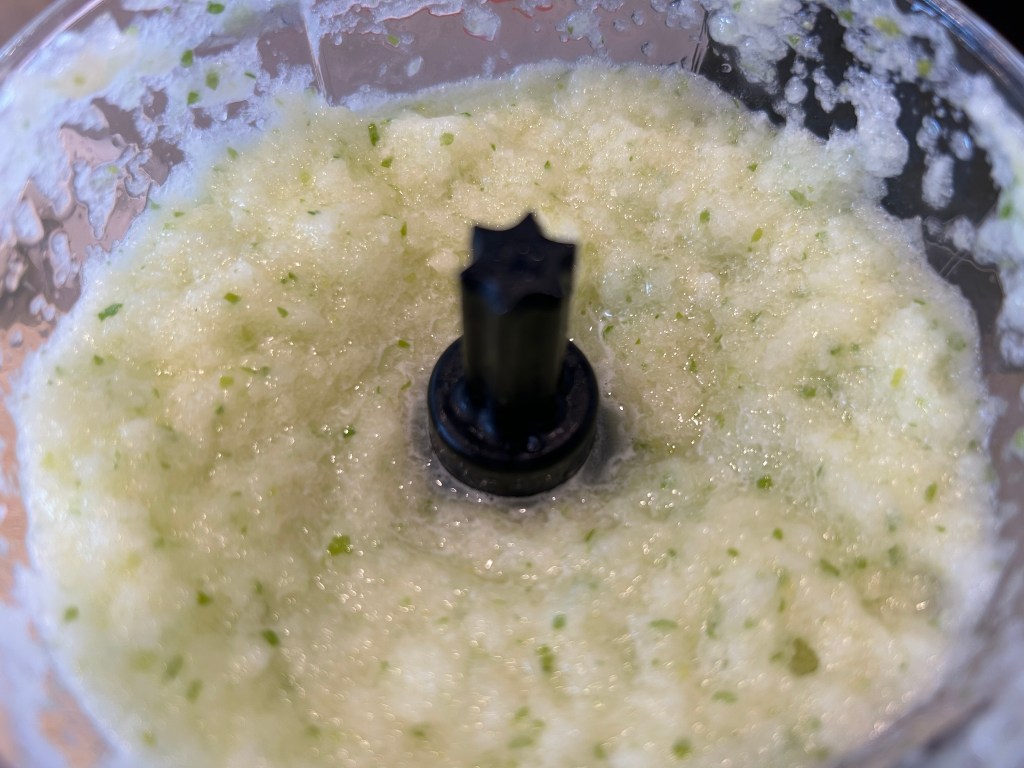
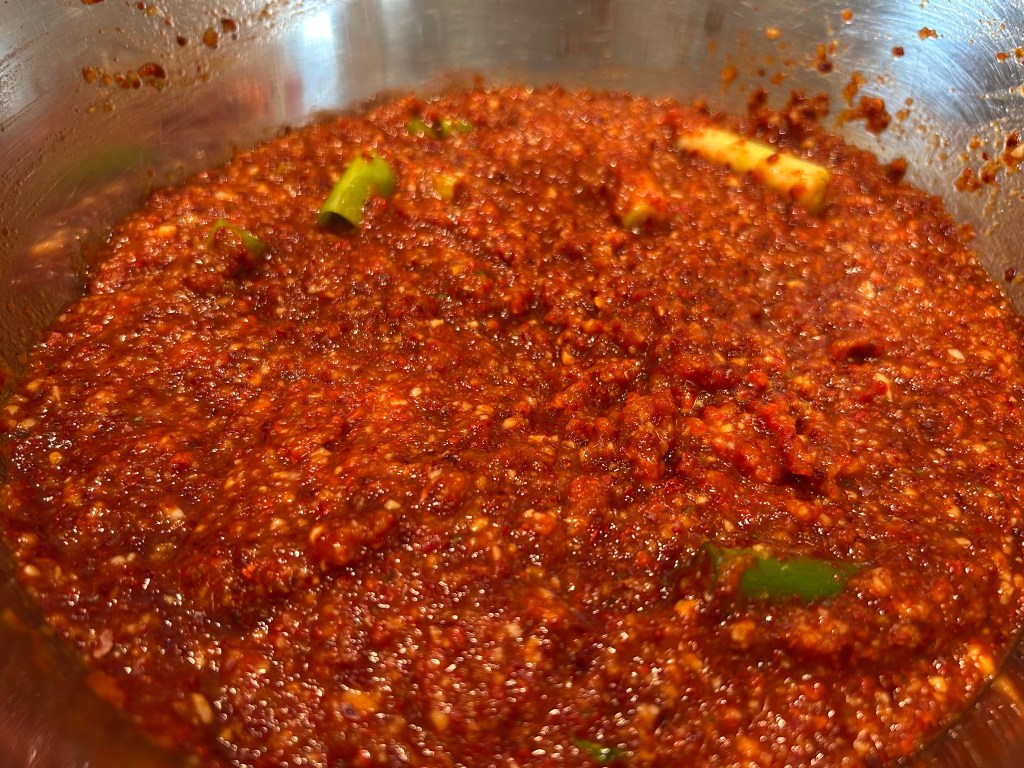
양념 만들기: 먼저 양파1개를 깍둑썰어서 차퍼에 넣고 갈아준 뒤, 사과1개를 껍질을 까서 알맞게 썰어서 갈아진 양파에 넣고 차퍼로 다시 갈아줍니다. 양파,사과가 갈아지면 파3뿌리를 썰어서 넣어 같이 갈아줍니다.
Making the Seasoning Paste: First, dice 1 onion, place it in the food chopper, and blend. Peel 1 apple, chop it into suitable pieces, add it to the blended onion, and chop again. Once the onion and apple are blended together, chop 3 green onions, add them in, and blend them all together.
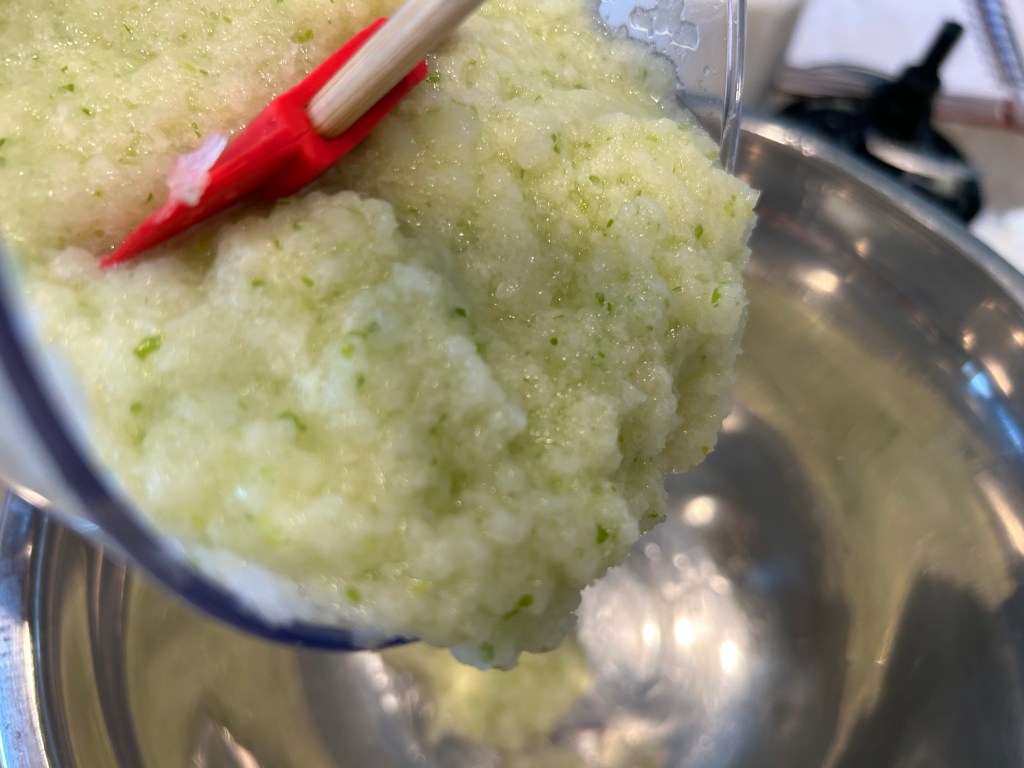
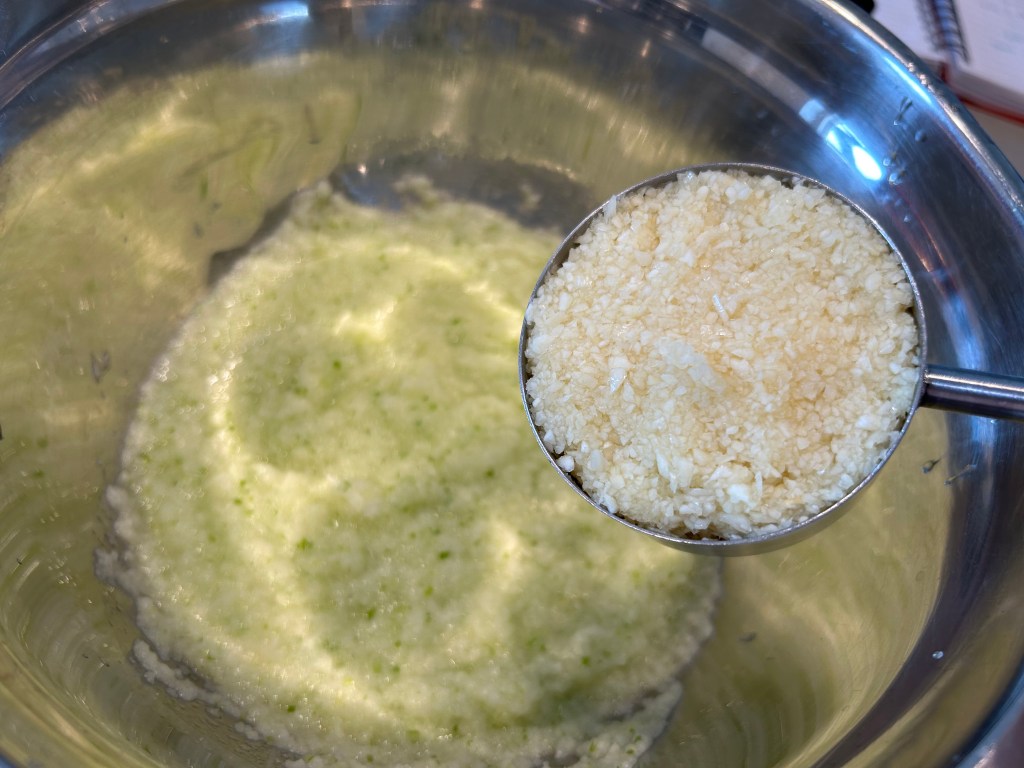
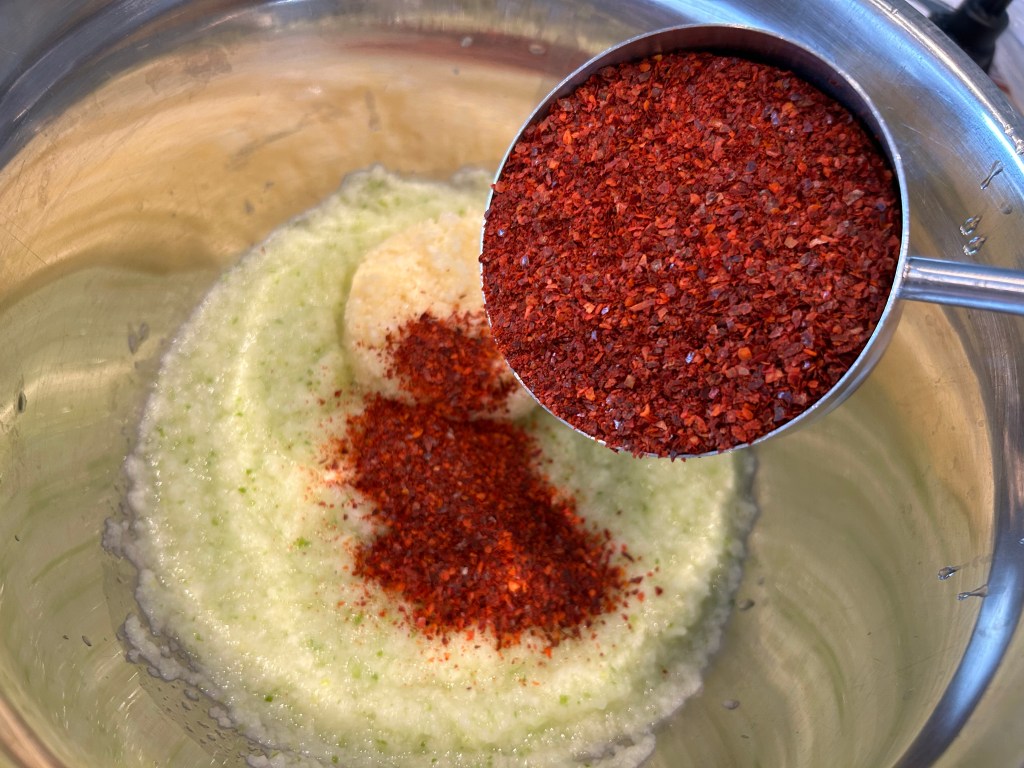
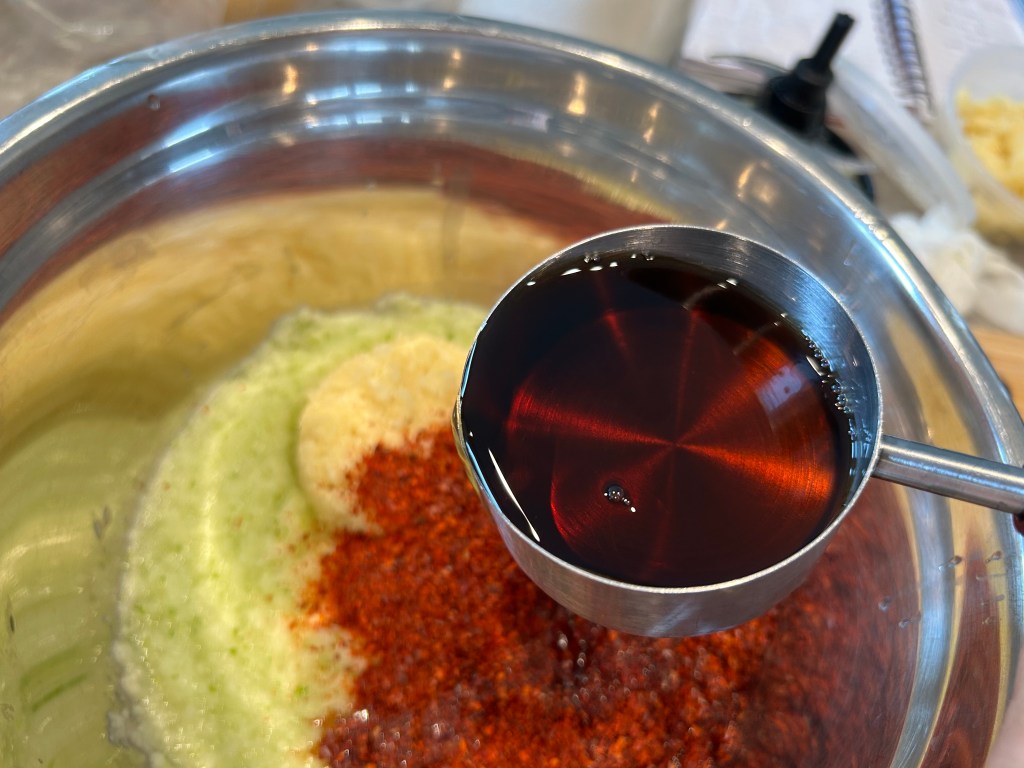
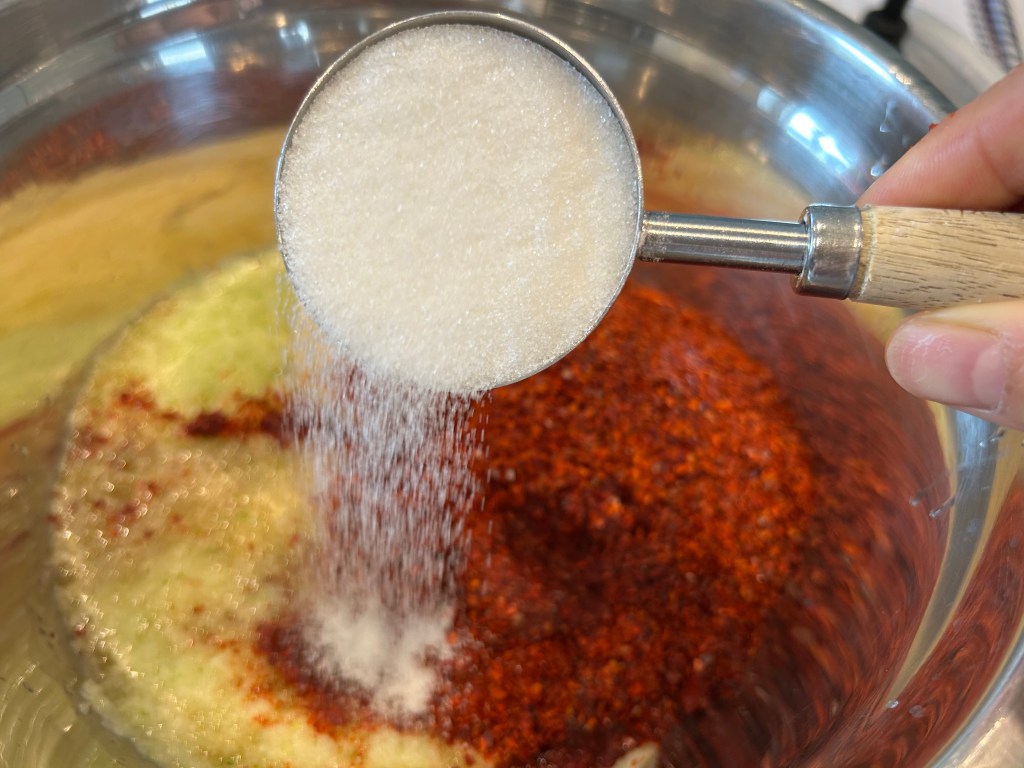
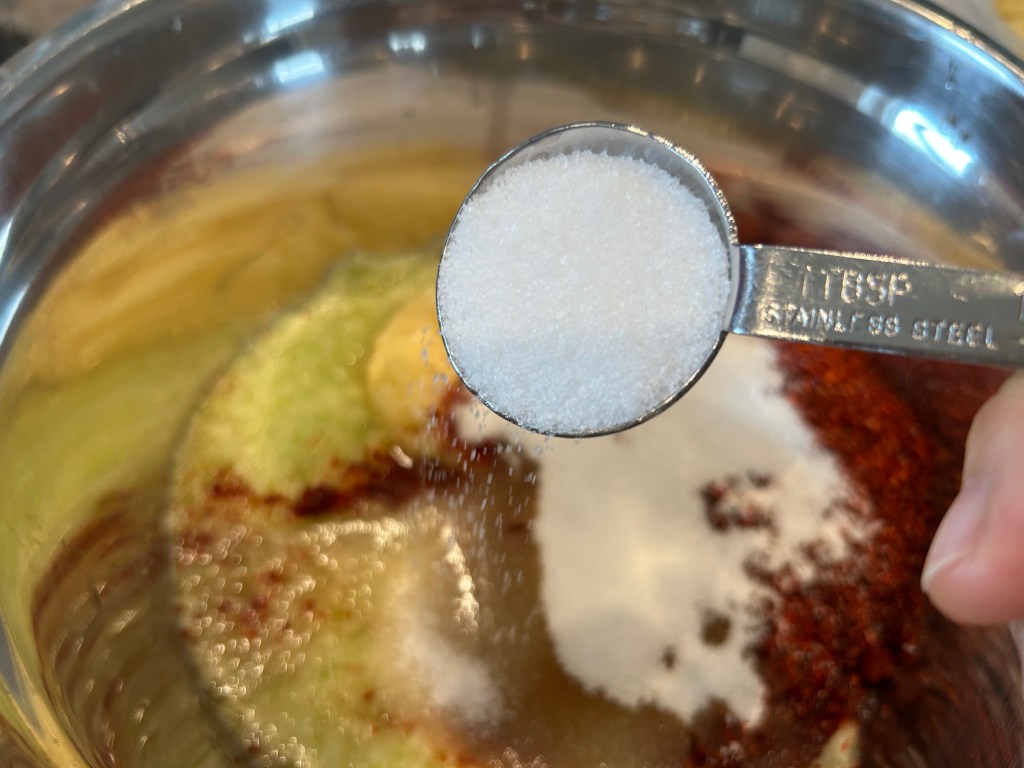
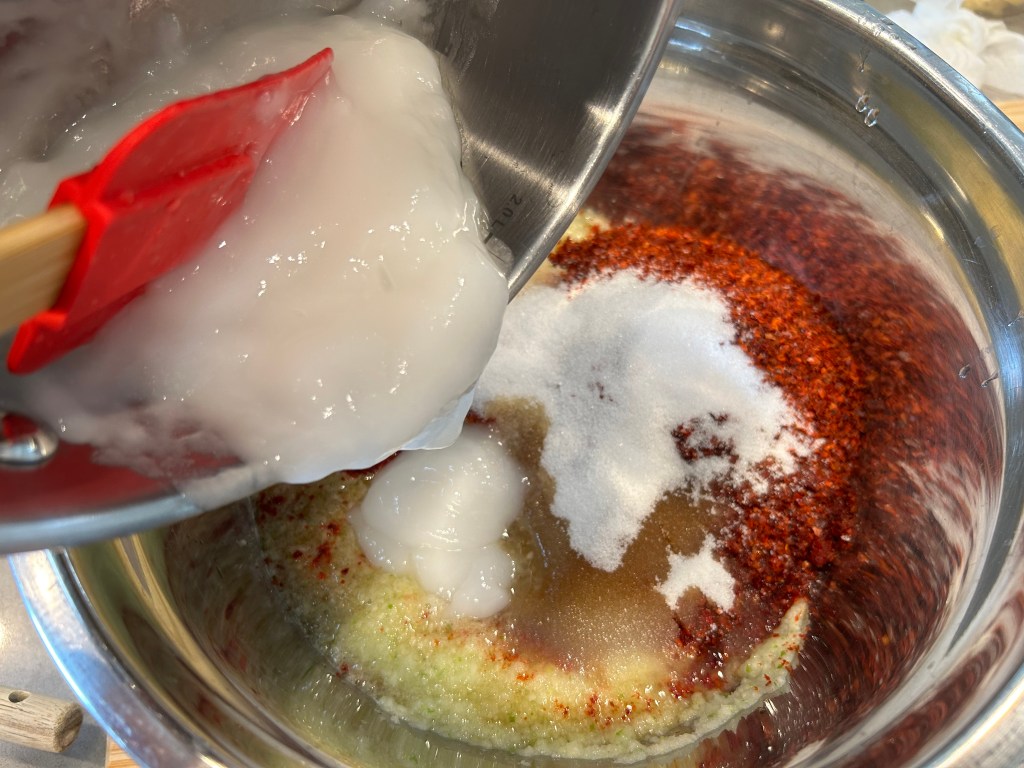
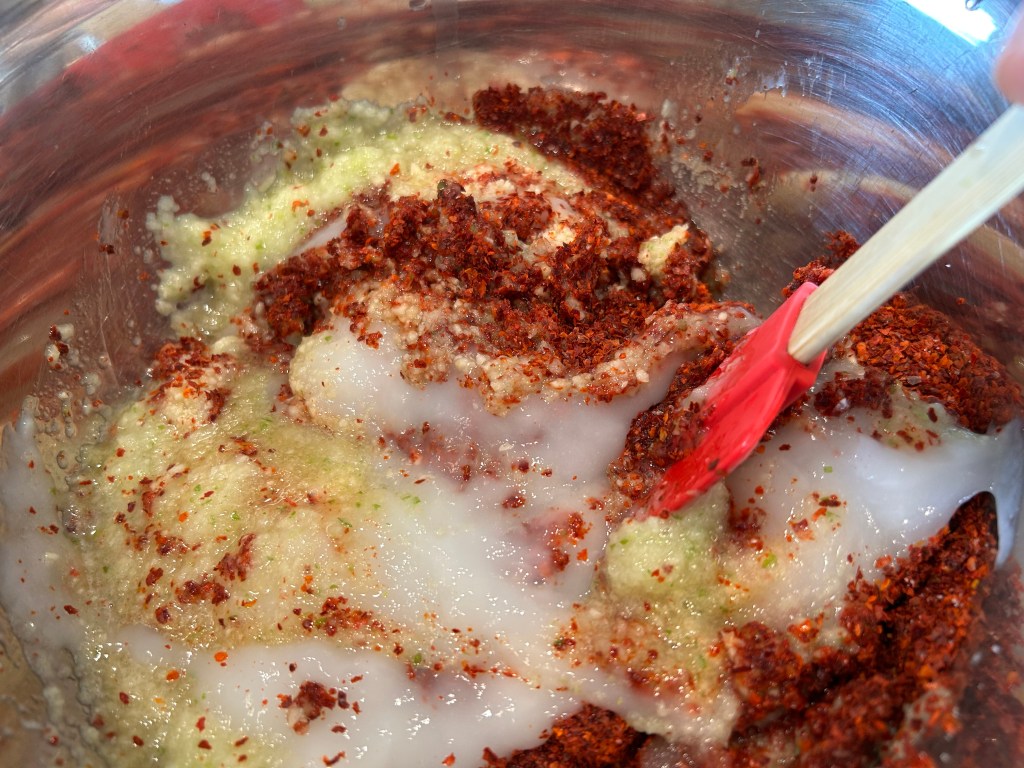
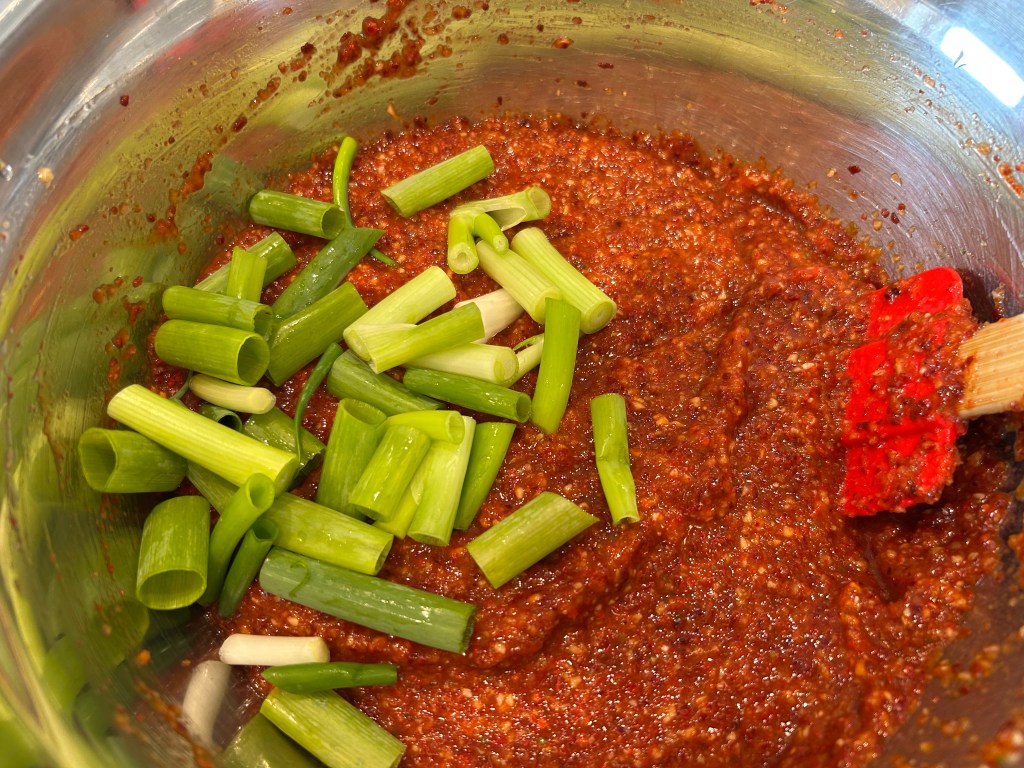
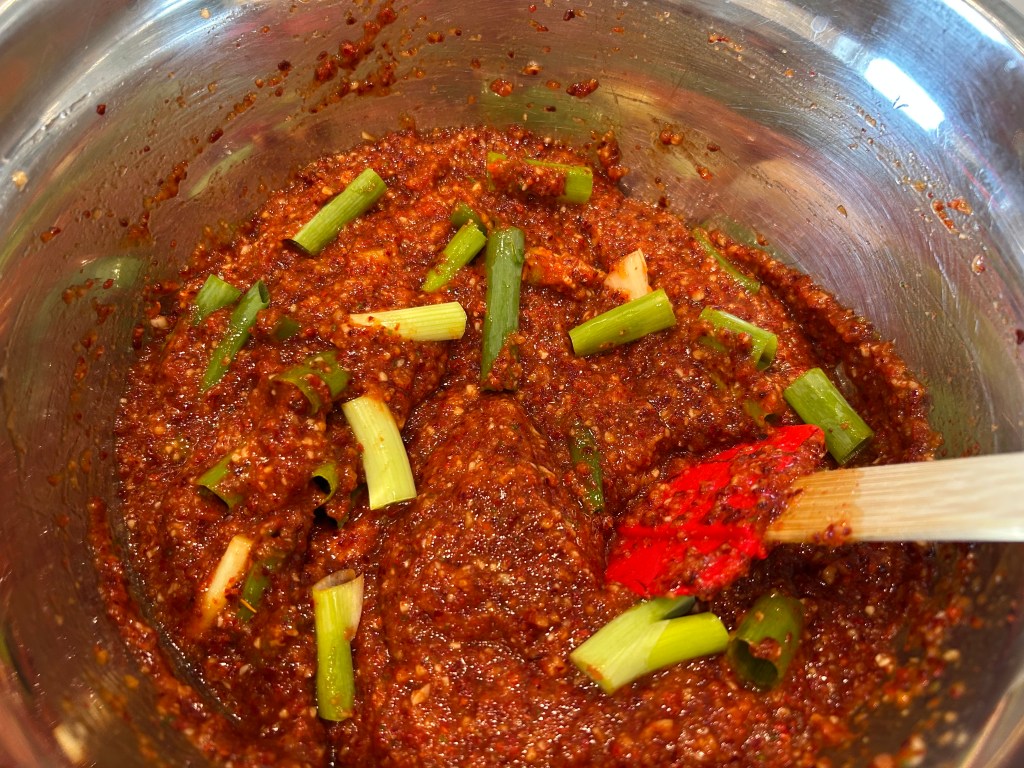
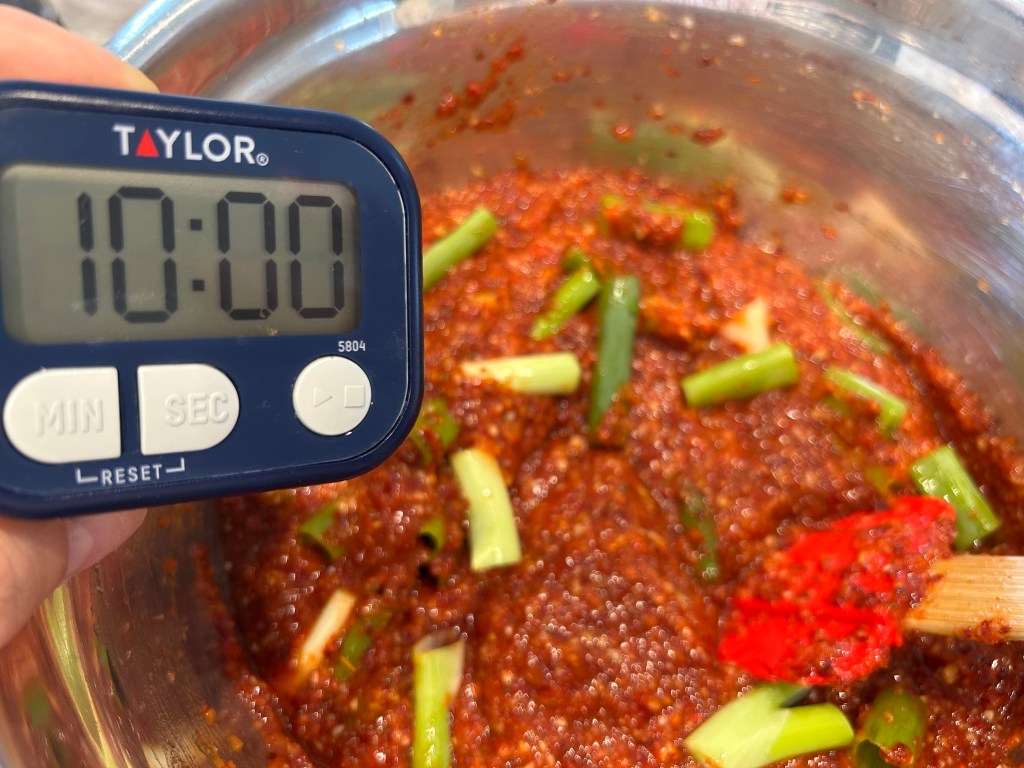
갈아진 양파,사과,파를 그릇에 담아주고 고추가루1/2cup과 더해서1/4cup을 넣어줍니다. 다음으로 피시소스 1/2cup, 마늘1/3cup, 설탕 1/4cup+3TBSP, 소금 1Tsp 을 넣어주고 차게 식힌 찹쌀 풀을 넣어 잘 섞어 줍니다. 양념이 잘 섞이면 파 3뿌리를 손가락 마디 크기로 잘라서 같이 넣어줍니다. 10분 숙성의 시간을 가집니다. 이때 고추 가루도 풀어지고 양념이 잘 혼합됩니다.
Transfer the blended onion, apple, and green onion into a bowl, then add 1/2 cup + 1/4 cup of Korean red pepper flakes (gochugaru). Next, add 1/2 cup of fish sauce, 1/3 cup of minced garlic, 1/4 cup + 3 TBSP of sugar, and 1 Tsp of salt, then pour in the completely cooled glutinous rice porridge and mix thoroughly. Once the seasoning paste is well combined, chop 3 green onions into bite-sized pieces (about the length of a finger joint) and fold them in. Let the mixture rest for 10 minutes to bloom and hydrate the red pepper flakes, allowing all the flavors to meld together seamlessly.
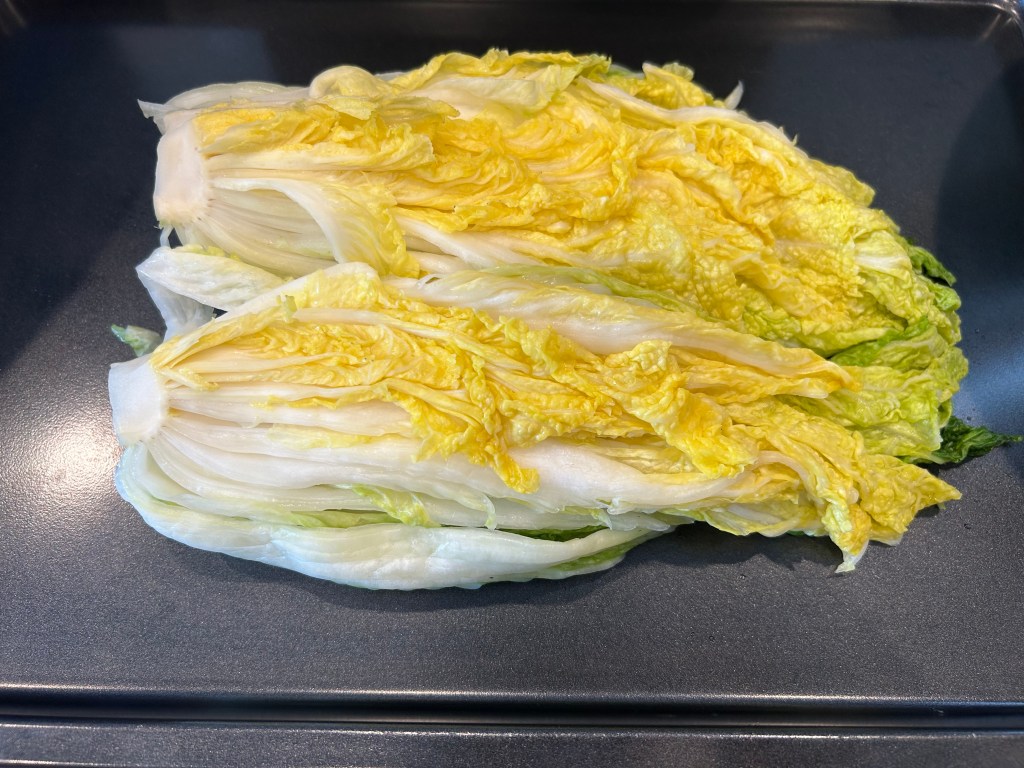
물이 빠진 배추의 모습입니다.
This is how the cabbage looks after draining.
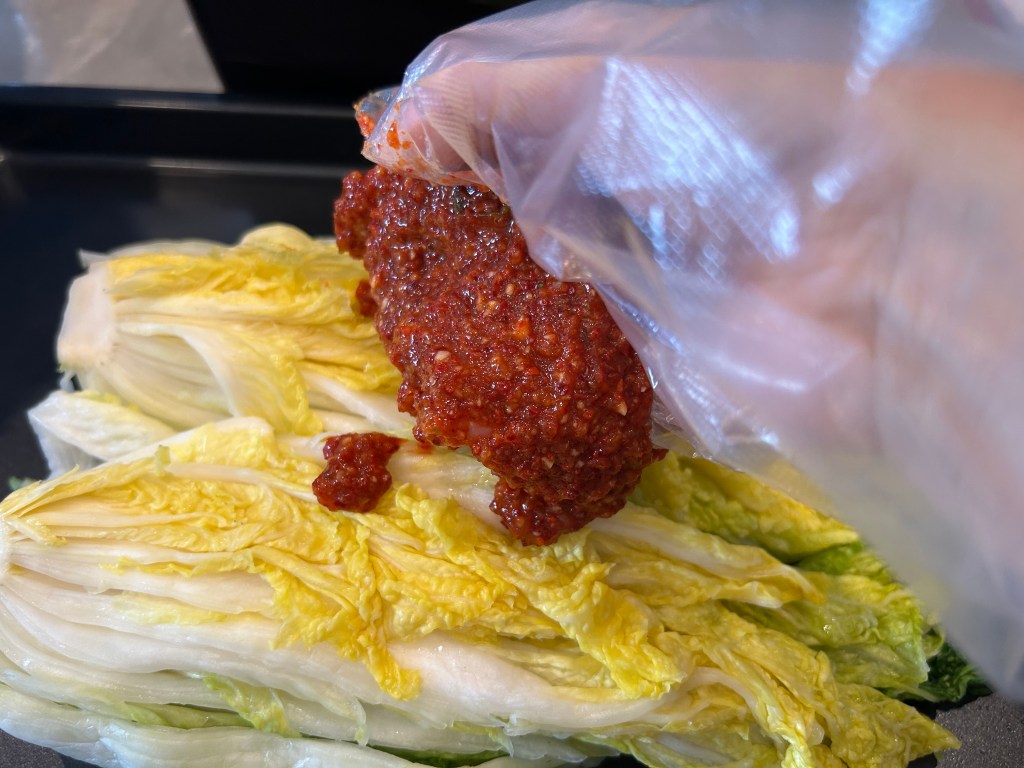
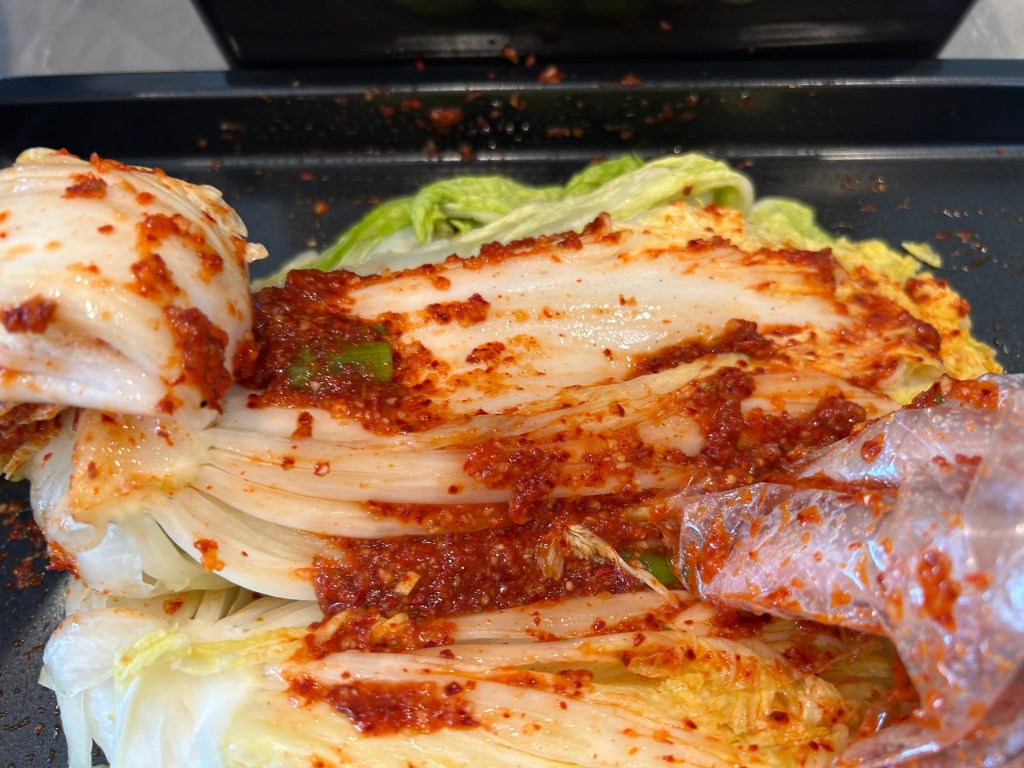
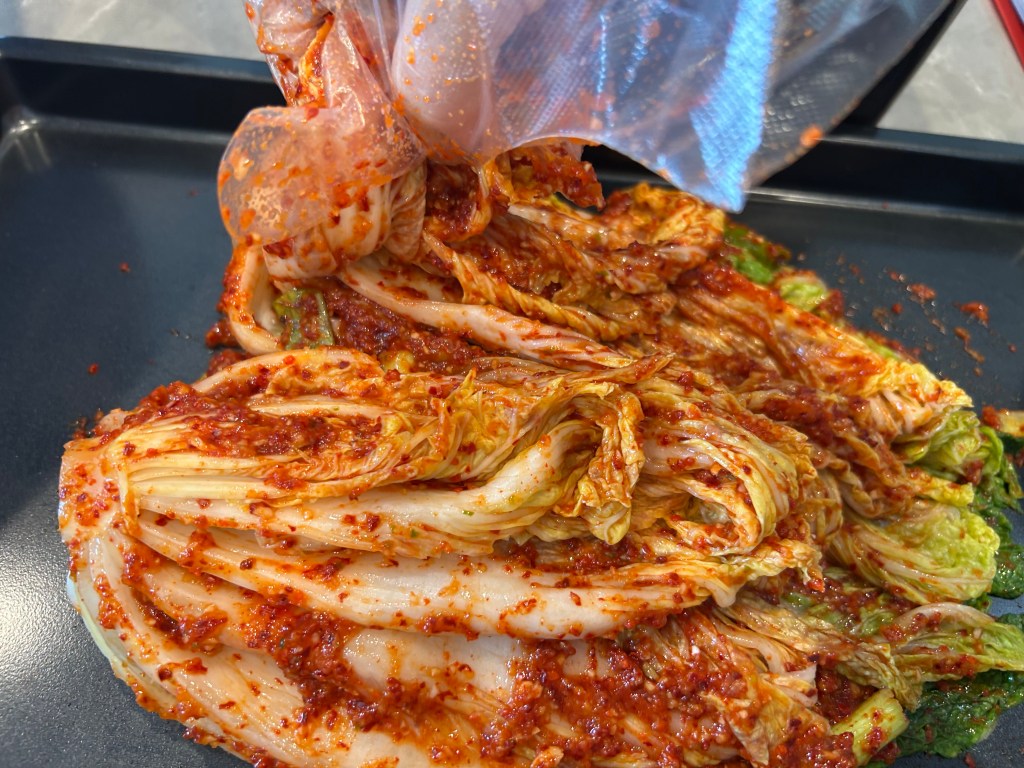
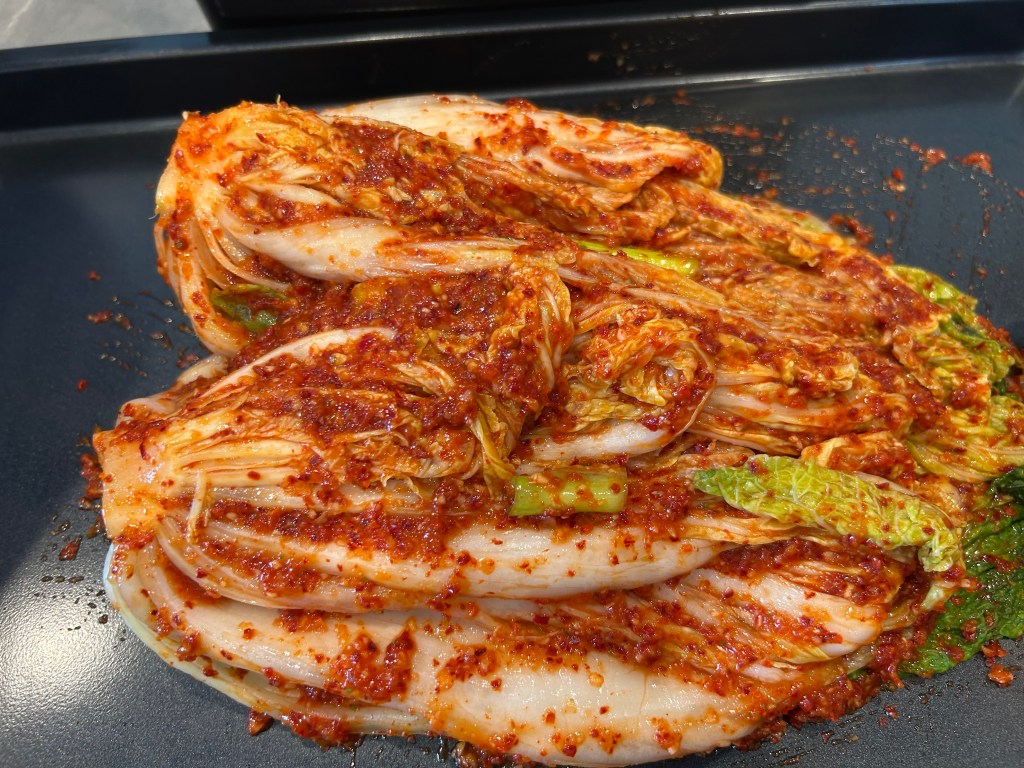
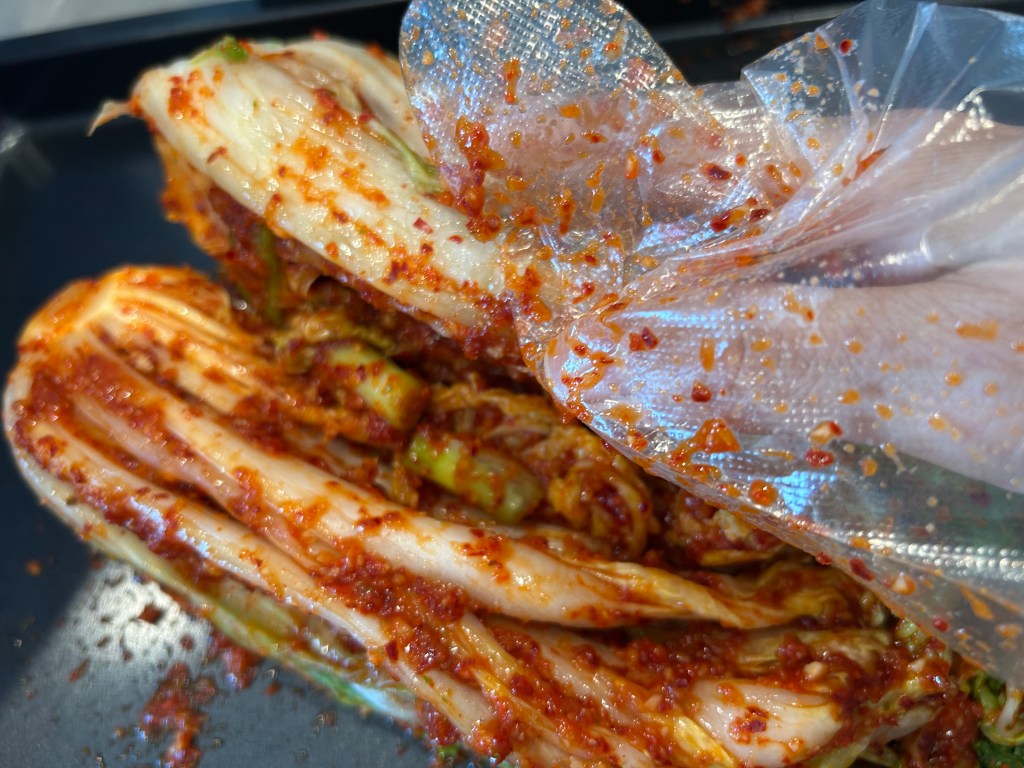
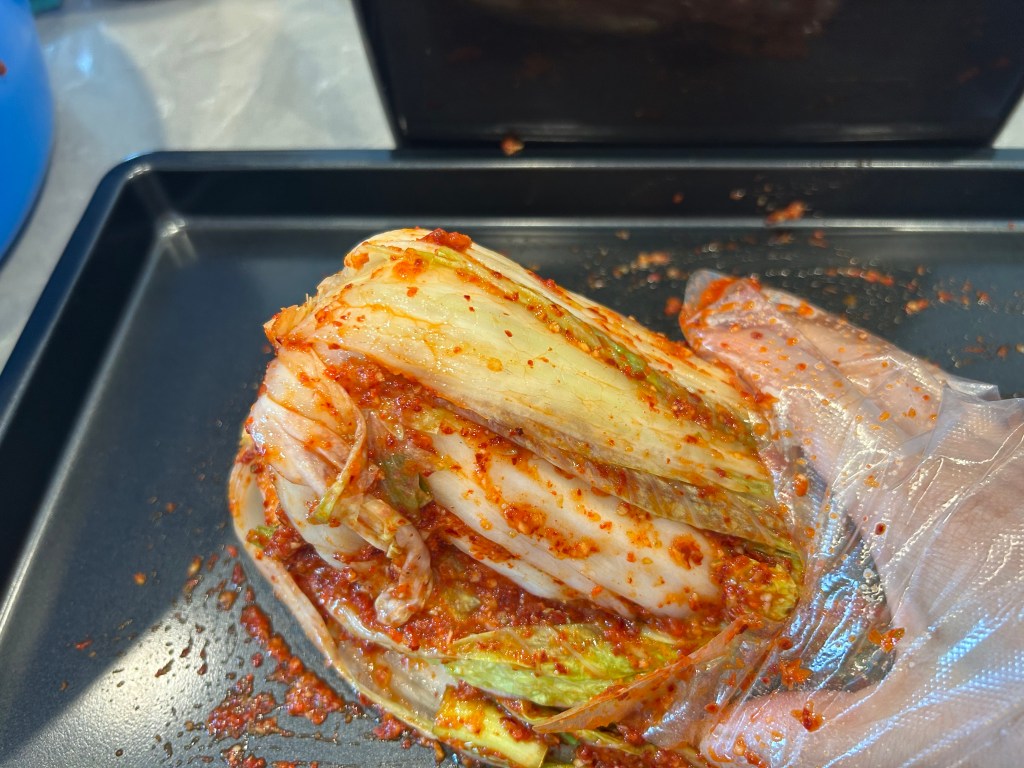
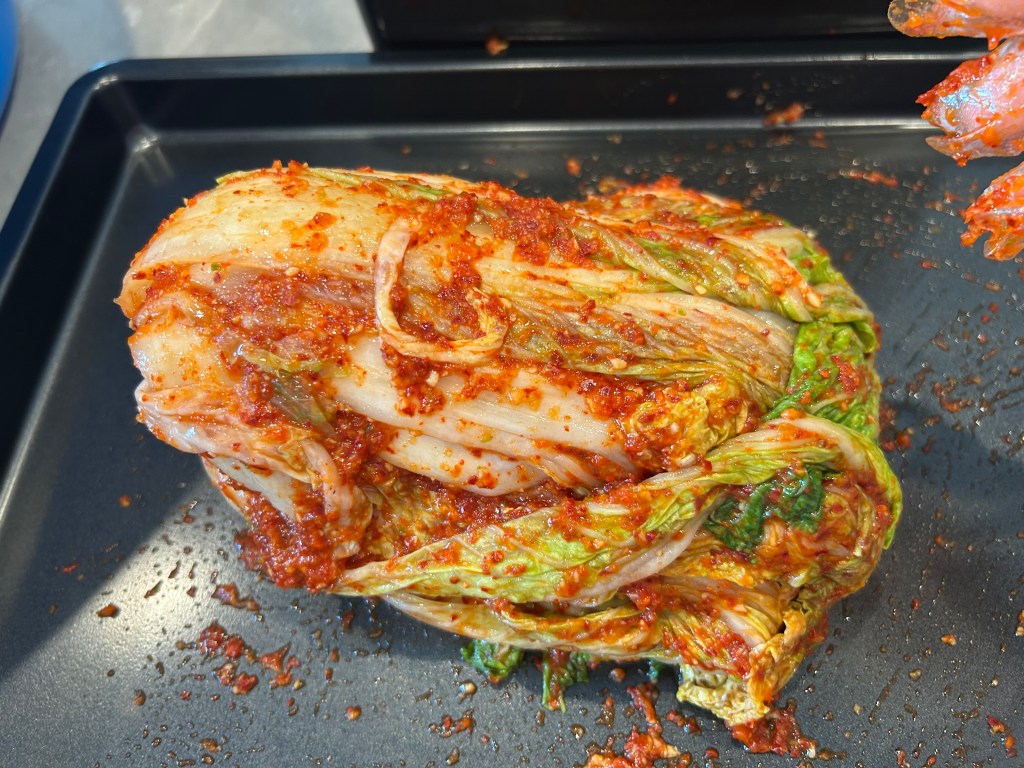
양념 바르기- 양념이 배지 않는 도마나 그릇에 배추 반 단을 놓고(이때 배추는 반단씩 양념을 발라주세요 한 포기에 4등분을 하게 되면 양념이 모자를 수 있습니다) 사진처럼 배추 잎을 들어가며 사이사이 발라줍니다. 양념이 알맞게 발리면 배추를 반으로 겹치게 하고 잎 부분을 줄기 쪽으로 감싸듯 말아 줍니다.
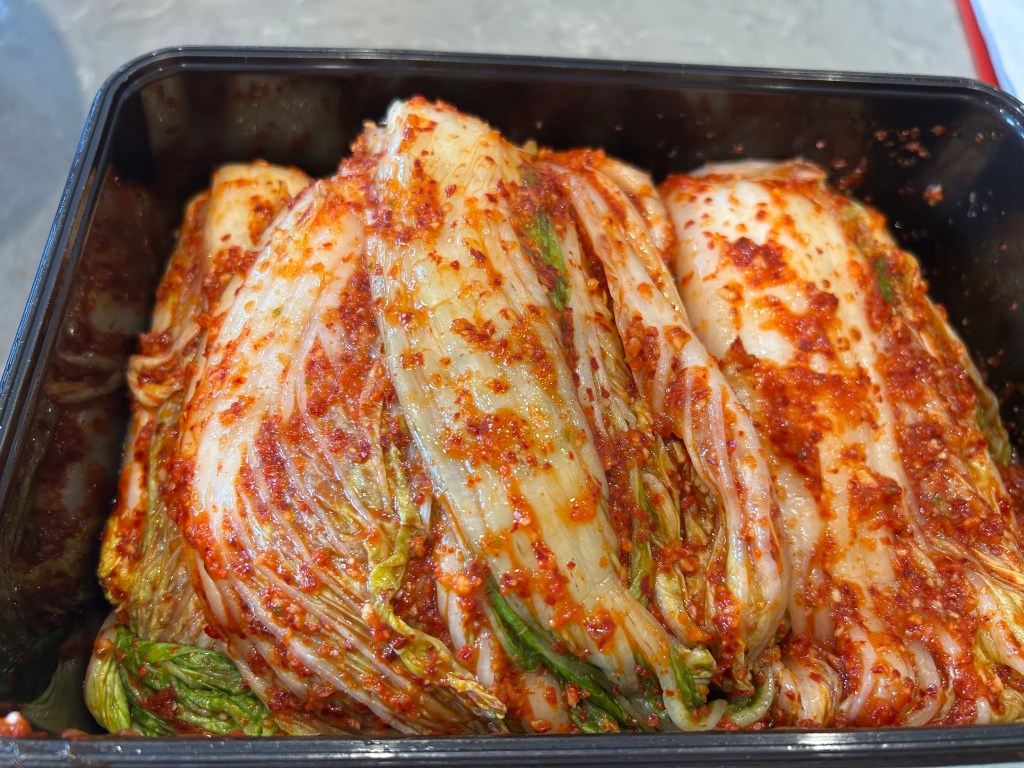
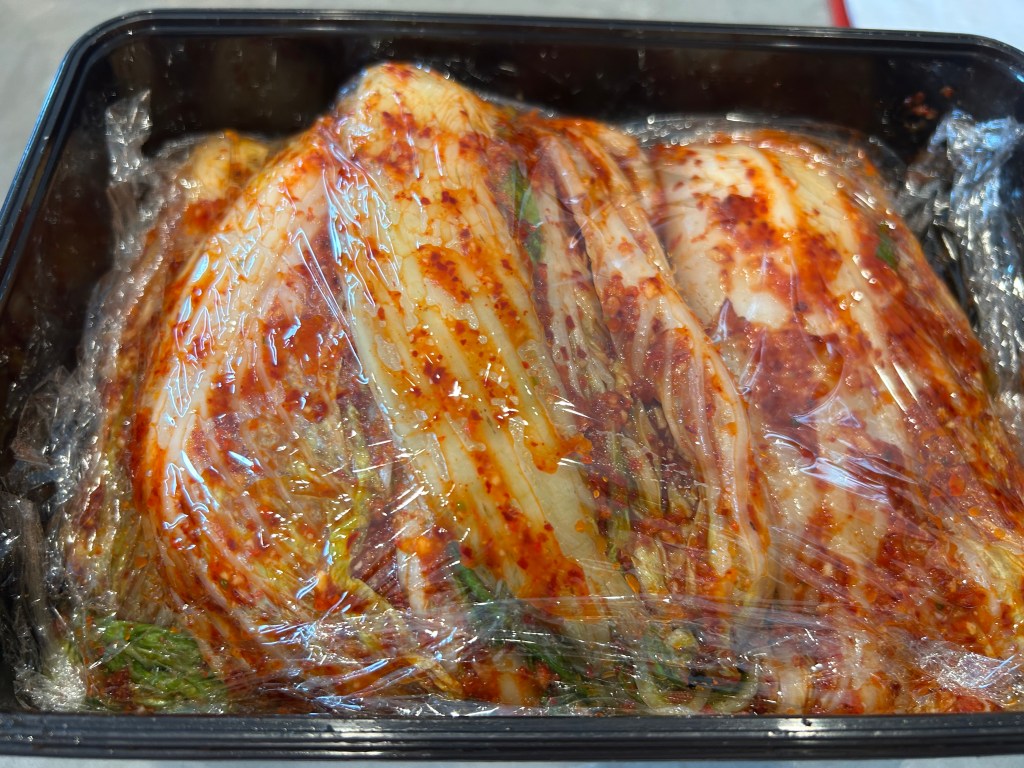
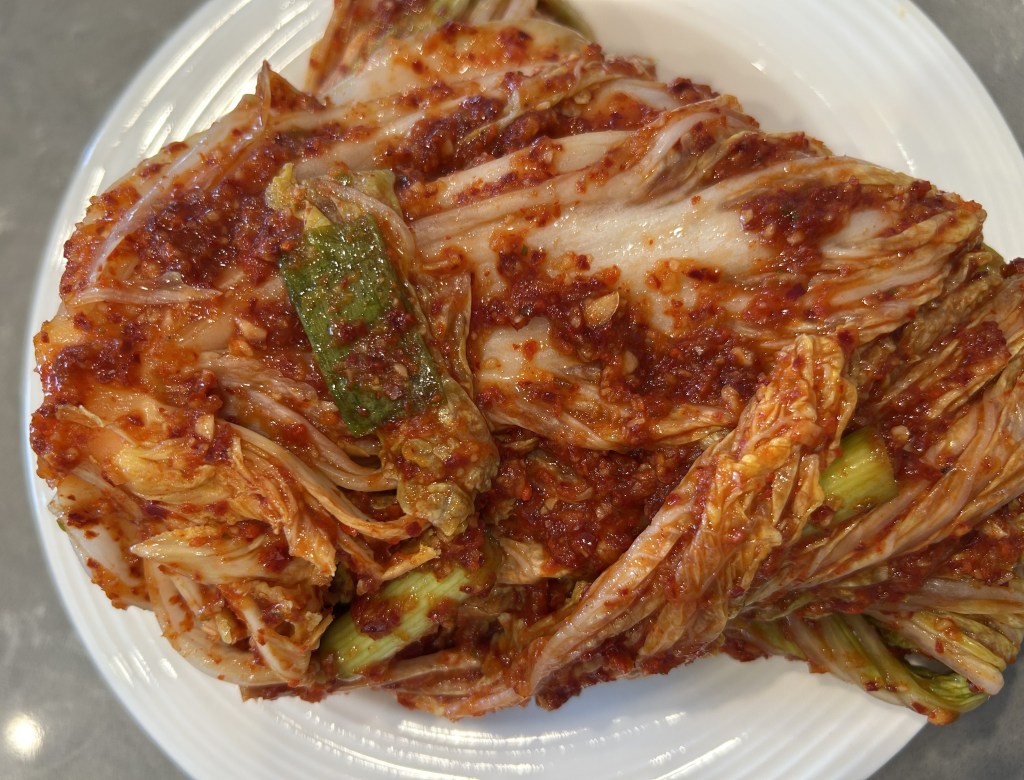
준비한 김치 통에 담아주고 나머지 배추고 같은 방법으로 양념을 바른 후 통에 담아줍니다. 김치 위에 랩을 덮어줘도 되고 안 해도 됩니다.
Coating with Seasoning Paste: Place half a head of cabbage on a non-porous cutting board or large dish. (Be sure to coat the cabbage half a head at a time; if you quarter each head, you might run short on seasoning paste.) As shown in the photo, lift the cabbage leaves and spread the paste evenly between each layer. Once properly coated, fold the cabbage in half and wrap the outer leaves around to secure the stem end.
Place the prepared kimchi into a storage container, then repeat the same process with the remaining cabbage. You can cover the top with plastic wrap if you like, but it is optional.
저는 김치에 새우젓, 매실 같은 양념을 잘 쓰지 않습니다. 왜냐하면 가끔 마트에 제품이 들어오지 않으면 구하기 어려울 때가 있어서 피시소스만 사용합니다.
재료에 따라 바뀔수있는 맛 보다는 한결같은 맛으로 만들지만 맛있습니다.
제가 쓰는 피시소스가 향이 강하지 않아서 깔끔합니다. 김치가 익었을 때 다름 냄새가 나지 않습니다 소스 제품은 블로그 글 Fish Sauce. 왜 김치 만들 때 젓갈을 넣을까요?? 에 나와있습니다.
I rarely use ingredients like salted shrimp (saeu-jeot) or plum extract (maesil) in my kimchi. Since these products can occasionally be out of stock at local markets and hard to find, I rely solely on fish sauce instead.
Rather than relying on flavors that vary depending on ingredient availability, this method delivers a consistently delicious result every single time.
The fish sauce I use has a mild scent, giving the kimchi a clean and refreshed taste. Once fermented, it leaves no off-odors behind. The specific fish sauce product I use is detailed in my blog post, Fish Sauce. Why Add Fermented Seafood Sauce When Making Kimchi??.

Leave a comment